EUFAB CARLO PLUS Manuel De L'opérateur
Table des Matières
Les langues disponibles
Les langues disponibles
Liens rapides
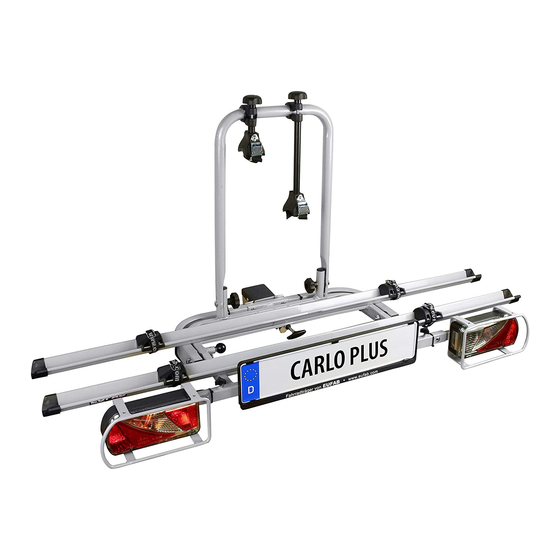
Art.-Nr.: 11439
CARLO PLUS Anhängerkupplungsträger
für bis zu 2 Fahrräder
Bedienungsanleitung .......................... 2
Article number 11439
CARLO PLUS rack for trailer tow bar,
folding, for 2 bicycles
Operating instructions ......................... 6
Réf. 11439
CARLO PLUS pour attelage de remorque
pour jusqu'à 2 vélos
Manuel de l'opérateur ......................... 11
Cod. art. 11439
CARLO PLUS supporto per ganci di traino
per un massimo di 2 biciclette
Istruzioni per l'uso ............................... 16
1
Chapitres
Table des Matières

Manuels Connexes pour EUFAB CARLO PLUS


Sommaire des Matières pour EUFAB CARLO PLUS
- Page 1 Bedienungsanleitung ......2 Manuel de l‘opérateur ......11 Article number 11439 Cod. art. 11439 CARLO PLUS rack for trailer tow bar, CARLO PLUS supporto per ganci di traino folding, for 2 bicycles per un massimo di 2 biciclette Operating instructions ......6...
-
Page 11: Utilisation Conforme
1. UTILISATION CONFORME Le porte-vélos CARLO PLUS se fixe sur l‘attelage de remorque de véhicules particuliers et permet de transporter jusqu‘à deux vélos. L‘utilisation conforme aux prescriptions implique également le respect de toutes les informations contenues dans ce mode d‘emploi, en particulier le respect des consignes de sécurité. - Page 12 Fabricant Symbole de contrôle Adapté pour Respectez les indications du fabricant de couplage qui figurent sur votre plaque F 4192 Audi A4 signalétique. En cas de doute, demandez au fabricant de votre attelage de remorque Westfalia F 3830 Audi A6 si elle est adaptée.
-
Page 13: Montage Du Porte-Vélos
5. MODE D‘EMPLOI 5.1 MONTAGE DU PORTE-VÉLOS Le porte-vélos doit encore être assemblé. Déballez tous les composants et étalez-les de manière bien organisée. Contrôlez si tout a été livré. Chaque opération de travail sera expliquée et vous verrez tout composant nécessaire au montage du porte-vélos. La table support et l‘embase doivent être assemblées de manière à... -
Page 14: Montage Du Porte-Plaque D'immatriculation
Deux rails parmi les rails porte-vélo livrés présentent un bordage large (cf. photo) et deux un bordage étroit sur l‘une des extrémités, ce qui permet de les apparier. Placez les extrémités de ces rails porte-vélo l‘une dans l‘autre, à savoir l‘extrémité large au-dessus de l‘extrémité étroite. Placez la paire de rails sur la traverse avant de la table support pivotable et alignez-la en fonction des alésages. -
Page 15: Escamotage Du Porte-Vélos
5.4 ESCAMOTAGE DU PORTE-VÉLOS Avant d’actionner le mécanisme d‘escamotage, vous devrez impérativement maintenir d‘une main l‘étrier en U pour que le porte-vélos ne puisse pas brusquement s‘abaisser. (Risque de blessures) Le mécanisme d‘escamotage peut être bloqué sur le côté intérieur gauche du cadre support par un boulon de sécurité et par un levier de commande au centre du cadre.