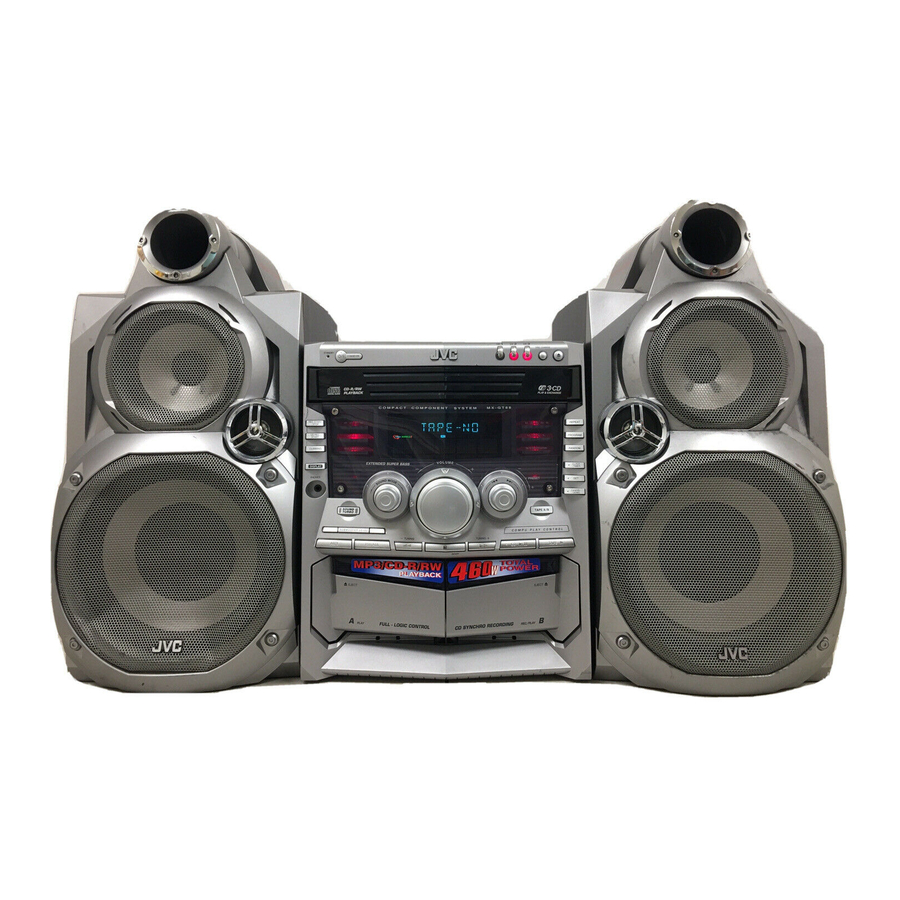
JVC MX-GT88 Manuel D'instructions
Table des Matières
Les langues disponibles
Les langues disponibles
Liens rapides
COMPACT COMPONENT SYSTEM
SYSTEME DE COMPOSANTS COMPACT
MX-GT88
MX-GA77
MP3
MP3
— Consists of CA-MXGT88 and SP-MXGT88
— Composé du CA-MXGT88 et SP-MXGT88
— Consists of CA-MXGA77 and SP-MXGA77
— Composé du CA-MXGA77 et SP-MXGA77
STANDBY
STANDBY/ON
C O M P A C T
REC START
/ STOP
CD REC
START
DUBBING
DISPLAY
PHONES
SOUND
TURBO
SUBWOOFER LEVEL
EJECT
SP-MXGT88
CA-MXGT88
STANDBY
STANDBY/ON
C O M P A C T
REC START
/ STOP
CD REC
START
DUBBING
DISPLAY
PHONES
SOUND
TURBO
SUBWOOFER LEVEL
EJECT
SP-MXGA77
CA-MXGA77
INSTRUCTIONS
MANUEL D'INSTRUCTIONS
CD
1
CD
2
CD
3
DISC CHANGE
C O M P O N E N T
S Y S T E M
M X - G T 8 8
REPEAT
PROGRAM
RANDOM
CLOCK
/ TIMER
PRESET
SET
CANCEL
/ DEMO
TAPE A / B
TUNING
TUNING
BEEP
EJECT
SP-MXGT88
CD
1
CD
2
CD
3
DISC CHANGE
C O M P O N E N T
S Y S T E M
M X - G A 7 7
REPEAT
PROGRAM
RANDOM
CLOCK
/ TIMER
PRESET
SET
CANCEL
/ DEMO
TAPE A / B
TUNING
TUNING
BEEP
EJECT
SP-MXGA77
For Customer Use:
Enter below the Model No. and Serial
No. which are located either on the rear,
bottom or side of the cabinet. Retain this
information for future reference.
Model No.
Serial No.
LVT1010-002B
[C]
Chapitres
Table des Matières
Dépannage

Manuels Connexes pour JVC MX-GT88


Sommaire des Matières pour JVC MX-GT88
- Page 32 Introduction Nous vous remercions d’avoir acheté un de nos produits JVC. Avant d’utiliser l’appareil veuillez lire entièrement et attentivement ce mode d’emploi afin d’obtenir les meilleures performances possibles, et conservez ce mode d’emploi à titre de référence. À propos de ce mode d’emploi Souces d’alimentations...
- Page 33 Table des matières Emplacement des touches et des commandes ..3 Panneau avant ............. 3 Télécommande ............5 Pour commencer ............6 Déballage ..............6 Mise en place des piles dans la télécommande .... 6 Connexion des antennes ..........6 Connexion des enceintes ..........
-
Page 34: Emplacement Des Touches Et Des Commandes
Emplacement des touches et des commandes Familiarisez-vous avec les touches et les commandes de votre appareil. Panneau avant DISC CHANGE STANDBY STANDBY/ON REC START REPEAT / STOP CD REC PROGRAM START DUBBING RANDOM CLOCK DISPLAY / TIMER PHONES PRESET CANCEL / DEMO SOUND TAPE A / B... - Page 35 À suivre Fenêtre d’affichage 5 6 7 GROUP TRACK P R G M RANDOM ALL 1 DISC REPEAT SOUND MONO MODE d Réglage PRESET +/– (12) Référez-vous aux pages indiquées entre parenthèses pour plus Réglage 4/¢ (recherche vers l’arrière/vers l’avant) d’informations.
-
Page 36: Télécommande
Télécommande Télécommande 1 Touche BEEP ON/OFF (11) 2 Touche SLEEP (25) 3 Touches numériques (12, 16) 4 Touche SOUND TURBO (10) 5 Touche VOLUME + (10) 6 Touche 4/1 (recherche vers l’arrière/retour rapide) (12, 15 – 17, 19, 20) 7 Touche SUBWOOFER LEVEL – (10) 8 Touche AUX (9) Appuyer sur cette touche met aussi l’appareil sous tension. -
Page 37: Pour Commencer
Pour commencer À suivre Déballage Connexion des antennes Antenne FM Après le déballage, vérifiez que tous les éléments suivants sont présents. Le nombre entre parenthèses indique la quantité de pièces fournie. Antenne FM (fournie) • Antenne cadre AM (1) • Antenne FM (1) •... -
Page 38: Connexion Des Enceintes
Antenne AM Connexion des enceintes Pour le MX-GT88: NE PORTEZ PAS les enceintes en les tenant par 2, 3 la gaine (au sommet des enceintes). 2, 3 Fil recouvert de ANTENNA vinyle (non fourni) FM 75 Cordon d’enceinte Noir Cordon (bleu/noir) d’enceinte... -
Page 39: Connexion D'un Autre Appareil
MAINTENANT, vous pouvez brancher cet Connexion d’un autre appareil appareil et les appareils connectés au secteur. Vous pouvez connecter un appareil audio—utilisé uniquement comme appareil de lecture. • NE RÉALISEZ AUCUNE connexion quand Annulation de la démonstration des affichages l’appareil est sous tension. •... -
Page 40: Fonctionnement Commun
Fonctionnement commun Mise sous ou hors tension de l’appareil Tournez le réglage 4/¢ pour ajuster les minutes, puis appuyez Pour mettre l’appareil sous tension, appuyez STANDBY sur SET. STANDBY/ON STANDBY/ON de façon que le témoin STANDBY s’éteigne. Pour mettre l’appareil hors tension STANDBY STANDBY/ON (en attente), appuyez de nouveau sur... -
Page 41: Ajustement Du Volume
À suivre Ajustement du volume Renforcement des graves Vous pouvez ajuster le niveau de volume uniquement quand Cette fonction n’affecte que le son de lecture et non pas votre l’appareil est sous tension. enregistrement. Cette fonction n’affecte que le son de lecture et non pas votre Appuyez sur SUBWOOFER SUBWOOFER LEVEL enregistrement. -
Page 42: Sélection Des Modes Sonores
Sélection des modes sonores Lors de l’utilisation de la télécommande, appuyez sur SOUND MODE pour ajuster le mode sonore. Cette fonction n’affecte que le son de lecture et non pas votre enregistrement. • Chaque fois que vous appuyez sur la touche, le mode sonore change comme suit: Vous pouvez choisir un des 6 modes sonores préréglés (3 modes D.CLUB... -
Page 43: Écoute De La Radio
Écoute de la radio Sur l’appareil UNIQUEMENT: Accord ‘une station—Recheche automatique Accordez la station que vous souhaitez Appuyez sur FM/AM. prérégler (FM 87,50, dans cet exemple). L’appareil se met automatiquement sous • Reportez-vous à “Accord ‘une station—Recheche tension et accord automatiquement la automatique”. -
Page 44: Lecture D'un Cd
Lecture d’un CD Insertion d’un CD Cet appareil est conçu pour reproduire les types de CD suivants: • CD audio • CD-R (CD enregistrable) Appuyez sur 0. • CD-RW (CD réinscriptible) • Disque MP3 (fichiers MP3 enregistrés sur un CD-R ou L’appareil se met automatiquement sous CD-RW)* tension et le plateau sort. - Page 45 À suivre • Chaque fois que vous appuyez sur la touche, l’indication • Quand le mode de lecture MP3 est réglé sur le mode de l’affichage change comme suit: TRACK (Référez-vous aussi à la page 17.) Le titre de la plage actuelle défile. REPEAT ALL DISC 1 DISC...
-
Page 46: Fonctionnement De Base Du Lecteur Cd
Lecture d’un seul disque Fonctionnement de base du lecteur CD Quand 2 ou 3 CD sont en place sur le plateau à disque, vous Lors de la lecture d’un CD, vous pouvez réaliser les pouvez choisir le disque que vous souhaitez reproduire. opérations suivantes. - Page 47 À suivre Pour aller directement à une autre plage en utilisant Pour les disques MP3: les touches numériques Quand le mode de lecture MP3 est réglé sur le mode Pour les CD audio: TRACK (Référez-vous aussi à la page 17.) Tournez le réglage 4/¢...
-
Page 48: Changement Du Mode De Lecture Mp3
Changement du mode de lecture MP3 Mise en ou hors service de la fonction de reprise de la lecture pour les disques MP3 Lors de la lecture d’un disque MP3, vous pouvez choisir le mode de lecture du disque MP3 de la façon suivante: Pour les disques MP3, cet appareil peut mémoriser le numéro de la plage sur laquelle vous avez arrêté... -
Page 49: Programmation De L'ordre De Lecture Des Plages -Lecture Programmée
À suivre Programmation de l’ordre de lecture des Programmez les autres plages souhaitées. plages—–Lecture programmée • Pour programmer des plages du même disque, répétez l’étape 4 . Vous pouvez arranger l’ordre dans lequel vous souhaitez • Pour programmer des plages d’un disque différent, reproduire les plages. -
Page 50: Lecture Dans Un Ordre Aléatoire-Lecture Aléatoire
Lecture dans un ordre aléatoire—Lecture aléatoire Répétition des plages ou des CD—Lecture répétée Les plages du CD choisi sont reproduites aléatoirement. • Pour utiliser le mode de lecture aléatoire, vous devez Vous pouvez répéter tous les CD, le programme ou la plage annuler d’abord le mode de lecture programmée. -
Page 51: Lecture D'une Cassette
Lecture d’une cassette Pour arrêter la lecture en cours, appuyez sur 7. Lecture d’une cassette Pour utiliser l’autre platine, appuyez sur TAPE A/B (ou sur A/B sur la télécommande), puis sur TAPE 3. Appuyez sur 0 EJECT de la platine que vous Pour avancer rapidement la bande, appuyez sur ¡... -
Page 52: Enregistrement
Enregistrement IMPORTANT: Enregistrement d’une cassette sur la platine B • Notez qu’il peut être illégal de copier des cassettes préenregistrées, des disques ou des CD sans le Sur l’appareil UNIQUEMENT: consentement du propriétaire des droits d’auteur, dans un enregistrement audio ou vidéo, une émission radio ou Appuyez sur EJECT 0 sur la platine B. -
Page 53: Copie De Cassettes
Copie de cassettes Enregistrement synchronisé de CD Vous pouvez enregistrer facilement un CD sur une cassette. Sur l’appareil UNIQUEMENT: • Cette fonction ne peut pas être utilisée avec les disques MP3. Pour l’enregistrement d’un disque MP3 sur une Appuyez sur TAPE 3, puis sur 7. cassette, référez-vous à... -
Page 54: Utilisation Des Minuteries
Utilisation des minuteries Il y a trois minuteries disponibles—la minuterie quotidienne, Appuyez de nouveau sur CLOCK d’enregistrement et d’arrêt. / TIMER CLOCK/TIMER. Avant d’utiliser les minuteries, vous devez régler l’horloge intégrée à l’appareil. (Voir “Réglage de l’horloge” à la page 9.) “ON TIME”... -
Page 55: Utilisation De La Minuterie D'enregistrement
À suivre Utilisation de la minuterie d’enregistrement Choisissez un numéro de station préréglée. Avec la minuterie d’enregistrement, vous pouvez enregistrer Tournez le réglage 4/¢ pour choisir le une émission de radio automatiquement. Vous pouvez régler numéro de station préréglé, puis appuyez sur la minuterie que l’appareil soit sous ou hors tension. -
Page 56: Réglez L'heure À Laquelle Vous
Utilisation de la minuterie d’arrêt Réglez l’heure à laquelle vous souhaitez que l’appareil se mette Avec la minuterie d’arrêt, vous pouvez vous endormir en sous tension. musique. 1) Tournez le réglage 4/¢ pour régler Vous pouvez la régler quand l’appareil est sous tension. les heures, puis appuyez sur SET. -
Page 57: Entretien
Entretien Pour obtenir les meilleures performances de votre appareil, gardez propres les disques, les cassettes et le mécanisme. Manipulation des cassettes Nettoyage de l’appareil • Si la bande est lâche dans la cassette, • Tâches sur l’appareil retirez le mou en insérant un stylo dans Frottez-les avec un chiffon doux. -
Page 58: Guide De Dépannage
Guide de dépannage Si vous des problèmes avec votre appareil, cherchez d’abord une solution dans cette liste avant d’appeler un réparateur. Si vous ne pouvez pas résoudre le problème avec les conseils donnés ici, ou si l’appareil est physiquement endommagé, appelez une personne qualifiée, telle que votre revendeur, pour faire réparer l’appareil. -
Page 59: Spécifications
Spécifications La conception et les spécifications sont sujettes à changement sans notification. Section de l’amplificateur—CA-MXGT88 Section de l’amplificateur—CA-MXGA77 Puissance de sortie Puissance de sortie SUBWOOFERS : 160 W par canal, min. RMS, entraîné sur SUBWOOFERS : 120 W par canal, min. RMS, entraîné sur 6 Ω... - Page 60 VICTOR COMPANY OF JAPAN, LIMITED EN, FR 0103TMMMDWSAM...