
Manuels Connexes pour Jack Wolfskin NORTH BAY II


Sommaire des Matières pour Jack Wolfskin NORTH BAY II
- Page 1 NORTH BAY II Gebrauchsanleitung Tent Manual Notice de Montage N60695_NorthBay_134099_Instruction_Sheets_130812_rz.indd 1 13.08.13 11:55...
- Page 2 Abbildungen der Aufbauanleitung können vom aktuellen Produkt abweichen. At JACK WOLFSKIN we are continually improving and upgrading our products. We therefore reserve the right to make changes to individual components. Diagrams used for the pitching instructions may differ slightly from the actual product.
- Page 3 BELÜFTUNG VENTILATON Ihr Zelt ist mit ausreichenden Belüftungsmöglich- Your tent is equipped with sufficient ventilation keiten ausgestattet. Sorgen Sie immer für eine gute options. Try to ensure that there is always a good Luftzirkulation um die Gefahr der Kondenswasserbil- flow of air through the tent to reduce the risk of dung zu vermindern.
- Page 4 SCHRITT 1 STEP 1 Vor Antritt der ersten Reise sollten Sie Ihr neues Zelt We recommend that you assemble your new tent erst einmal probeweise aufbauen und sich mit allen before your first trip in order to familiarise yourself Aufbauschritten vertraut machen. with all the assembly instructions.
- Page 5 ÉTAPE 1 Avant d’entamer votre premier voyage, il est conseillé tout d’abord de procéder au montage de votre nou- velle tente, afin de vous familiariser avec toutes les différentes étapes. Choisissez d’abord un emplacement adapté pour votre tente (1) et enlevez tous les objets pointus qui pourraient endommager le sol de la tente.
- Page 6 STEP 2 SCHRITT 2 Führen Sie die Stangen nun vorsichtig in die ent- Carefully insert the poles into their respective exter- sprechenden außenliegenden Stan genkanäle ein nal pole sleeves (1). Do not use force. If you experi- (1). Wenden Sie keine Gewalt an. Wenn Sie auf Wi- ence resistance as you are inserting or tensioning the derstand stoßen während Sie die Stangen einführen poles, identify and remedy the problem.
- Page 7 ÉTAPE 2 Glissez à présent les arceaux avec précaution dans les fourreaux extérieurs res pectifs (1). Ne forcez pas. En cas de résistance pendant cette opération, cherchez l’origine du problème pour y remédier. Mettez les ar- ceaux sous tension en veillant à placer les extrémités pointues des arceaux dans les œillets prévus à...
- Page 8 SCHRITT 3 STEP 3 45° Stellen Sie sicher, dass alle Reißverschlüsse geschlossen Make sure all zips are closed, and anchor your fly sind und fixieren Sie Ihr Zelt am Fußende (1). sheet at the rear (1). Nehmen Sie dann die beiden vorderen Apsi den- Next, take hold of the two vestibule anchor points Befestigungen in die Hand und ziehen das Zelt nach and pull the tent forward, open ing it up like a con...
- Page 9 ÉTAPE 3 Assurez-vous que tous les zips sont bien fermés et fixez la tente extérieure au pied de la tente (1). Prenez ensuite les deux fixations avant de l’apside dans vos mains et étirez la tente vers l’avant pour la déplier tel un accordéon (2).
- Page 10 SCHRITT 4 STEP 4 45° 45° Fixieren und straffen Sie nachfolgend alle übrigen Continue to tension the tent by pegging out the Befestigungs-Schlaufen. Spannen Sie Ihr Zelt anschlie- remaining anchor points. Peg out the remaining guy ßend mit Hilfe der dafür vorgesehenen Abspannlei- lines to make the tent stable in case of a storm (1).
- Page 11 ÉTAPE 4 Fixez et tendez ensuite toutes les autres boucles de fixation. Puis tendez votre tente à l’aide des sardines restantes et des haubans prévus à cet effet de manière à ce qu’elle résiste au vent fort (1). En cas d’humidité...
- Page 12 FALTANLEITUNG FOLDING INSTRUCTIONS Legen Sie das Zelt auf die Seite (1) und dritteln Sie es Place the tent on its side (1) and fold it into thirds in der Höhe (2). vertically (2). Anschließend werden die Apsiden nach innen geschla- Then bring the vestibules in towards the centre and gen und das Zelt in Längsrichtung gefaltet (3).
-
Page 13: Instructions De Pliage
INSTRUCTIONS DE PLIAGE Tendez la tente sur le côté (1) et pliez-la en trois dans le sens de la hauteur (2). Rabattez les apsides vers l’intérieur puis pliez la tente dans la longueur (3). Enfin, enroulez la tente autour du sac d’arceaux (4). N60695_NorthBay_134099_Instruction_Sheets_130812_rz.indd 13 13.08.13 11:55... - Page 14 JACK WOLFSKIN übernimmt keine Garantie für Schä- the tent to intensive sunlight for extended periods of den durch UV-Strahlung. time. JACK WOLFSKIN will not assume any liability for damage caused by ultraviolet light. RÉPARATIONS Un kit de réparation pour les petites répara tions en voyage est fourni.
- Page 15 NOTES wEITERE TIPPS FURTHER TIPS Correct initial tensioning of the poles, the flysheet Die stramme Grundspannung der Stangen, des Über- zeltes und der Abspannleinen ist die Voraussetzung and the guy lines are the prerequisites for a secure pitch and optimum wind stability. Check that the für besten Stand und Sturmstabilität Ihres Zeltes.
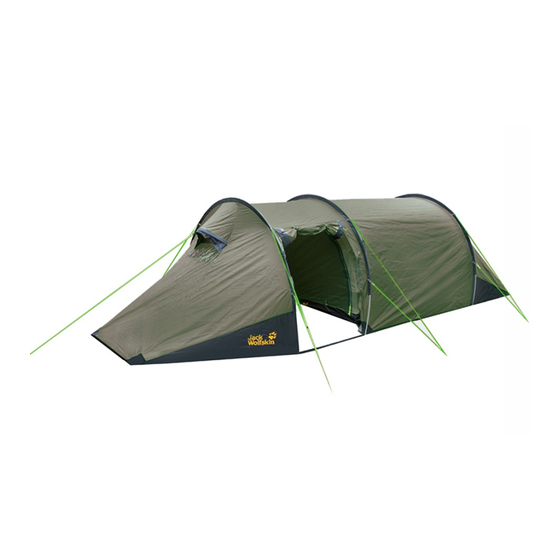
- Page 16 NORTH BAY II NORTH BAY II ist ein sturmstabiles Allroundtunnelzelt NORTH BAY II is a windstable all-round tent designed mit viel Komfort für den anspruchsvollen Einsatz. for excellent comfort in demanding conditions. Durch die außenliegenden Gestängekanäle ist das External pole sleeves make the tent fast and easy to komplette Zelt in einem Vorgang leicht und schnell assemble in one simple procedure.