EUFAB 16616 Manuel De L'opérateur
Appareil de recharge intelligent 6/12v 4a avec enrouleur de câbles
Les langues disponibles
Les langues disponibles
Liens rapides
Art.-Nr.: 16616
Intelligentes Batterieladegerät 6/12V 4A
mit Kabelaufroller
Bedienungsanleitung . . . . . . . . . . . . . . . . . . . . . . . . . . 2
Article number 16616
Intelligent battery charger 6/12V 4 A
with cable roller
Operating instructions . . . . . . . . . . . . . . . . . . . . . . . . . 5
Réf. 16616
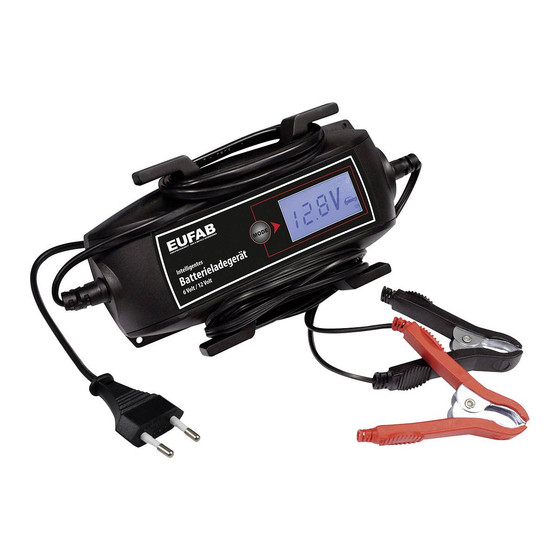
Appareil de recharge intelligent 6/12V 4A
avec enrouleur de câbles
Manuel de l'opérateur . . . . . . . . . . . . . . . . . . . . . . . . . . . 9
Art.nr. 16616
Intelligent batterijlaadtoestel 6/12V
4A met kabeloproller
Gebruiksaanwijzing
Cod. art. 16616
Caricabatteria intelligente 6/12V 4A
con avvolgicavo
Istruzioni per l'uso . . . . . . . . . . . . . . . . . . . . . . . . 16
Cod. art. 16616
SLO
Inteligenten polnilnik za akumulator-
je 6/12 V 4 A z navijalnikom kabla
Istruzioni per l'uso . . . . . . . . . . . . . . . . . . . . . . . . 20
. . . . . . . . . . . . . . . . . . . . . . 12
1
Chapitres

Manuels Connexes pour EUFAB 16616


Sommaire des Matières pour EUFAB 16616
- Page 1 Bedienungsanleitung ......2 ..... . 12 Cod. art. 16616 Article number 16616...
-
Page 9: Utilisation Conforme
Appareil de recharge intelligent 6/12V 4A avec enrouleur de câbles SOMMAIRE 1. UTILISATION CONFORME 2. CONTENU DE LA LIVRAISON 3. SPÉCIFICATIONS 4. SIGNIFICATION DES SYMBOLES 5. CONSIGNES DE SÉCURITÉ 6. MODE D‘EMPLOI 6.1 PRÉPARATION 6.2 RACCORDEMENT DU CHARGEUR DE BATTERIE 6.3 RETIRER L‘APPAREIL DE RECHARGE 7. -
Page 10: Préparation
5. CONSIGNES DE SÉCURITÉ • Le triangle de signalisation signale toutes les instructions relatives à la sécurité. Respectez-les à tout moment, sans quoi vous pourriez vous blesser ou l‘appareil pourrait être endommagé. • Ne connectez l‘appareil qu‘à une prise proprement installée. La tension doit correspondre à l‘indication sur la plaque synoptique de l‘appareil. -
Page 11: Mode Moto
Branchez alors le câble électrique du chargeur dans la prise de courant. L‘éclairage du fond de l‘écran est allumé. Si la batterie n‘est pas correctement raccordée (permutation des pôles) ou si le chargeur n‘a pas de contact, le message d‘erreur ˝ ˝... -
Page 12: Retirer L'appareil De Recharge
6.3 RETIRER L‘APPAREIL DE RECHARGE Attention : Retirez d‘abord la fiche de contact de la prise et observez la procédure de branchement. Vous évitez ainsi la formation d‘étincelles. Ceci est particulièrement important pour votre sécurité car un mélange d‘hydrogène et d‘oxy- gène très explosif peut se former lors du chargement.