VEVOR CY-SF18 Mode D'emploi
Les langues disponibles
Les langues disponibles
Technical Support and E-Warranty Certificate www.vevor.com/support
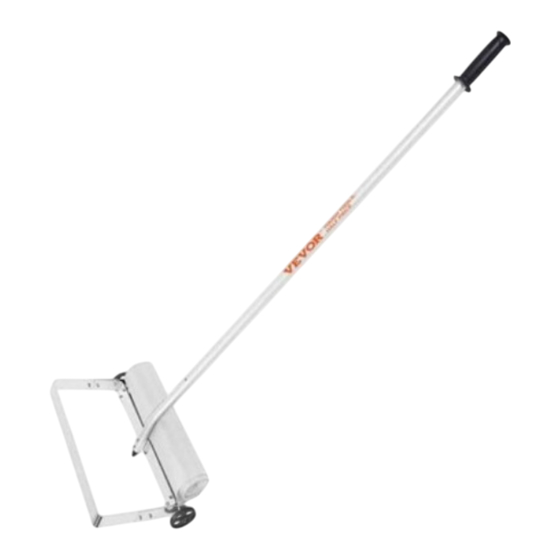
ROOF RAKE
USER MANUAL
We continue to be committed to provide you tools with competitive price.
"Save Half", "Half Price" or any other similar expressions used by us only represents an
estimate of savings you might benefit from buying certain tools with us compared to the major
top brands and does not necessarily mean to cover all categories of tools offered by us. You
are kindly reminded to verify carefully when you are placing an order with us if you are
actually saving half in comparison with the top major brands.
Table des Matières

Manuels Connexes pour VEVOR CY-SF18


Sommaire des Matières pour VEVOR CY-SF18
- Page 73 Machine Translated by Google Assistance t echnique e t c ertificat d e g arantie é lectronique w ww.vevor.com/support RÂTEAU D E T OIT MANUEL D 'UTILISATION Nous c ontinuons à n ous e ngager à v ous f ournir d es o utils à d es p rix c ompétitifs.
- Page 74 Machine Translated by Google...
- Page 75 Assistance t echnique e t c ertificat d e g arantie é lectronique w ww.vevor.com/support Il s 'agit d e l a n otice d 'utilisation d 'origine. V euillez l ire a ttentivement t outes l es i nstructions d u ...
- Page 76 Machine Translated by Google CONSIGNES D E S ÉCURITÉ AVERTISSEMENT: Lisez c e d ocument a vant d 'utiliser c e p roduit. L e n onrespect d e c ette c onsigne p eut e ntraîner entraîner d es b lessures g raves. Précautions ...
- Page 77 Machine Translated by Google LISTE D ES P IÈCES...
- Page 78 Machine Translated by Google ÉTAPE D 'ASSEMBLAGE ÉTAPE 1 Placez l a p artie A d ans l a p artie C c omme i ndiqué s ur l 'image. I nsérez l e b oulon 1 ( 2 p ièces) e t l 'écrou 2 ...
- Page 79 Machine Translated by Google ÉTAPE 2 Connectez l a p artie B , l a p artie A e t l a p artie C . L es d étails d e l a m anière d ont l a p artie B e t l a p artie A ...
- Page 80 Machine Translated by Google ÉTAPE 3 Fixez l a p artie F à l a p artie A e n u tilisant l a c lé 3 e t l a c lé A llen 4 p our s errer. S elon l a l ongueur nécessaire ...
- Page 81 Machine Translated by Google ÉTAPE 5 Accrochez u ne e xtrémité d u c rochet ( partie G ) à l 'anneau d e l a p artie A e t l 'autre e xtrémité a u t rou d e la ...
- Page 82 Machine Translated by Google PARAMÈTRE D U P RODUIT MODÈLE CYSF18 Couleur Blanc Taper Grattoir e n a lliage d 'aluminium d e 1 9 p ouces Matériau d u g rattoir alliage d 'aluminium Largeur d u g rattoir 19 ...
- Page 83 Machine Translated by Google Fabricant:Shanghaimuxinmuyeyouxiangongsi Adresse : Shuangchenglu 8 03nong11hao1602A1609shi, b aoshanqu, s hanghai 200000 C N. Importé e n A ustralie : S IHAO P TY L TD. 1 R OKEVA S TREETEASTWOOD NSW 2 122 A ustralie Importé a ux É tatsUnis : S anven T echnology L td. S uite 2 50, 9 166 A naheim Lieu, ...
- Page 84 Machine Translated by Google Assistance t echnique e t c ertificat d e g arantie électronique w ww.vevor.com/support...