Audiovox Rampage ACD-24 Manuel De L'utilisateur
Table des Matières
Les langues disponibles
Les langues disponibles
Liens rapides
VOL
TUNE/
SKIP/
TRACK
VOL
BAND
SEL
LOUD
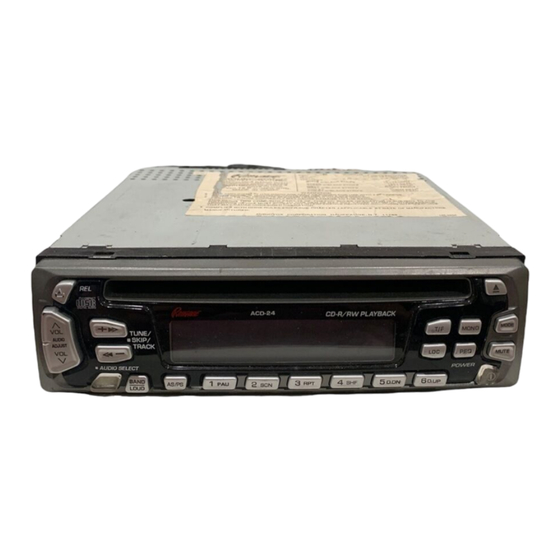
DETACHABLE FRONT PANEL AM/FM/MPX RADIO WITH
COMPACT DISC PLAYER, CD CHANGER CONTROLS AND
Released 4-24-00.
Revision A: Corrected pages 8,9,10,12,13. 6-13-00.
Revision B: Changed clock description and setting procedure 11-3-00.
Revision C: Translated to Spanish 12-5-00.
Revision D: Added CD-R and CD-RW specification notice 5-9-02.
Revision E: Incorporated new front panel layout and text changes.
O O O O O WNER'S MANU
WNER'S MANU AL
WNER'S MANU
WNER'S MANU
WNER'S MANU
MP3
ST
PTY
ME/CR
EON
LOC
TAPE IN
SW LOUD
AF
TA
TP
MONO
REC
CDP
1
2
AS/PS
PAU
SCN
ACD-24
ACD-24
ACD-24
ACD-24
ACD-24
QUARTZ CLOCK
AL
AL
AL
AL
T/F
CLAS
POP
ROCK
LOC
3
4
5
6
RPT
SHF
D.DN
D.UP
MODE
MONO
P.EQ
MUTE
128-5780E
1 of 48
Table des Matières

Manuels Connexes pour Audiovox Rampage ACD-24


Sommaire des Matières pour Audiovox Rampage ACD-24
- Page 17 MANUEL D'INSTALLATION Cet appareil a éte élaboré pour être installé dans les voiture, camions et camionettes disposant d’une ouverture radio. La plupart du temps, une trousse de montage comprenant des consignes d’installations particulières sera nécessaire pour installer la radio sur le tableau de bord. Ces trousses sont disponibles dans les magasins de matériel électronique et les magasins spécialisés en stéréo-automobile.
-
Page 18: Pacifique
NUME E E E E RO VERT POUR TOUT AIDE LORS DE L’INSTALLATION RO VERT POUR TOUT AIDE LORS DE L’INSTALLATION RO VERT POUR TOUT AIDE LORS DE L’INSTALLATION RO VERT POUR TOUT AIDE LORS DE L’INSTALLATION RO VERT POUR TOUT AIDE LORS DE L’INSTALLATION L’installation et le cablage de cet appareil sont si simples que vous n’aurez certainement pas besoin d’aide, cependant en cas de probleme vous pouvez nous contacter. - Page 19 CABL CABL CABLA A A A A GE DE L GE DE L GE DE L A RA A A A A DIO CABL CABL GE DE L GE DE LA R CONSULTER LA PAGE 19 POUR LE CABLAGE DES HAUT-PARLEURS ANTENNE ANTENNE AUTOMATIQUE...
- Page 20 EXACTEMENT COMME DANS LES EXPLICATIONS CI-DESSOUS THE RADIO. REMARQUE: CONSULTER VOTRE DETAILLANT EN ESTEREO SORTIE DE LIGNE DE PRISE AUTOMOBILE RAMPAGE/AUDIOVOX OU APPELER À UTILISER AVEC DES LE 1-800-645-4994 POUR OBTENIR LA LISTE DES MODELES QUI FONCTIONNERONT AVEC VOTRE AMPLIFICATEURS RADIO.
-
Page 21: Touche De Mise En Marche Et D'arret
MODE D’EMPLOI MODE D’EMPLOI MODE D’EMPLOI MODE D’EMPLOI MODE D’EMPLOI 26, 32 MODE MONO TUNE/ CLAS SKIP/ ROCK TRACK ME/CR TAPE IN P.EQ MUTE SW LOUD MONO BAND AS/PS D.DN D.UP LOUD 3, 4, 5, 6, 7 21,37 19,38 20,39 28,34 27,33 31,30... - Page 22 désiré. La position d’équilibrage sera indiquée sur l’écran IN reste alors affichée pour signaler qu’un disque est de “BAL.L16” (tout àgauche) à “BAL.R 16” (tout à droite). toujours chargé dans l’appareil. Pressez la touche Lorsque l’intensité du volume du haut-parleur de gauche “...
- Page 23 Si vos stations préférées sont déja préprogrammées, ATTENTION:Cet appareil est prévu pour une lecture de l’allumage de la mise en memoire automatique effacera disque compact de modèle standard 5” (12 ces stations et fera entrer les nouvelles stations cm) uniquement. Ne pas essayer d’utiliser fortes.
- Page 24 cm cm cm cm cm cr cr cr cr cr SELECTION DE PLAGES (SCN) SELECTION DE FONCTIONS ( FONCTIONS) Pendant la lecture du disque, presser cette touche pour Cette touche permet de choisir la radio ou la fonction de écouter les 10 premières secondes de chaque plage sur transmission en différé...
-
Page 25: Pour Enlever Le Panneau Frontal
REMARQUES AU SUJET DE L'UTILISATION POUR ENLEVER LE PANNEAU FRONTAL DU PANNEAU FRONTAL 1. Assurez-vous que le panneau frontal est placé sur le bon côté lorsque vous l’attachez sur le châssis car il est impossible de l’attacher du mauvais côté. 2. -
Page 26: Caracteristiques
CARACTERISTIQUES CARACTERISTIQUES CARACTERISTIQUES CARACTERISTIQUES CARACTERISTIQUES Taille: 7" W x 2" H x 6-5/16" D 178 mm x 50 mm x 163 mm Tension d’alimentation: 12 volts DC, masse négative Puissance utile: 140 watts au maximum ( 35 watts x 4 channels) Câblage de sortie: Masse flottante élaborée pour être utilisée avec 4 haut- parleurs. -
Page 27: Commande D'inverseur De Cd
à chaque fois que vous appuyez cette radio. Consultez votre spécialiste en sur la touche de Sélection vers l’Arrière ( stéréo automobile Rampage/Audiovox ou ) située sur le côté de la touche, le numéro appelez le 1-800-645-4994 pour obtenir des précédent de plage sera sélectionné... -
Page 28: Lecture De Disque Ou De Plage Aleatoire (Shf)
de chaque disque se trouvant dans le chargeur. LECTURE DE DISQUE OU DE PLAGE Lorsque vous accédez à un disque désiré ALEATOIRE (SHF) rappuyer sur la touche de balayage (SCAN) et Lorsque vous appuyez sur la touche de lecture la lecture du disque choisi continuera (les aléatoire, les lettres RND apparaîtront sur lettres DISC et SCAN disparaîtront de l’écran). -
Page 29: Nt Des Erreurs Da
CODE SIGNAL CODE SIGNAL CODE SIGNALA A A A A NT DES ERREURS DA CODE SIGNAL CODE SIGNAL NT DES ERREURS DA NT DES ERREURS DA NT DES ERREURS DA NT DES ERREURS DANS LE LEC NS LE LEC NS LE LEC NS LE LECTEUR DE DISQUE NS LE LEC TEUR DE DISQUE... -
Page 30: Maniement Des Cd
SOINS ET ENTRETIEN SOINS ET ENTRETIEN SOINS ET ENTRETIEN SOINS ET ENTRETIEN SOINS ET ENTRETIEN Il n’est pas utile d’effectuer l’entretien de la section radio de votre nouveau système sonore. Veuillez conserver ce manuel en guise de référence, vous y trouverez les nombreuses caractéristiques de cet appareil et aussi comment régler l’horloge. - Page 31 Cette garantie vous donne des droits qui peuvent varier d’un Etat à l’autre. U.S.A.: Audiovox Corporation, 150 Marcus Blv., HAUPPAUGE, NEW YORK 11788 . 1-800-645-4994 CANADA: Appeler 1-800-645-4994 pour localiser les marchants-vendeurs certifiés de votre région.
- Page 32 ESTA PAGINA INTENSIONALMENTE BLANK 31 31 128-5780E 32 of 48...
- Page 48 128-5780E 48 of 48...