Publicité
Liens rapides
2) SECOND, INSTALL YOUR SHOWER WALL PANELS (USING THIS MANUAL).
2) DEUXIÈMEMENT, INSTALLEZ VOS PANNEAUX MURAUX (EN VOUS SERVANT DE CE MANUEL).
2) SEGUNDO, INSTALE SU PANELES DE PARED (USANDO ESTE MANUAL).
OVE 2019-02-20
BREEZE & PARIS WP 31/34/36/38
SHOWER WALL INSTALLATION MANUAL - FOR CORNER SHOWER
MANUEL D'INSTALLATION DES PANNEAUX MURAUX - POUR DOUCHE EN COIN
MANUAL DE INSTALACIÓN DEL PANEL DE PARED - PARA LA DUCHA EN MONEDA
DO NOT START WITH THIS INSTALLATION MANUAL
1) FIRST, INSTALL YOUR SHOWER BASE.
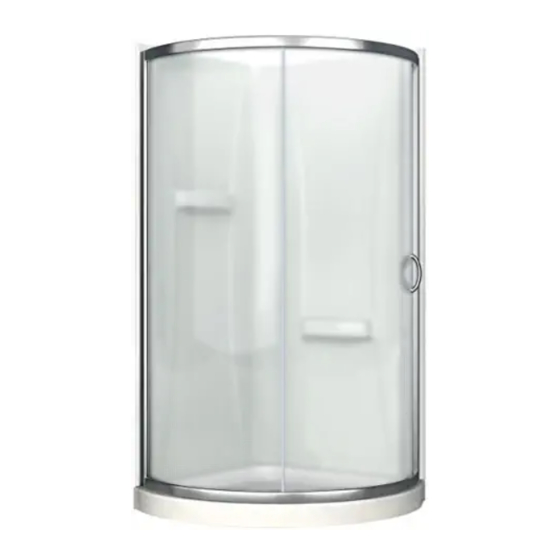
3) THIRD, INSTALL YOUR SHOWER ENCLOSURE.
NE PAS COMMENCER PAR CE MANUEL D'INSTALLATION
1) PREMIÈREMENT, INSTALLEZ VOTRE BASE DE DOUCHE.
3) TROISIÈMEMENT, INSTALLEZ VOTRE CABINE DE DOUCHE.
NO COMIENZAN CON ESTE MANUAL DE INSTALACIÓN
1) PRIMERO, INSTALE SU PLATO DE DUCHA.
3) TERCERO, INSTALE SU PUERTA DE DUCHA.
R
N
Questions, problems, need help?
Call our customer service department at
1-866-839-2888, 9 a.m. - 5 p.m., EST, Monday - Friday
Questions, problèmes ou besoin d'aide?
Contactez notre service à la clientèle au
1-866-839-2888, du lundi au vendredi de 9h00 à 17h00 HNE.
Preguntas, problemas o necesita ayuda?
Llame a nuestro departamento de servicio al cliente al
1-866-839-2888, 9 am. – 5 pm., HDE, Lunes a Viernes.
N
S
Q
N
R
S
31"
34"
36"
73"
73"
73"
1857mm
1857mm
1857mm
31"
33"
35"
787mm
838mm
889mm
2 13/16"
2 13/16"
2 13/16"
71mm
71mm
71mm
11/16"
11/16"
11/16"
17mm
17mm
17mm
38"
73"
1857mm
36 15/16"
938mm
2 13/16"
71mm
11/16"
17mm
PAGE 1
Publicité

Manuels Connexes pour OVE WP 31


Sommaire des Matières pour OVE WP 31
- Page 1 BREEZE & PARIS WP 31/34/36/38 SHOWER WALL INSTALLATION MANUAL - FOR CORNER SHOWER MANUEL D’INSTALLATION DES PANNEAUX MURAUX - POUR DOUCHE EN COIN MANUAL DE INSTALACIÓN DEL PANEL DE PARED - PARA LA DUCHA EN MONEDA DO NOT START WITH THIS INSTALLATION MANUAL 1) FIRST, INSTALL YOUR SHOWER BASE.
- Page 2 SAFETY INFORMATION INFORMATION SUR LA SÉCURITÉ INFORMACIÓN DE SEGURIDAD CAUTION Please carefully read the following important safety information before handling or installing this shower. There is a risk of serious injury while handling this product. To minimize these risks, please note: • Always wear safety glasses and gloves while handling.
- Page 3 SAFETY NOTICE AVIS DE SÉCURITÉ AVISOS DE SEGURIDAD NOTICE • Any modification or alteration from what is specified in this instruction manual will void any and all warranty on this product. • The distributor is not responsible for any damage to the unit or personal property caused by improper installation. If you disregard instructional warnings, you will void your warranty and possibly deal with water damage. •...
- Page 4 PART LIST LISTE DES PIÈCES LISTA DE PIEZAS PART # DESCRIPTION QUANTITY CODE # DE PIÈCE DESCRIPTION QUANTITÉ CODE PARTE # DESCRIPCIÓN CANTIDAD CÓDIO 31" : 99SAP0044-AC Wall panel (left) 34" : 99SAP0046-AC Panneau mural (gauche) 36" : 99SAP0048-AC Panel de pared (izquierda) 38"...
- Page 5 WALL PANELS INSTALLATION: OVERVIEW INSTALLATION DES PANNEAUX MURAUX: VUE D’ENSEMBLE INSTALACIÓN DE LOS PANELES DE PARED: VISIÓN GENERAL A. Before you start the installation of your product consult the illustration A below showing a side-view of the completed installation. B. Illustration B shows the recommended wall structure and measurements for the product installation. NOTE: Customer must follow and comply with the local and national building and plumbing codes.
- Page 6 WALL PANELS INSTALLATION INSTALLATION DE PANNEAUX MURAUX INSTALACION DE PANELES MURALES A-B-C. Install the recommended wood furring strip boards following the below illustrations precisely. Cut the height of the wood furrings as indicated. Wood furrings and screws are not supplied. The recommended wood furrings can be cut out from a standard 48x96x1/2” plywood board, which can be found in most home renovation centers.
- Page 7 WALL PANELS INSTALLATION INSTALLATION DE PANNEAUX MURAUX INSTALACION DE PANELES MURALES A. Apply a silicone bead along the groove of the left wall panel. B. Leaving a 1” (25mm) clearance from the top and the bottom of the wall panels, drill 9 equidistant holes using a 3/16” (5mm) drill bit. A.
- Page 8 WALL PANELS INSTALLATION INSTALLATION DE PANNEAUX MURAUX INSTALACION DE PANELES MURALES A. Tightly screw the wall panels together with the bolts, washers, and nuts (GG). A. Visser fermement les panneaux muraux avec les boulons, rondelles et écrous (GG). A. Atornille firmemente los paneles de la pared junto con los pernos, arandelas y tuercas (GG). Top view Vue de haut Vista de arriba SILICONE...
- Page 9 WALL PANELS INSTALLATION INSTALLATION DE PANNEAUX MURAUX INSTALACION DE PANELES MURALES A. Apply silicone on the furring strips. B. Firmly push the wall panels (E & F) onto the drywalls. Ensure that the wall panels are flush with the shower base edge. A. Appliquer du silicone sur les bandes de fourrure. B. Pousser fermement les panneaux muraux (E et F) sur les cloisons sèches. Assurez-vous que les panneaux muraux sont au ras du bord de la base de la douche.