Atlantic 2012 Notice D'utilisation Et D'installation
Radiateur sèche-serviettes électronique
Masquer les pouces
Voir aussi pour 2012:
- Notice d'utilisation et d'installation (38 pages) ,
- Notice d'utilisation simplifiée (3 pages) ,
- Notice d'utilisation et d'installation (15 pages)
Table des Matières
Les langues disponibles
Les langues disponibles
Liens rapides
2012
2012 galbé
F
GB
D
NL
SP
P
PL
N
otice d'utilisation et d'installation
User and installation manual / Gebrauchs- und Installations-anweisung / Gebruiks- en instal-
latiehandleiding / Manual de utilización e instalación / Manual do Utilizador e de Instalação /
.
Instrukcja obslugi i montazu
Guide à conserver par l'utilisateur
Guide to be kept by the user / Vom Benutzer aufzubewahrendes Hanbuch / Door de gebruiker te bewaren gids /
Guía que deberá conservar el usuario / Guia a conservar pelo utilizador / Instrukcja, ktora uzytkownik powinien
zachowac
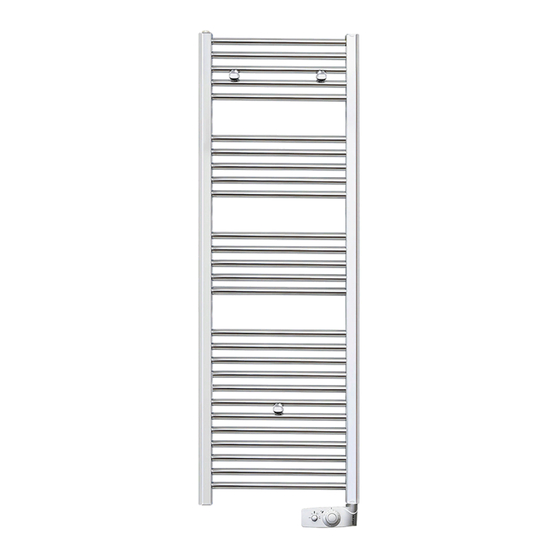
Radiateur sèche-serviettes électronique
Electronic towel-drying heater / Elektronischer Handtuchtrockner / Elektronische droogradiator /
Radiador secatoallas electrónico / Toalheiro electrónico / Grzejnik lazienkowy elektroniczny
.
Table des Matières

Manuels Connexes pour Atlantic 2012


Sommaire des Matières pour Atlantic 2012
-
Page 2: Table Des Matières
Installer l’appareil Utiliser l’appareil Conseils d’utilisation / Entretien / Mise en garde En cas de problème Installing the device Using the device Recommendations on use / Maintenance / Warning In case of problem Installatie van het apparaat Gebruik van het apparaat Tips voor gebruik / Onderhoud / Waarschuwing Problemen oplossen Instalación del aparato... -
Page 3: Quelques Conseils
L’appareil que vous venez d’acquérir a été soumis à de nombreux tests et contrôles afin d’en assurer la qualité. Nous vous remercions de ce choix et de votre confiance. Nous espérons qu’il vous apportera une entière satisfaction. Quelques conseils: Lisez la notice avant de commencer l’installation de l’appareil. Coupez le courant avant toute intervention sur l’appareil et vérifiez la tension d’alimentation. -
Page 4: Comment Raccorder L'appareil
361 mm mini Puissance Cote (A) Cote (B) Nota: Les chevilles livrées avec l’appareil sont de type standard. En cas de support 500W particulier, utilisez des chevilles adaptées. 750W 1230 3) Comment enlever le piètement sous le boitier de commande ? Le piètement, utilisé... -
Page 5: Utiliser L'appareil
5) Programmation L’appareil peut être commandé à distance si son fil pilote est raccordé à un appareil équipé d’un pro- grammateur, à une centrale de programmation ou à un gestionnaire d’énergie. Tableau des ordres que l’appareil peut recevoir sur son fil pilote (à... -
Page 6: Mode Turbo
4) Mode Turbo C’est le mode qui permet de mettre l’appareil en Marche Forcée (sans régulation) temporisée pendant 2 heures pour augmenter rapidement la température de la pièce. a) Laissez l’interrupteur sur la position Marche. b) Appuyez sur la commande , les témoins s’allument. -
Page 7: Utilisation
’ ONSEILS D UTILISATION - Lorsque vous aérez la pièce, coupez l’appareil en mettant l’interrupteur sur la position Arrêt. - Si vous vous absentez pendant plusieurs heures, pensez à baisser la température. Moins de 24 heures Absence de: : ne pas toucher aux commandes. Plus de 24 heures ou l’été... -
Page 28: Garantie
La durée de garantie est de 2 ans à compter de la date d’installation ou d’achat et ne saurait ● excéder 30 mois à partir de la date de fabrication en l’absence de justificatif. Atlantic assure l’échange ou la fourniture des pièces reconnues défectueuses à l’exclusion de tous ● dommages et intérêts.