V2 STARK3 Mode D'emploi
Table des Matières
Les langues disponibles
Les langues disponibles
Liens rapides
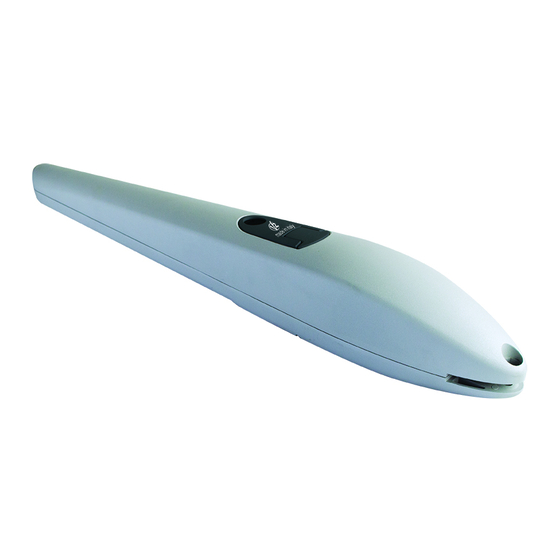
STARK3
I
ATTUATORE
ELETTROMECCANICO
IRREVERSIBILE PER CANCELLI
A BATTENTE
GB
IRREVERSIBLE
ELECTROMECHANICAL
ACTUATOR FOR SWING GATES
F
OPERATEUR
ELECTROMECANIQUE
IRREVERSIBLE POUR PORTAILS
BATTANTS
E
OPERADOR
ELECTROMECÁNICO
IRREVERSIBLE PARA CANCELAS
BATIENTES
D
NICHT UMKEHRBARER
ELEKTROMECHANISCHER
ANTRIEB FÜR FLÜGELTORE
IL 493
EDIZ. 14/01/2019
Table des Matières

Manuels Connexes pour V2 STARK3


Sommaire des Matières pour V2 STARK3
- Page 1 IL 493 EDIZ. 14/01/2019 STARK3 ATTUATORE OPERADOR ELETTROMECCANICO ELECTROMECÁNICO IRREVERSIBILE PER CANCELLI IRREVERSIBLE PARA CANCELAS A BATTENTE BATIENTES IRREVERSIBLE NICHT UMKEHRBARER ELECTROMECHANICAL ELEKTROMECHANISCHER ACTUATOR FOR SWING GATES ANTRIEB FÜR FLÜGELTORE OPERATEUR ELECTROMECANIQUE IRREVERSIBLE POUR PORTAILS BATTANTS...
-
Page 19: Conseils Importants
CONSEILS IMPORTANTS • V2 décline toute responsabilité concernant le non respect des normes constructives de bonne technique ainsi que des déformations structurelles du portail qui pourrait se vérifier V2 se réserve le droit d’apporter d’éventuelles durant l’usage. modifications au produit sans préavis; elle décline en outre •... -
Page 20: Vérifications Préliminaires Et Identification De La Typologie D'utilisation
VÉRIFICATIONS PRÉLIMINAIRES ET IDENTIFICATION DE LA TYPOLOGIE D’UTILISATION Nous rappelons que l’automatisme ne pallie pas les défauts causés par une installation erronée, ou relatifs à un mauvais entretien, par conséquent, avant de procéder à l’installation, vérifier que la structure soit adaptée et conforme aux normes en vigueur et, le cas échéant, procéder aux modifications structurelles destinées à... -
Page 21: Description Du Produit
2014/30/UE (EMC); 2006/42/CE (MD) ANNEXE II, PARTIE B ATTENTION! Toute autre utilisation que celle indiquée ou dans des conditions The manufacturer (*) V2 S.p.A., headquarters in Corso Principi di ambiantes différentes de celles signalées dans cette notice sera Piemonte 65, 12035, Racconigi (CN), Italy considérée comme inadéquate et de ce fait interdite! -
Page 22: Schéma D'installation
Potelets avec photocellules Émetteur Sélecteur digitale par radio à colonne Module récepteur Barres palpeuses de sécurité Photocellules Système ECO-LOGIC (seul avec STARK3-24V et CITY2+) LONGUEUR DU CÂBLE < 10 metri da 10 a 20 metri da 20 a 30 metri Alimentation 230V... -
Page 23: Schéma Pour L'installation D'etriers
SCHÉMA POUR L’INSTALLATION D’ETRIERS PROCÉDURE POUR UTILISER LE SCHÉMA ATTENTION: Dans le cas les quotas d’installation des pattes de fixation ne soient pas respectées, l’automation pourrait 1. Mesurer la valeur E, donc tracer une ligne horizontale dans le présenter mal fonctionnements comme: graphique en correspondance de la valeur relevée. -
Page 24: Schémas D'installation
SCHÉMAS D’INSTALLATION FIN DE COURSE MÉCANIQUE EN OUVERTURE DEUX FIND DE COURSE MÉCANIQUES (EN OUVERTURE ET EN FERMETURE) HAUTEUR DES PATTES DE FIXATION Fixer les pataes des fixation avec 54mm de distance entre les plans d’appui de façon à ancrer le motoréducteur en position parfaitement horizontale. -
Page 25: Fixation Au Motoreducteur Des Pattes De Fixation
FIXATION AU MOTOREDUCTEUR DES PATTES DE FIXATION Fixer le motoréducteur à la pattes de fixation postérieure (FIG. 4). Fixer le motoréducteur à la pattes de fixation antérieure (FIG. 5). FIG.4 FIG.5 MANOEUVRE MANUELLE FIG.6 Avant d’effectuer la manoeuvre manuelle du motoréducteur éteindre l’alimentation éventuelle. -
Page 26: Connexions Electriques
CONNEXIONS ELECTRIQUES STARK3-24V 1 - MOTEUR (+) ATTENTION! • Une erreur de branchement peut provoquer des pannes 2 - MOTEUR (-) et des situations dangereuses: veillez donc à respecter scrupuleusement les branchements indiqués. • Effectuez les opérations de branchement avec l’alimentation 3 - NON UTILISÉ... - Page 43 - 41 -...