Regin OPTIGO OP10 Manuel
Masquer les pouces
Voir aussi pour OPTIGO OP10:
- Manuel (44 pages) ,
- Mode d'emploi (21 pages) ,
- Manuel (22 pages)
Table des Matières
Publicité
Les langues disponibles
Les langues disponibles
Liens rapides
INSTRUCTION
EN
OPTIGO OP10, OP10-230
i
Read this instruction before installation
and wiring of the product
Consult documentation in all cases where this symbol
is used, in order to find out the nature of the potential
hazards and any actions to be taken
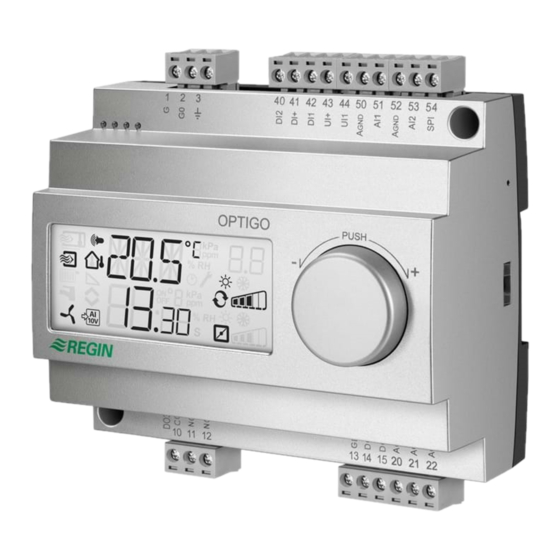
Controller with display
Optigo OP10 is a pre-programmed, configurable controller. It has
10 inputs/outputs and can be configured to control temperature
(ventilation control with heating and cooling), water-heated radiator
heating with outdoor temperature dependent control-curve or
domestic hot water control.
From revision R20, it is possible to connect an external setpoint
device. The device can be used for control modes 1-4.
OP10 is available in two versions, OP10 with 24 V AC supply voltage
and OP10-230 with 230 V AC supply voltage.
All configuration and normal handling is done using the display and
the knob on the front.
Technical data
Supply voltage
OP10-230
230 V AC +10/-15%, 50/60 Hz
OP10
24 V AC ±15%, 50/60 Hz
Power consumption
4 VA
Ambient temperature
0...50°C
Ambient humidity
Max. 95% RH
Storage temperature
-20...70°C
Display
Numeric / graphic. Background
illumination.
Inputs
Refer to connection illustrations and table
below
Terminal blocks
Disconnectable, so-called lift type for cable
cross-section 2.5 mm
Protection class
IP20
Material, casing
Polycarbonate, PC
Weight
OP10-230
370 g incl. terminals
OP10
215 g incl. terminals
Dimensions
122 x 120 x 64 mm (WxHxD incl. terminals)
Overvoltage category
3
Pollution degree
2
Inputs
AI
Resolution: 10 bit A/D
AI1
PT1000-sensor, range 5...80°C
AI2
PT1000-sensor, range -30...+50°C
SPI
PT1000 setpoint device, range 0...40°C
UI
AI
PT1000, range 0...80°C
or DI
Closing potential-free contact
A
Reference for AI
GND
UI+
Reference for UI
DI
Closing potential-free contact
DI+
Reference for DI
Outputs
AO
0...10 V DC; 8 bit D/A short-circuit protected
DO1 and DO2
(OP10)
Triac controlled, 24 V AC, 0.5 A continuous (connected
to G0)
DO1 and DO2
(OP10-230)
Triac controlled, 24 V AC, 0.16 A continuous with
internal trafo (connected to G0)
DO3
Change-over (SPDT) relay 230 V AC, 1000 VA
GDO
Reference for DO1 and DO2. 24 V AC output
OPTIGO OP10, OP10-230
Setpoint values
Supply air
Cascade control, room
Radiator circuit control
(only when using
a room sensor)
External setpoint
Domestic hot water
Neutral zone
P-band
I-time
D-factor
P-band cascade
2
Min. at cascade
Max. at cascade
Damper min. limit
Start of outdoor compens.
Outdoor compensation
at -20°C outdoor temp.
Supply temperature
(water-heated radiator
heating)
at -20°C outdoor temp.
at 20°C outdoor temp.
Frost protection
SP. Shutdown mode
Actuating time,
3-point actuator
Frost protection thermo-
stat heating output
Installation
OP10-230 must be installed in a casing (DIN-casing or similar) where
it can be used without risk of electric shock and where it fulfills the
demands for the LVD-standard. See the section Installation in the
"Optigo OP10 Manual", which can be downloaded from www.regin-
controls.com.
Disconnection
The controller PO10-230 shall be connected to a switch or circuit
breaker in the building installation. This switch shall be in close prox-
imity to the controller and within easy reach of the operator, and shall
be marked as the disconnecting device for the equipment.
Temperature
Factory setting
10...80°C
21°C
10...50°C
21°C
10...40°C
21°C
0...40°C
10...80°C
55°C
0...10°C
1°C
0...99°C
15°C
0...990 s
60 s
0...99
0
0.5...99°C
15°C
0...99°C
15°C
0...99°C
25°C
0...99 %
10 %
-30...50°C
10°C
-10...10°C
5°C
0...99°C
60°C
0...99°C
20°C
7°C (fixed)
25°C (fixed)
10...300 s
120 s
0...100 %
25 %
1
Publicité
Table des Matières

Manuels Connexes pour Regin OPTIGO OP10


Sommaire des Matières pour Regin OPTIGO OP10
-
Page 16: Régulateur Avec Écran
Poids répondre aux exigences de la directive BT. Voir aussi le chapitre Ins- OP10-230 370 g borniers inclus tallation du manuel « Manuel Optigo OP10 », qui peut être téléchargé OP10 215 g borniers inclus sur le site www.regin.fr. Dimensions 122 x 120 x 64 mm (borniers inclus) Catégorie de surtension... -
Page 17: Déconnexion
Raccorder la protection à la terre. Avec ces trois modes de régulation, les sorties analogiques peuvent être configurées comme suit : Optigo OP10-230 doit être raccordé à un disjoncteur, afin de pouvoir Modes de régulation couper l’alimentation si nécessaire. Le disjoncteur doit être placé à... -
Page 18: Les Menus Du Niveau De Configuration (10 Secondes)
Pour OP10-230, DO1 et DO2, les sorties acceptent 3,8 VA moyennant l’utilisa- Augmenta- tion du transformateur interne. Position Position Position tion de la minimum minimum minimum tempéra- du registre du registre du registre ture à 0°C Facteur D OPTIGO OP10, OP10-230... - Page 19 L’icône indiquant que « le menu contient des valeurs paramétrables » arrête de Voir le manuel « Manuel Optigo OP10 »pour en savoir plus sur les clignoter. menus de configuration. Le manuel peut être téléchargé sur le site de Regin : www.regin.fr.
-
Page 20: Compensation Extérieure
ÉCO (21:00). ambiante. La consigne calculée est affichée en tournant le bouton Réglez ensuite la période d’arrêt (0.2) : choisissez à nouveau 8 pour dans le sens des aiguilles d’une montre à partir de l’écran d’accueil. OPTIGO OP10, OP10-230... -
Page 21: Gestion Des Alarmes
3 points. menu de gestion des alarmes s’affiche. Il permet de visualiser et Voir le manuel « Manuel Optigo OP10 » pour en savoir plus sur la gestion d’acquitter les alarmes. Chaque alarme dispose d’un menu. Le type d’alarme est indiqué...