Dandy DPAC7008 Manuel D'utilisation
Les langues disponibles
Les langues disponibles
OWNER'S MANUAL
MANUEL D'UTILISA-
TION
Model • Modèle
Modelo
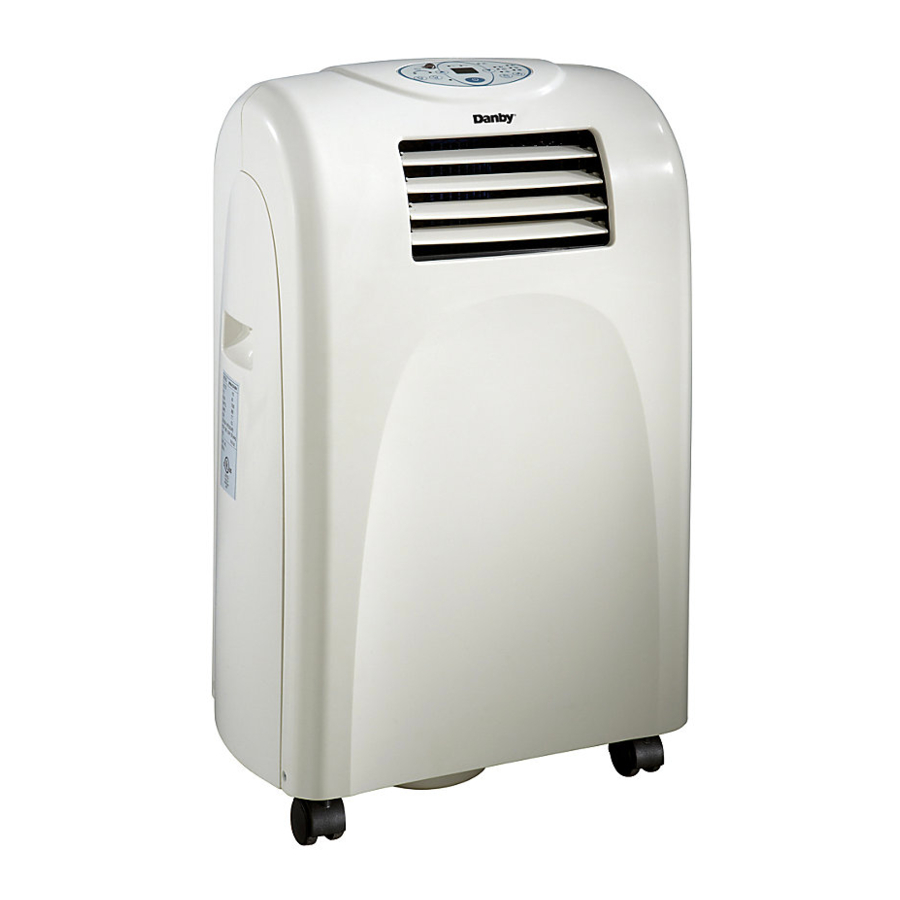
DPAC7008
CAUTION:
Read and follow all safety
rules and operating instruc-
tions before first use of this
product.
MISE EN GARDE :
Veuillez lire attentivement
les consignes de sécurité et
les directives d'utilisation
avant l'utilisation initiale de
ce produit.
ADVERTENCIA:
Es importante que lea y
observe todas las reglas de
seguridad e instrucciones de
operación antes de usar
esteproducto por primera
vez.
Danby Products Ltd, PO Box 1778, Guelph, Ontario Canada N1H 6Z9
Danby Products Inc, PO Box 669, Findlay, Ohio USA 45839-0669
•
PORTABLE AIR CONDITIONER
Table of contents . . . . . . . . . . . . . . . . . . . . . .
CLIMATISEUR PORTATIF
Table des matières . . . . . . . . . . . . . . . . . . . . 15
SAVE THESE INSTRUCTIONS!
SAUVEGARDER CES INSTRUCTIONS!
1
?
R
Version 1.11.07.

Manuels Connexes pour Dandy DPAC7008


Sommaire des Matières pour Dandy DPAC7008
- Page 15 Table des matières Introduction et spécifications de l’unité.............. 15 Spécifications électric puis consignes de sécurité importante......Conseils pour la conservation de l’énergie............17 Instruction pour Drainage Direct ................18 Directives d’installation du kit de la fenêtre ............19 Instructions de Fonctionnement Caractéristiques de panneau de commande .
- Page 16 Caractéristiques de télécommande Deux piles alcalines «AAA» sont requises pour le fonctionnement de la télécommande (incluses). Boutons De Commande: 1) Commutateur de courant Les piles devraient être remplacées quand : 2) Mode a) Aucun signal sonore (bip) n’est entendu durant 3) Vitesse du ventilateur 4) Utilise pour augmenter la température.
- Page 17 Pour la référence aisée, nous vous suggérons de joindre une copie de votre reçu de caisse et/ou facture d’achat à cette page, et d’inscrire les renseignements suivants qui sont trouvés sur la plaque d’identification du fabricant. Celle-ci est située sur le pan- neau arrière de l’appareil. Numéro de modèle : DPAC7008 Numéro de série : ___________________________________________________ Date d’achat : ______________________________________________________ Nom du marchand et adresse : __________________________________________ Ces renseignements seront requis si le service est demandé...
- Page 18 Cordon d'alimentation Spécifications électriques 1. Vérifier l’alimentation de courant disponible et résoudre Le cordon d'alimentation fourni avec ce climatiseur tout problème AVANT l’installation et l’usage de cette est doté d'un système de détection de dommages. unité. Le câblage doit être conforme aux codes local et Afin de vérifier si votre cordon d'alimentation fonc- national de l’électricité...
- Page 19 Suggestions pour l’économie de l’énergie rideaux. 4.Activer votre climatiseur avant que la température de l’air Votre appareil ménager Danby est conçu pour l’efficacité extérieur ne soit très chaude et inconfortable. Ceci préviendra en économie de l’énergie. Pour le rendement maximal, une période initiale d’inconfort avant que l’unité...
- Page 20 Instructions pour Drainage Direct MISE EN GARDE Enlevez le réservoir d'eau interne en soulevant Toujours vider le réservoirs d’eau externe avant de tenter de doucement le réservoir et tirez vers l'extérieur déplacer ou de relocaliser l’unité dans un autre endroit. comme représenté...
- Page 21 Installation du kit de fenêtre Fenêtre horizontale (Mode Climatisation Seulement) Votre kit de fenêtre a été conçu pour l’adaptation à la plupart des fenêtres verticales et/ou horizontales à une hauteur maximale de 48 7/16 po (123 cm). Des positions à verrous sont prévues sur le rebord de chaque section coulissante pour joindre ensem- Kit de coulisse de fenêtre ble chaque section coulissante.
- Page 22 Caractéristiques du panneau de commande MODE FONCTIONS DU BLOC DE TOUCHES AFFICHAGE D'OPÉRATION INTERRUPTEUR: En Marche / Arrêt. Température: Il montre la température ambiante (mode de ventilateur seule- ment) ou la température réglée dans MODE : Vous permet de voir and Celcius ou Fahrenheit.
- Page 23 Directives d’utilisation du climatiseur : REMARQUE : Le tuyau flexible pour l’échappement d’air doivent être installés pour le fonctionnement en mode de climatisation. INTERRUPTEUR Fig A 1. Appuyer sur la touche pour activer l’unité et le réglage précédent du tem- pérature sera montrée dans l’affichage de la tem- pérature sur le panneau de commande.
- Page 24 Directives d’utilisation du ventilateur : REMARQUE : L’installation du tuyau flexible pour l’échappement d’air n’est pas requise pour le fonc- tionnement en mode de ventilation seulement. 1.Appuyer sur la touche INTERRUPTEUR pour 3.Appuyer sur la touche VENTILATEUR Fig J pour activer l’unité...
- Page 25 Réglage de la MINUTERIE EN MARCHE AUTO : Vous devez choisir tous les réglages appropriés qui sont requis de fonctionner sous le programme de MINUTERIE AUTO avant d’activer le programme EN MARCHE AUTO. • Choisir le MODE approprié de fonctionnement désiré de l’u- nité...
- Page 26 Soins et entretien MISE EN GARDE Avant de nettoyer ou de faire le service sur cette unité, il est recommandé de débrancher le cordon d’alimentation de la prise de courant électrique. Retrait et nettoyage du filtre à air 1.Ne pas utiliser d’essence, de benzène, de diluant Si le filtre à...
- Page 27 GARANTIE LIMITÉE DE CLIMATISEUR Cet appareil de qualité est garantie exempt de tout vice de matière première et de fabrication, s’il est utilisé dans les conditions normales recommandées par le fabricant. Cette garantie n’est offerte qu’à l’acheteur initial de l’appareil vendu par Danby ou par l’un des ses distributeurs agréés et elle ne peut être transférée. CONDITIONS Les pièces en plastique sont garanties pour trente (30) jours seulement à...
- Page 28 Model • Modèle• Modelo DPAC7008 Portable Air Conditioner The model number can be found on the serial plate located on the back panel of the unit. All repair parts available for purchase or special order when you visit For service, contact your nearest your nearest service depot.