Beko HBG70X Notice D'utilisation
Table des Matières
Les langues disponibles
Les langues disponibles
Liens rapides
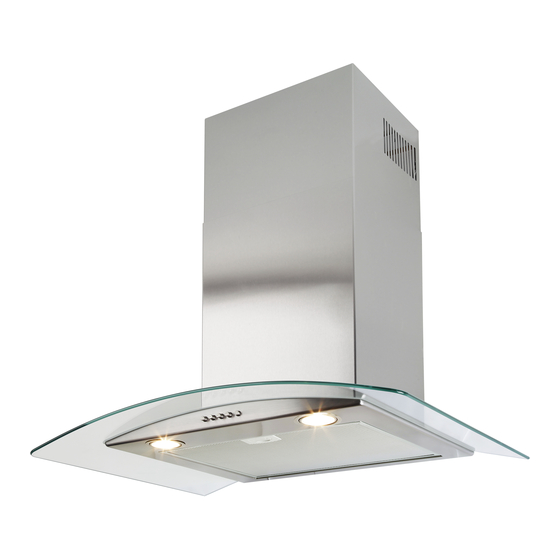
70cm Glass Chimney Hood
CAPPA ASPIRANTE - Istruzioni per l'uso
I
DUNSTABZUGSHAUBE - Gebrauchsanweisung
D
CAMPANA EXTRACTORA - Manual de utilización
E
HOTTE DE CUISINE - Notice d'utilisation
F
COOKER HOOD - User instructions
GB
AFZUIGKAP - Gebruiksaanwijzing
NL
COIFA ASPIRANTE - Manual do usuário
P
Model: HBG70X
Table des Matières

Manuels Connexes pour Beko HBG70X


Sommaire des Matières pour Beko HBG70X
- Page 1 70cm Glass Chimney Hood Model: HBG70X CAPPA ASPIRANTE - Istruzioni per l’uso DUNSTABZUGSHAUBE - Gebrauchsanweisung CAMPANA EXTRACTORA - Manual de utilización HOTTE DE CUISINE - Notice d’utilisation COOKER HOOD - User instructions AFZUIGKAP - Gebruiksaanwijzing COIFA ASPIRANTE - Manual do usuário...
- Page 3 ��������� Fig.1 � � ��� � Fig.2 Fig.3 � � � � � � Fig.4 - 3 -...
- Page 4 � � � � � � � Fig.6 Fig.5 Fig.8 Fig.7 � � � � � � � � � � Fig.9 Fig.11 � � � � � � Fig.10 - 4 -...
-
Page 13: Géneralités
oprima el botón E. l’éclairage. C) Il est absolument interdit de flamber sous la hotte. • Saturación de los filtros antigrasa/carbón activo D) Évitez de laisser des flammes libres, elles sont Cuando el display C centellea alternando la velocidad de dangereuses pour les filtres et pour les risques funcionamiento con la letra F (por ej.: 1 y F), deben lavarse d’incendie. -
Page 14: Emploi Et Entretien
Classe d’isolation I pince comme illustré à la figure 5 phase 1. Cet appareil est fabriqué en classe I, il faut par conséquent le Prévoir l’alimentation électrique à l’intérieur de l’encombrement raccorder à une prise de terre. du raccord de décoration. Si votre appareil doit être installé Procédez au raccordement électrique comme suit: dans le modèle aspirant ou doté... -
Page 15: Safety Precaution
• Remplacement des lampes halogènes (Fig.6) nécessaire de tenir la touche appuyée pour éteintre. Diminue Pour changer les lampes halogènes B retirez le verre C en la vitesse du moteur. faisant levier dans les fentes prévues. Display C = indique la vitesse du moteur sélectionnée et Remplacez-les par des lampes de même type. - Page 28 3LIK0836...