Klarstein Bornholm Smart Mode D'emploi
Radiateur convecteur vitré
Table des Matières
Les langues disponibles
Les langues disponibles
Bornholm Smart
Glaskonvektor
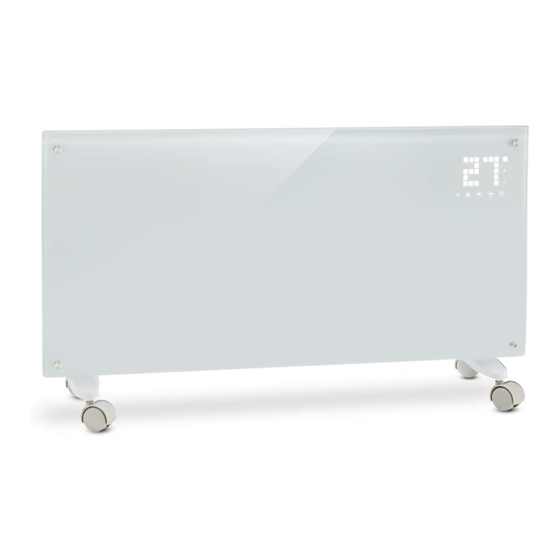
Glass Convector Heater
Radiateur convecteur vitré
Convector de cristal
Convettore in vetro
Glasconvector
10034390 10034391
Hinweis: Dieses Produkt ist nur für gut isolierte
Räume oder für den gelegentlichen Gebrauch
geeignet.
Note: This product is only suitable for well
insulated spaces or occasional use.
Nota: Este producto está indicado únicamente en
lugares abrigados o para una utilización punctual.
Remarque : Ce produit ne peut être utilisé que
dans des locaux bien isolés ou de manière
occasionnelle.
Nota: Questo prodotto è adatto solo per spazi
ben isolati o uso occasionale.
Let op! Dit artikel is alleen geschikt voor goed
geïsoleerde ruimtes en voor incidenteel gebruik.
Chapitres
Table des Matières

Manuels Connexes pour Klarstein Bornholm Smart


Sommaire des Matières pour Klarstein Bornholm Smart
- Page 1 Bornholm Smart Hinweis: Dieses Produkt ist nur für gut isolierte Räume oder für den gelegentlichen Gebrauch geeignet. Note: This product is only suitable for well Glaskonvektor insulated spaces or occasional use. Glass Convector Heater Nota: Este producto está indicado únicamente en lugares abrigados o para una utilización punctual.
-
Page 27: Fiche Technique
Chère cliente, cher client, Toutes nos félicitations pour l’acquisition de ce nouvel appareil. Veuillez lire attentivement et respecter les instructions de ce mode d’emploi afin d’éviter d’éventuels dommages. Nous ne saurions être tenus pour responsables des dommages dus au non-respect des consignes et à la mauvaise utilisation de l’appareil. Scannez le QR-Code pour obtenir la dernière version du mode d‘emploi et des informations supplémentaires concernant le produit. -
Page 28: Fiche De Données Produit
FICHE DE DONNÉES PRODUIT Référence (s) du produit 10034390 10034391 Donnée Symbole Valeur Unité Donnée Unité Puissance calorifique Uniquement pour les radiateurs électriques à accumulation : Type de régulation de l'apport de chaleur Puissance calorifique Pnom Régulation manuelle de l'apport de chaleur nominale avec thermostat intégré... -
Page 29: Consignes De Sécurité
CONSIGNES DE SÉCURITÉ Lisez et suivez les précautions de sécurité ci-dessous, même si vous vous sentez à l‘aise avec l‘appareil. Conservez le mode d‘emploi pour vous y référer ultérieurement. Lorsque vous utilisez un appareil électrique, les consignes de sécurité doivent être respectées, y compris les suivantes : •... - Page 30 • Cet appareil ne convient pas pour une utilisation sur des tapis à poils longs ou les descentes de lit à poils longs. • Ne laissez pas le cordon d‘alimentation entrer en contact avec des surfaces chaudes pendant le fonctionnement. •...
-
Page 31: Aperçu De L'appareil
APERÇU DE L‘APPAREIL Panneau de commande Sortie d‘air Interrupteur Pieds avec roulettes... -
Page 32: Montage
MONTAGE Installation sur pied avec roulettes Montage des roulettes Démontage des roulettes Appuyez sur le bouton Enfoncez Tirez Vous entendrez un clic lorsque le Appuyez sur le bouton pour retirer les if the installation is complete, press the button up, montage sera réalisé. -
Page 33: Panneau De Commande
PANNEAU DE COMMANDE Affichage 1 Touche : réglages 8 Affichage : minuterie 2 Touche : augmenter la valeur 9 Affichage: température 3 Touche: réduire la valeur 10 Affichage LED numérique 4 Touche : marche/arrêt 1 1 Touche : désactiver l'affichage LED 5 Témoin de marche : élément chauffant 12 Touche : augmenter / diminuer le niveau de chauffage... -
Page 34: Utilisation
UTILISATION Mise en marche 1. Retirez délicatement l‘appareil de l‘emballage. Conservez l‘emballage pour le stockage hors saison. 2. Assurez-vous que la touche marche / arrêt est sur arrêt avant de connecter l‘appareil. 3. Le radiateur doit être entièrement assemblé et installé conformément aux instructions de montage. 4. -
Page 35: Verrouillage Parental
Verrouillage parental En mode chauffage, appuyez simultanément sur les touches (2) et (3). Le verrouillage parental est maintenant actif et le système est verrouillé. Aucun réglage ne peut être effectué. La température ambiante apparaît sur l‘affichage après 5 secondes. Pour déverrouiller, appuyez et maintenez les touches (2) et (3) pendant 3 secondes. Activation de l'affichage L‘affichage est éteint lorsque l‘appareil fonctionne. -
Page 36: Contrôle De L'appareil Par Smartphone
CONTRÔLE DE L‘APPAREIL PAR SMARTPHONE Si vous connectez votre appareil Klarstein à votre Wifi domestique, vous pouvez facilement le contrôler en utilisant l‘application Klarstein associée. L‘application vous permet non seulement de contrôler l‘appareil à distance depuis votre smartphone, mais vous donne également accès à des recettes et à des informations supplémentaires. -
Page 37: Nettoyage
• La fonction Wifi de l‘appareil Klarstein est-elle activée ? (Suivez les instructions de l‘application) • Le mot de passe Wifi a-t-il été saisi correctement ? • Le routeur, l‘appareil Klarstein et le smartphone sont-ils à proximité immédiate lors de la tentative de connexion ? (Idéalement pas plus de 5 m de distance) •... -
Page 38: Déclaration De Conformité
DÉCLARATION DE CONFORMITÉ Fabricant : Chal-Tec GmbH, Wallstraße 16, 10179 Berlin, Allemagne. Ce produit est conforme aux directives européennes suivantes : 2009/125/CE (ErP) 2014/53/UE (RED) 201 1/65/UE (RoHS) La déclaration complète de conformité du fabricant est accessible par le lien suivant. Pour y accéder, scannez ce QR-code ou saisissez l‘URL.