Thermaltake LEVEL 20 XT Mode D'emploi
Table des Matières
Liens rapides
© 2018 Thermaltake Technology Co., Ltd. All Rights Reserved. A-2018.04
All other registered trademarks belong to their respective companies.
Tested To Comply
With FCC Standards
FOR HOME OR OFFICE USE
www.thermaltake.com
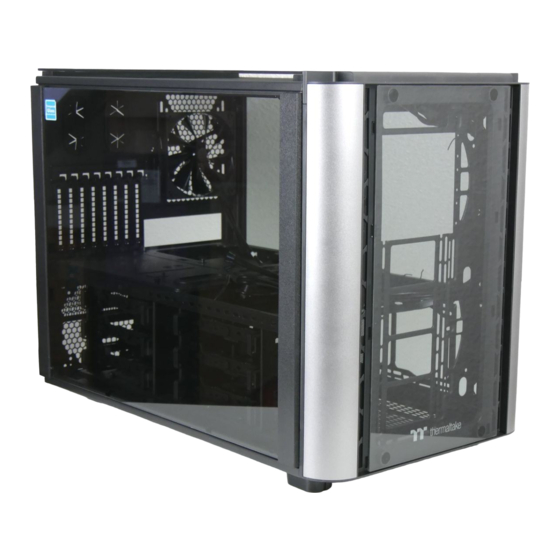
Picture is for reference only
User's Manual
安裝說明書
Benutzerhandbuch
用戶手冊ユーザーズマニュアル
Mode d'emploi
Руководство пользователя
Manual del usuario
kullanıcı elkitabı
Manuale dell'utente
(EEE Yönetmeliğine Uygundur)
Manual do Utilizador
คู ่ ม ื อ การใช้
XT
Table des Matières

Manuels Connexes pour Thermaltake LEVEL 20 XT


Sommaire des Matières pour Thermaltake LEVEL 20 XT
- Page 1 Picture is for reference only User's Manual 安裝說明書 Benutzerhandbuch 用戶手冊ユーザーズマニュアル © 2018 Thermaltake Technology Co., Ltd. All Rights Reserved. A-2018.04 Mode d’emploi All other registered trademarks belong to their respective companies. www.thermaltake.com Руководство пользователя Manual del usuario kullanıcı elkitabı Tested To Comply Manuale dell’utente...
- Page 2 LCS chassis should be held to. The Tt LCS certification was created so that we at Thermaltake can designate to all power users which chassis have been tested to be best compatible with extreme liquid cooling configurations to ensure you get the best performance from the best features and fitment.
-
Page 3: Table Des Matières
Clearance PSU length limitation: 220 mm (With Bottom Fan) Air Cooling Installation Liquid Cooling Installation Accessory Bracket Installation Chapter 3. Leads Installation Guide Case LED connection USB 3.0 connection Audio connection Thermaltake Power Supply Series (Optional) Tt RGB Plus Ecosystem... -
Page 4: Warning And Notice
Warning and Notice Atenção!! Limite de altura para o dissipador do CPU: O limite de altura para o dissipador do CPU é 250 mm (9,8 polegadas). Limite de comprimento para VGA (placa gráfica): O limite de comprimento para VGA (placa gráfica) é mm (23.2 polegadas). -
Page 5: Side Panels Disassembly
Power Supply Unit (PSU) Installation Side Panels Disassembly Type A Type B English / 繁體中文 / 1. Place the PSU in proper location. 1. 將電源供應器放在正確的位置 2. Adjust the PSU supporting bridge to the proper 2. 將電源供應器支撐架調整到適當的位置,然後用螺絲 location and secure the PSU with screws. 固定電源供應器。... -
Page 6: Motherboard Installation
3.5" & 2.5" HDD Installation Motherboard Installation Type A: HDD Cage Installation For 3.5" HDD: Secure 3.5" HDD from both side of the HDD tray by locking clips. For 2.5" HDD: Secure 2.5" HDD from the English / 繁體中文 / bottom of the HDD by screws. -
Page 7: Pci Card Installation
PCI Card Installation Type C1: M/B Tray Installation (With HDD Tray) For 3.5" HDD: Secure 3.5" HDD from both side of the HDD tray by locking clips. English / 繁體中文 / Insert the PCI card into the PCI slot, and 將... -
Page 8: Air Cooling Installation
Air Cooling Installation Liquid Cooling Installation Front: Front: 1 x 280 mm or 1 x 360 mm 3 x 120 mm or 1 x 180 mm or 1 x 360 mm (200 mm series) 2 x 140 mm Top: 2 x 200 mm 1 x 180 mm or 1 x 360 mm (200 mm series) Top: or 2 x 480 mm or 2 x 420 mm... -
Page 9: Bracket Installation
Bracket Installation Leads Installation 120 mm 200 mm Left Side Right Side...