Heatsail BEEM Manuel D'utilisation
Masquer les pouces Voir aussi pour BEEM:

Publicité

Les langues disponibles

Les langues disponibles

Liens rapides

B E E M ® M A N U A L
For the most recent version of this manual, check our website.
Do not discard this manual, as it contains your device's serial number.

Publicité

Table des Matières

Dépannage

loading

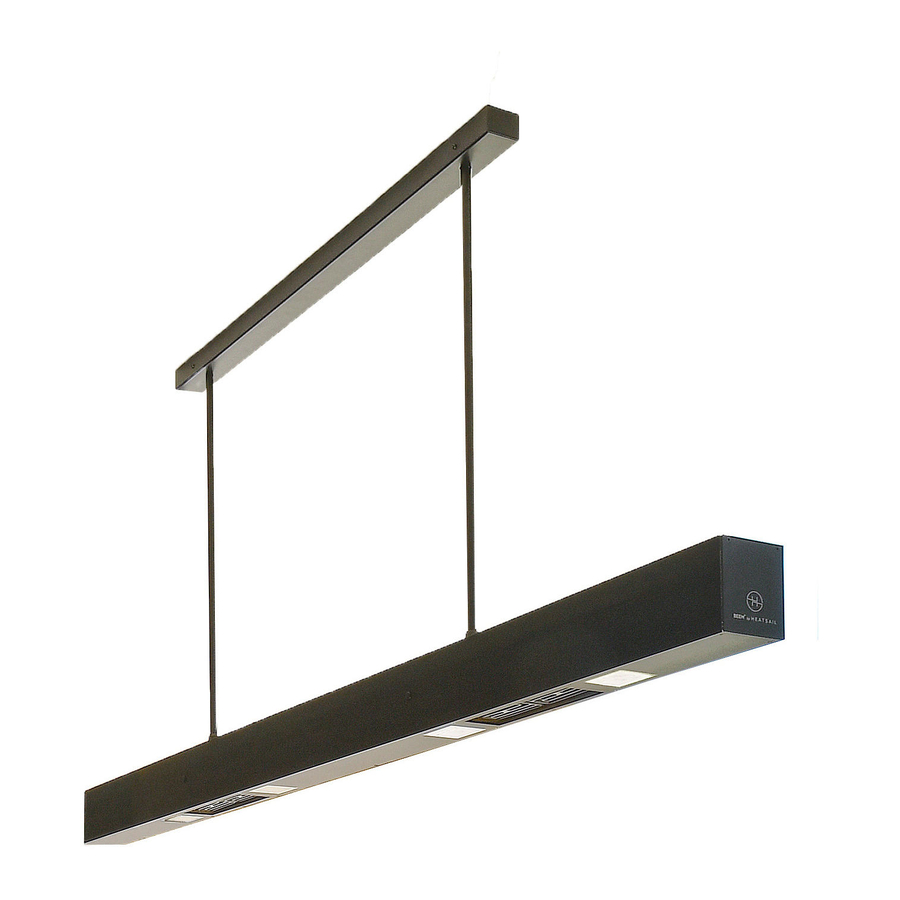
Sommaire des Matières pour Heatsail BEEM

  • Page 1 B E E M ® M A N U A L For the most recent version of this manual, check our website. Do not discard this manual, as it contains your device’s serial number.
  • Page 3: Table Des Matières

    1. Electrical safety procedures & requirements 2. Operational safety 3. Maintenance 4. Warranty conditions 5. Applicable law – competent court 6. Assembly and wiring instructions 7. Operation 8. Troubleshooting 1. Consignes de sécurité électrique & conditions d‘utilisation 2. Sécurité 3. Entretien 4.
  • Page 4 Heatsail reserves the right to make changes to the product, technical features and instructions at any time and without prior notice. If you resell the BEEM, transfer it to another user or leave it behind when relocating, the manual must be made available to the new user.
  • Page 5 User manual Operating, maintenance and installation. Attention Please read through these instructions carefully before using your BEEM. Do not discard this manual, as it contains your device’s serial number. Manual...
  • Page 6: Electrical Safety Procedures & Requirements

    The installation of the BEEM electrical components requires a main connection of 240V-50/60Hz (16 Amp fuse AND 30 mA RCD for the single BEEM, 20 Amp fuse AND 30 mA RCD for the double BEEM): the connection must be properly implemented in accordance with the applicable IEC-CEI standards and local ordinances.
  • Page 7: Operational Safety

    This product is not intended to be operated by children, to be played with or to be played on. The BEEM must be kept out of reach of anyone incapable of assessing the risks which can arise from the (improper) use of electrical equipment.
  • Page 8: Maintenance

    To reduce the risk of fire, keep textiles, curtains, or any other flammable material a minimum distance of 40 inches (100 cm) from the BEEM. Never cover your BEEM without disconnecting the power supply via the circuit breaker. The BEEM must never be touched with bare, wet or damp body parts.
  • Page 9: Replacing The Bulb

    3.2. Replacing the bulb Your BEEM is supplied with six (BEEM 230, BEEM 290) or eight (BEEM 390, BEEM 520) G9 halogen bulbs of 120V/ 40 Watt as standard. The maximum permitted output power is 40 Watt per bulb. The electrical supply must be disconnected via the installation’s breaker switch before the bulb can be replaced.
  • Page 10: Warranty Conditions

    Warranty conditions 4.1. Warranty Your BEEM comes with a two-year, limited warranty. The original invoice will serve as your proof of purchase. This warranty does not affect the buyer’s rights by virtue of the national legislation regarding the sale of consumer goods.
  • Page 11: What To Do In The Event Of A Fault

    Damage caused through normal wear and tear. 4.3. What to do in the event of a fault? In case of a fault, you must contact Heatsail or an authorized distributor immediately (and no later than two months after the fault was first identified) for a repair or replacement.
  • Page 12: Assembly And Wiring Instructions

    In de doos vindt u het volgende: universal ceiling anchors DOME® afstandbediening Requirements stang plafondkap met electronicamodule To safely build your BEEM, you will need the following tools: tweedelige beugels universele plug M6 x 12mm stelschroef gebruikshandleiding M6 x 20mm stelschroef template voor boorgaten schroef 5.5 x 38 mm...
  • Page 13 S T E P 2 Remove all parts from the box. Never lift the BEEM by the cable. S T E P 3 a Use the bracket to draw the holes and drill the holes where the bracket has to be mounted.
  • Page 14 B230 - B290 900 mm 35.5” B390 900 mm 900 mm 900 mm 35.5” 35.5” 35.5” 35.5” B520 900 mm 1000 mm 900 mm 35.5” 39.4” 35.5” 130 mm 5.11” Heatsail BEEM®...
  • Page 15 S T E P 4 Measure the height of the ceiling. The BEEM must hang at a minimum Meet de hoogte van het plafond height of 71 inches up to 84 inches De DOME ® moet hangen op een minimumhoogte van 180 cm (180 cm - 215 cm).
  • Page 16 S T E P 6 Install the stems onto the BEEM. Feed the power cable through the stem and install the stems into the BEEM. Tighten them fully. Carefully slide the ceiling rose over the stems. S T E P 7...
  • Page 17: Important Notice

    To Dome IMPORTANT NOTICE! To Dome Your BEEM is supplied with halogen bulbs of 40W at 120V. To Dome It is possible to change the halogen bulbs to bulbs of 40W at 240V. Please check the electrical schematics of your BEEM on the next pages.
  • Page 18 S T E P 1 0 b Schematics of installation of the BEEM with 3 double-pole wall switches. LIGHTING at 110-120V HEATING 1 at 230-240V HEATING 2 at 230-240V Heatsail BEEM®...
  • Page 19 S T E P 1 0 c Schematics of installation of the BEEM with 3 double-pole wall switches. LIGHTING at 230-240V HEATING 1 at 230-240V HEATING 2 at 230-240V Manual...
  • Page 20 Slide the cover upwards and affix into place on the bracket with supplied screws. S T E P 1 2 Install the glass shields. S T E P 1 3 Remove the protective film from the BEEM. Enjoy your brand new BEEM! Heatsail BEEM®...
  • Page 21: Operation

    Operation Activate your BEEM When you switch on the BEEM, it takes up to 30 minutes before the BEEM reaches its full temperature. When switched off, it may take up to 40 minutes before the BEEM has completely cooled down. To activate your BEEM, use the wall switches installed by your certified electrician.
  • Page 22 BEEM® TIMELESS LIGHTING WITH HEATING FOR YOUR GARDEN OR TERRACE RUSTPROOF & LOW ENERGY USAGE MINIMUM OF WEATHERPROOF ZERO CO2 EMISSION MAINTENANCE Heatsail BEEM®...
  • Page 23 Si vous revendez le BEEM, si vous le cédez à un autre utilisateur ou le laissez sur place lorsque vous déménagez, le manuel doit être laissé à disposition du nouvel utilisateur.
  • Page 24 Manuel de l’utilisateur Manuel d’utilisation, d’entretien et d’installation. Attention Lire attentivement le manuel avant d’utiliser l’appareil! Ne jetez pas le manuel, il contient le numéro de série de votre appareil! Manuel d’utilisation...
  • Page 25: Consignes De Sécurité Électrique & Conditions D'utilisation

    L’installation des éléments électriques du BEEM nécessite un raccordement à un réseau de 230V-50/60Hz (fusible de 16 Amp ET 30 mA sur disjoncteur pour le single BEEM et fusible de 20 Amp ET 30 mA sur disjoncteur pour le double BEEM): le raccordement doit être réalisé...
  • Page 26: Sécurité

    Sécurité La hauteur minimale d’espace libre du BEEM est de 180 cm, mesurée à partir du sol jusqu’au-dessous de l’élément chauffant inférieur. Les enfants de moins de 3 ans doivent être maintenus éloignés du BEEM, sauf sous la surveillance continue d’un adulte. Le BEEM doit être main- tenu hors de portée de toute personne n’étant pas à...
  • Page 27: Entretien

    Il est interdit de toucher le BEEM avec des parties du corps nues, mouillées ou humides. Le BEEM est composé de 6 (BEEM 230 et BEEM 290) ou 8 (BEEM 390 et BEEM 520) éléments chauffants rayonnants en céramique, montés dans un sens déterminé...
  • Page 28: Remplacement De L'ampoule

    3.2. Remplacement de l’ampoule Votre BEEM est livré en standard avec 6 (BEEM 230 et BEEM 290) ou 8 (BEEM 390 et BEEM 520) l’ampoule halogène G9 de 120V max 40 Watt . La puissance maximale autorisée est de 240 Watt.
  • Page 29: Conditions De Garantie

    étant à la charge de l’acheteur, sauf s’il en a été convenu autrement. Les marchandises défectueuses seront renvoyées par l’acheteur, après accord écrit de Heatsail, à ce dernier. Heatsail ne verse pas de dédommagement pour des dommages directs ou indirects causés par ou en rapport avec l’utilisation du produit.
  • Page 30: Que Faire En Cas De Dysfonctionnement

    4.3. Que faire en cas de dysfonctionnement? En cas de panne, vous devez vous adresser immédiatement, et dans tous les cas dans les deux mois qui suivent, à Heatsail en vue d’une répara- tion ou d’un remplacement. La garantie ne pourra être activée qu’après autorisation écrite.
  • Page 31: Installation Illustrée Et Schémas De Connexion

    5.5 x 38 mm Exigences schroef 4.2 x 13 mm Pour monter en toute sécurité votre BEEM, vous aurez besoin des outils suivants: Benodigdheden: Om uw DOME® veilig te installeren, hebt u het volgende gereedschap nodig: Gants de protection Échelle stable...
  • Page 32 É T A P E 2 Retirez toutes les pièces de la caisse. Ne soulevez jamais le BEEM par le câble. É T A P E 3 a Utilisez le support pour dessiner et percer des trous où les supports doivent être fixés.
  • Page 33 B230 - B290 900 mm 35.5” B390 900 mm 900 mm 900 mm 35.5” 35.5” 35.5” 35.5” B520 900 mm 1000 mm 900 mm 35.5” 39.4” 35.5” 130 mm 5.11” Heatsail BEEM®...
  • Page 34 Retirez 199 cm de la hauteur hoogte, verminder met 223 cm. mesurée à partir du sol pour que De BEEM® hangt zo op 180 cm. le BEEM soit suspendu à 180 cm. Handleiding É T A P E 5 Utilisez le coupe-tube inclus pour couper les tiges à...
  • Page 35 Le câble électrique É T A P E 6 Tournez les tiges sur le BEEM. Faites passer le câble électrique à travers la tige et installez les tiges dans le BEEM. Serrez aussi fort que possible. N’oubliez pas de glisser la rosace de plafond prudemment sur les tiges.
  • Page 36 To Dome AVIS IMPORTANT To Dome Vorte BEEM est livré en standard avec des ampoules halogènes de 40W à 120V. To Dome Il est possible de changer les ampoules halogènes en les ampoules de 40W à 240V, veuillez consulter les schémas électriques de votre BEEM sur les pages suivantes.
  • Page 37 É T A P E 1 0 b Schémas d’installation du BEEM avec 3 interrupteurs muraux bipolaires. ÉCLAIRAGE à 110-120V CHALEUR 1 à 230-240V CHALEUR 2 à 230-240V Heatsail BEEM®...
  • Page 38 É T A P E 1 0 c Schémas d’installation du BEEM avec 3 interrupteurs muraux bipolaires. ÉCLAIRAGE à 230-240V CHALEUR 1 à 230-240V CHALEUR 2 à 230-240V Manuel d’utilisation...
  • Page 39 É T A P E 1 2 Placez les verres. É T A P E 1 3 Retirez le film protecteur du BEEM. Profitez de votre tout nouveau BEEM! Heatsail BEEM®...
  • Page 40: Opération

    Opération Activez votre BEEM Après avoir mis le BEEM sous tension, il faut compter environ 30 minutes avant qu’il atteigne sa température maximale. De même, lorsque vous l’éteignez, il met près de 40 minutes avant qu’il ne soit entièrement refroidi.
  • Page 41 ÉCLAIRAGE INTEMPOREL BEEM® AVEC CHAUFFAGE POUR VOTRE JARDIN OU TERRASSE ANTIROUILLE ET FAIBLE CONSOMMATION D’ÉNER- ENTRETIEN ÉTANCHE MINIIMUM ZÉRO ÉMISSION DE CO2 Heatsail BEEM®...
  • Page 42 Prins Boudewijnlaan 7 Unit A 08 2550 Kontich Belgium +32 3 502 99 88 info@heatsail.com www.heatsail.com US Office HEATSAIL USA Inc. 10440 N Central Expressway Dallas, Texas 75231 United States sales@heatsail.com www.heatsail.com S E R I A L N U M B E R...

Table des Matières