Titan IMPACT 340 Notice D'utilisation
Table des Matières
Les langues disponibles
Les langues disponibles
Liens rapides
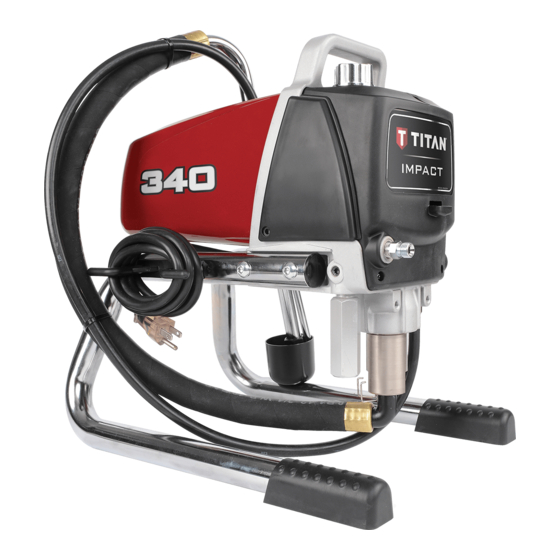
IMPACT 340
Model
0532026
Register your product online at:
www.titantool.com
_ _ _ _ _ _ _ _ _ _
Serial Number*
* See page 53 for location
Airless Sprayer
Owner's Manual
Notice d'utilisation
Manual del Propietario
Do not use this equipment before
reading this manual!
NOTE: This manual contains important
warnings and instructions. Please read
and retain for reference.
© Titan Tool Inc. All Rights Reserved. Form No. 0532832C
1015
•
Chapitres
Table des Matières
Dépannage

Manuels Connexes pour Titan IMPACT 340


Sommaire des Matières pour Titan IMPACT 340
-
Page 16: Consignes De Sécurite Important
PrÉVENTIVES : ImPOrTaNT: Quand le pulvérisateur est utilisé avec un générateur de tension de la ligne ou non, l’utilisation de Titan “Line Surge Protector” (P • Ne dirigez pas le pistolet sur et ne pulvérisez pas les personnes ou les / N 800-935) est recommandé. -
Page 17: Specifications
Garantie ..................56 • Utilisez la plus basse pression possible pour rincer l’équipement. • Respectez tous les codes locaux, étatiques et nationaux qui régulent la ventilation, la prévention d’incendies et le fonctionnement. Français © Titan Tool Inc. Tous droits réservés. -
Page 18: Description Générale
Piston Lube™ (118 ml) 7. Appuyer sur la détente du pistolet afin de purger tout l’air restant dans le flexible. 8. Verrouiller le pistolet en mettant le verrou de détente à la position appropriée. Français © Titan Tool Inc. Tous droits réservés. -
Page 19: Vérifications Préliminaires
On doit effectuer la “Procédure de décompression” chaque fois qu’on arrête l’appareil pour en faire la maintenance, en changer les réglages de vaporisation, en remplacer/ nettoyer les embouts ou en effectuer la préparation en vue d’un nettoyage. Français English © Titan Tool Inc. Tous droits réservés. -
Page 20: Peinture
Régler la pression de manière à ce que le produit soit parfaitement atomisé. Bonne technique NOTa : Si la pression est trop élevée, l’embout subira une usure prématurée et produira des éclaboussures de surpulvérisation. Mauvaise technique Français © Titan Tool Inc. Tous droits réservés. -
Page 21: Chevaucher D'environ
Traînées de peinture ou crachera des grumeaux de produit. NOTa : Si la pression est trop élevée, l’embout subira une usure prématurée et produira des éclaboussures de surpulvérisation. Français English © Titan Tool Inc. Tous droits réservés. -
Page 22: Nettoyage
Dans le cas de rangement à court terme après utilisation de peinture au latex, remplir tous les composants d’eau mélangée au protecteur Titan Liquid Shield (se reporter à la section accessoires du présent manuel pour obtenir le numéro de pièce de ce produit). -
Page 23: Maintenance
NOTa : Il est recommandé que la procédure suivante soit section “Procédure de décompression” du présent exécutée par un centre de service autorisé Titan. manuel. On doit également respecter tous les autres avertissements si on veut éviter les blessures par 1. -
Page 24: Remplacement Des Engrenages
NOTa : Il est recommandé que la procédure suivante soit NOTa : Il est recommandé que la procédure suivante soit exécutée par un centre de service autorisé Titan. exécutée par un centre de service autorisé Titan. 1. Suivre la “Procédure de décompression” et débrancher NOTa : Si le pulvérisateur perd tout ajustement de... - Page 25 NOTa : Il est recommandé que la procédure suivante soit commande de pression. exécutée par un centre de service autorisé Titan. replacer le circuit imprimé NOTa : Les composants du pressostat doivent être réassemblés de façon appropriée et ajustés afin que...
-
Page 26: Remplacement De La Soupape Prime/Spray
NOTa : Pour obtenir plus de détails, se renseigner sur les numéros de pièce ou voir des dessins d’assemblage à plus grande échelle, se reporter au manuel de l’utilisateur du pistolet à dépression. Français © Titan Tool Inc. Tous droits réservés. -
Page 27: Maintenance De La Section Des Liquides
(12) et une cage de clapet de 6. Desserrez et retirez le tuyau à haute pression du raccord de sortie (13). sortie sur le collecteur de la pompe. Français English © Titan Tool Inc. Tous droits réservés. - Page 28 (17) au piston (18) (pour ce faire, il pourrait s’avérer nécessaire de déplacer ce dernier vers le haut ou le bas). 10. Installer la vis de chape (14) et la rondelle (15) pour fixer la goupille. Français © Titan Tool Inc. Tous droits réservés.
-
Page 29: Dépannage
“Maintenance de la Section des Liquides” décrite au chapitre Maintenance de ce manuel. Le moteur démarre mais ne tourne pas. Faire réparer dans un centre d’entretien agrée par Titan. Fuite de liquide dans la partie Les tampons graisseurs supérieurs sont usés. - Page 46 NOTa : Tous les travaux d’électricité doivent être effectués par le personnel d’un centre de service autorisé. NOTa: Todo trabajo eléctrico debe realizarlo un centro de servicio autorizado. © Titan Tool Inc. All rights reserved.
- Page 47 Repair kits • Trousses de réparation • Juegos de reparación 700-258 PRIME/SPRAY valve assembly (includes Assemblage du clapet PRIME/SPRAY Conjunto de válvula de PRIME/SPRAY items 10-14) (comprend les articles 10 á 14) (incluye los artículos 10-14) © Titan Tool Inc. All rights reserved.
- Page 48 Parte inferior de la perilla de control de presión 0532216A Pressure switch Pressostat Presostato 0532223A Transducer assembly Assemblage de transducteur Conjunto de transductor 0532215 Upper bushing Écrou supérieur Tuerca superior 0532914 Upper packing Tampon graisseur supérieur Empaquetadura superior © Titan Tool Inc. All rights reserved.
- Page 49 27, 31 et 33 á 36) artículos 27, 31 y 33-36) *Additional service kits, see page 55. *Voir les trousses d’entretien *Consulte los kits adicionales de reparación supplémentaires à la page 55. en la página 55. © Titan Tool Inc. All rights reserved.
- Page 51 Motor cover label Étiquette du carter de moteur Etiqueta de la cubierta del motor 0532716 Warning label Etiqueta de la cubierta del motor Etiqueta de advertencia 0532740 Features label Étiquette des caractéristiques Etiqueta de características © Titan Tool Inc. All rights reserved.
- Page 52 NOTa : Tous les travaux d’électricité doivent NOTa: Todo trabajo eléctrico debe performed by an authorized être effectués par le personnel d’un realizarlo un centro de service center. centre de service autorisé. servicio autorizado. © Titan Tool Inc. All rights reserved.
-
Page 53: Product Registration
Serial Number Location • Emplacement du numéro de série • Ubicación del número de serie xxxxxxxxx Serial Product registration Register your product online at www.titantool.com. Enregistrement du produit Enregistrer votre appareil en ligne à www.titantool.com. registro del producto Registre su producto en línea en www.titantool.com. © Titan Tool Inc. All rights reserved. - Page 54 0508071 Paint Mate 1 Quart Paint Mate 0,95 l Paint Mate 0,95 l * Go to www.titantool.com for tip sizes / voir www.titantool.com pour les dimensions / visite www.titantool.com para conocer los tamaños © Titan Tool Inc. All rights reserved.
- Page 55 Titan Tool, Inc., (“Titan”) warrants that at the time of delivery to the original purchaser for use (“End User”), the equipment covered by this warranty is free from defects in material and workmanship. With the exception of any special, limited, or extended warranty published by Titan, Titan’s obligation under this warranty is limited to replacing or repairing without charge those parts which, to Titan’s reasonable satisfaction, are...
-
Page 56: Garantie
RECLAMOS EN CASO DE INCUMPLIMIENTO DE ESTAS GARANTÍAS. Las Hojas de Datos de Seguridad (Material Safety Data Sheets - MSDS) se encuentran disponibles en el sitio web de Titan o llamando al Servicio al Cliente. United States Sales & Service International international@titantool.com...