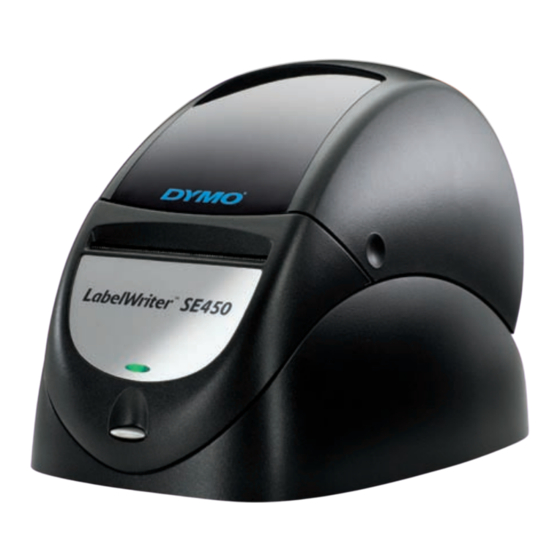
Dymo LabelWriter SE450 Guide De Démarrage Rapide

Dymo LabelWriter SE450 Guide De Démarrage Rapide

Masquer les pouces Voir aussi pour LabelWriter SE450:

Publicité

Les langues disponibles

Les langues disponibles

Liens rapides

Quick Start Guide
Guide de démarrage rapide
LabelWriter
®
SE450

Publicité

Table des Matières
loading

Sommaire des Matières pour Dymo LabelWriter SE450

  • Page 1 Quick Start Guide Guide de démarrage rapide LabelWriter ® SE450...
  • Page 2 Sanford, L.P. Trademarks DYMO, LabelWriter, and DYMO Label are registered marks in the United States and other countries. All other trademarks are the property of their respective holders. DYMO, LabelWriter, et DYMO Label sont des marques déposées aux États-Unis d'Amérique et dans d'autres pays.
  • Page 3 Quick Start Guide ........1 Guide de démarrage rapide .
  • Page 5: Unpacking The Printer

    The software CD included with the printer includes the printer drivers for Windows, Mac, and Linux, and the full DYMO Label v.8 software installer. However, when used primarily as an ASCII printer, the drivers may not be required by your system.
  • Page 6 Become familiar with the printer’s major components. See Figure 2. Top cover Label roll Serial connector Label spool connector 10101 24VDC DC power connector Cable channel Label release Serial number Form-feed button and status light Label feed path and tear bar Figure 2 LabelWriter Printer Features Your LabelWriter printer is a direct thermal printer and does not use ink or toner.
  • Page 7 Installing as a Serial ASCII Printer (Windows) Plug the end of the serial cable with the RJ11 connector into the serial port on the bottom of the printer. See Figure 3. 10101 24VDC 10101 24VDC Connect the 9-pin serial connector to an available serial port on your computer or device, as appropriate.
  • Page 8 Installing as a USB Connected Printer The LabelWriter SE450 printer includes DYMO Label v.8 label printing software. You can choose to install the DYMO Label v.8 software or only the LabelWriter SE450 printer drivers depending on how you plan to use the printer.
  • Page 9 Do one of the following: • For Windows: Click Install and follow the instructions in the installer. • For Mac OS: Double-click the Installer icon and follow the instructions. When prompted, connect the printer to your computer. See “Connecting the Printer”. If the printer is not in the printer list when the installation is complete, refer to the Mac OS ReadMe file for instructions on how to add the printer.
  • Page 10: Important

    Loading Labels Important! In order for the labels to feed properly during printing, the labels must be loaded with the left edge of the label inserted against the left edge of the label feed slot. See Figure 8. To load a label roll Press the form-feed button to eject the labels that Spool Spool...
  • Page 11 Insert the label spool into the slot in the printer cover with the labels extending from underneath the roll. See Figure 7. Align the left edge of the label with the left edge of the label feed slot and insert the label into the slot. The printer automatically feeds the label, stopping at the beginning of the first label.
  • Page 12 More Information For more information about programming and using the LabelWriter SE450 printer, refer to the following resources: LabelWriter Printer User Guide Complete information for using and caring for LabelWriter 450 series label printers, including the LabelWriter SE450 printer. This user guide is located on the software CD or it can be viewed from the Help menu in DYMO Label v.8 software.
  • Page 13: Déballage De L'imprimante

    Le CD de logiciels fourni avec l’imprimante inclut les pilotes d’imprimante pour Windows, Mac et Linux, ainsi que le programme d’installation complète du logiciel DYMO Label v.8. Si toutefois vous utilisez l’imprimante principalement comme imprimante ASCII, il est possible que les pilotes ne soient pas nécessaires pour votre système.
  • Page 14 Familiarisez-vous avec les principaux composants de l’imprimante. Voir Figure 2. Couvercle Rouleau d’étiquettes supérieur Connecteur série Bobine Connecteur d’étiquettes 10101 24VDC Connecteur d’alimentation Canal de câble Sortie des étiquettes Numéro de série Bouton d’avance Chemin de papier et voyant chargement d’état d’étiquette et barre de découpe...
  • Page 15: Installation En Tant Qu'imprimante Ascii Série (Windows)

    • Vert clignotant - L’imprimante est en mode configuration. Reportez-vous au Technical Reference Guide. Installation en tant qu’imprimante ASCII série (Windows) Raccordez l’extrémité du câble série munie du connecteur RJ11 au port série au bas de l’imprimante. Voir Figure 3. 10101 24 V CC Raccordez le connecteur série 9 broches à...
  • Page 16 Installation en tant qu’imprimante USB L’imprimante LabelWriter SE450 est fournie avec le logiciel d’impression d’étiquettes DYMO Label v.8. Vous pouvez choisir d’installer le logiciel DYMO Label v.8 ou seulement les pilotes d’imprimante LabelWriter SE450 selon la manière dont vous comptez utiliser l’imprimante.
  • Page 17 Effectuez l’une des opérations suivantes : • Pour Windows : Cliquez sur Installer puis suivez les instructions du programme d’installation. • Pour Mac OS : Double-cliquez sur l’icône du programme d’installation et suivez les instructions. Lorsque vous y êtes invité(e), raccordez l’imprimante à votre ordinateur. Voir « Connexion de l’imprimante ».
  • Page 18: Chargement Des Étiquettes

    Chargement des étiquettes Important ! Pour que l’alimentation des étiquettes s’effectue correctement pendant l’impression, vous devez charger les étiquettes en insérant le bord gauche de l’étiquette contre le bord gauche de la fente de chargement d’étiquette. Voir Figure 7. Pour charger un rouleau d’étiquettes Appuyez sur le bouton d’avance papier pour éjecter Axe de Guide de...
  • Page 19 Insérez la bobine d’étiquettes dans la rainure du couvercle de l’imprimante de façon à ce que les étiquettes se déroulent par en dessous. Voir Figure 7. Alignez le bord gauche de l’étiquette sur le bord gauche de la fente de chargement d’étiquette et insérez le câble dans la fente.
  • Page 20: Informations Supplémentaires

    Informations supplémentaires Pour plus d’informations sur la programmation et l’utilisation de l’imprimante LabelWriter SE450, consultez les ressources suivantes : Guide d’utilisation de l’imprimante Vous y trouverez des informations complètes sur l’utilisation et LabelWriter l’entretien des imprimantes d’étiquettes LabelWriter 450, y compris l’imprimante LabelWriter SE450.
  • Page 22 Distributed by/Distribué par: DYMO, Atlanta, GA 30328 ©2010 Sanford, L.P. www.dymo.com Imported into Canada by/Importé au Canada par 1788631 10/10 10-0938 Sanford Canada L.P., Oakville, ON L6J 3J3...

Table des Matières