Beko F54220NEB Instructions D'installation

Manuels Connexes pour Beko F54220NEB


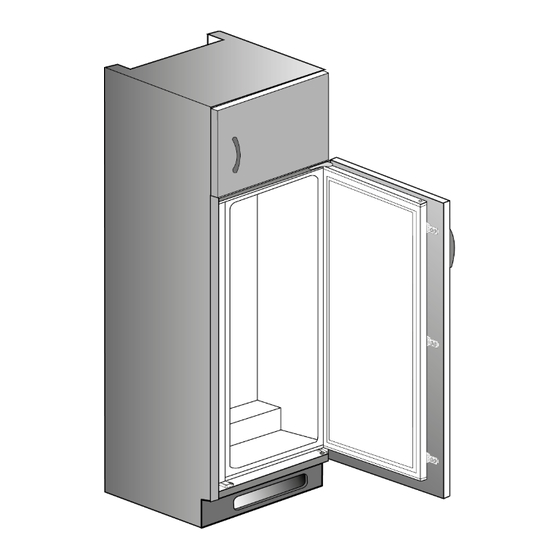
Sommaire des Matières pour Beko F54220NEB
- Page 1 Installation instructions Instructions d’installation Hinweise zur Installation und zum Aufstellungsort Istruzioni di installazione Instrucțiuni de instalare Montaj Talimatları F54220NEB / L54315EB - Sliding 4578348302/AC...
- Page 2 Spares included Pièces incluses Ersatzteile inklusive Ricambi inclusi Piese incluse Dahil olan parçalar...
- Page 3 X>10 mm X<10 mm see page 4; voir page 4; siehe Seite 4; vedi pagina 4; vezi pagina 4; sayfa 4'e bakın; - If thesubjectpartsarenot includedin theproductyou havepurchased,thenit is valid for othermodels. - Si les piècesconcernéesne sont pasinclusesdansle produitquevous avezacheté,elles sont valablespourd'autresmodèles. - Falls Teilenichtzum LieferumfangdeserworbenenProdukteszählen,geltensie fürandereModelle.
- Page 4 min. 200 cm No wooden back wall min. 200 cm The back wall of the wooden cabinet must be left open completely to kitchen wall in order to allow sufficient air circulation to cool down the condenser unit for energy efficiency. La paroi arrière du meuble en bois doit être laissée complètement ouverte contre le mur de la cuisine, afin de permettre une circulation d’air suffisante pour refroidir le produit.
- Page 5 min. 200 cm mm * 4 mm min. 200 cm...
- Page 7 Note: screws for connecting top plastic part should not be screwed very hard, because of moving the plastic part easily left or right side. Remarque: les vis pour fixer l’accessoire en plastique sur la partie supérieure ne doivent pas être vissées à fond, afin d’éviter tout déplacement latéral de cette pièce pendant le vissage.
- Page 8 Installation step for 6_B: screws should not be fully tightened at this stage. A l'étape 6_B de l'installation: les vis ne doivent pas être vissées à fond. Installationsschritt 6_B: die schrauben sollten nicht zu fest angezogen werden. Fase di installazione per 6_B: le viti non devono essere completamente serrate in questa fase.
- Page 9 Installation step for 9: screws must be unscrewed. A l'étape 9 de l'installation: les vis doivent être dévissées. Installationsschritt 9: Schrauben müssen abgeschraubt werden. Fase di installazione per 9: le viti devono essere svitate. Instalare pasul 9: șuruburile trebuie deșurubate. 9 için kurulum adımı: vidalarsökülmeliolmalı.
- Page 10 Adjustingthe legs If your refrigeratoris unbalanced: You can balance your refrigeratorby turning the legs of it as illustrated in the figure. The corner where the leg exists is lowered when you turn in the direction of black arrowand raised when you turn in the opposite direction.
- Page 11 42 mm Installation step for 12: screws should not be fully tightened at this stage. A l'étape 12 de l'installation: les vis ne doivent pas être vissées à fond. Installationsschritt 12: die schrauben sollten nicht zu fest angezogen werden. Fase di installazione per 12: le viti non devono essere completamente serrate in questa fase. Instalare pasul 12: șuruburile nu trebuie să...
- Page 12 X<10 mm CLICK CLICK...
- Page 13 42 mm Note: Installation step for 17* - only for some models. Remarque: A l'étape 17* de l'installation - uniquement pour certains modèles. Hinweis: Installationsschritt 17* - nur für einige Modelle. Nota: Fase di installazione per 17* - solo per alcuni modelli. Notă: Instalare pasul 17* - doar pentru anumite modele.
- Page 14 42 mm CLICK Note: Installation step for 17* - only for some models. Remarque: A l'étape 17* de l'installation - uniquement pour certains modèles. Hinweis: Installationsschritt 17* - nur für einige Modelle. Nota: Fase di installazione per 17* - solo per alcuni modelli. Notă: Instalare pasul 17* - doar pentru anumite modele.
- Page 15 Ø2 21 mm...