BWT AQA drink Pro 20 Instructions De Montage Et De Service
Table des Matières
Les langues disponibles
Les langues disponibles
Liens rapides
WATER DISPENSER
AQA drink
Pro 20
HCS & HCA
E I N B A U - U N D
DE
DE
B E D I E N U N G S A N L E I T U N G
I N S T A L L A T I O N A N D
EN
O P E R A T I N G I N S T R U C T I O N S
I N S T R U C T I O N S D E
FR
M O N T A G E E T D E S E R V I C E
I N S T R U C C I O N E S D E
ES
M O N T A J E Y M A N E J O
I S T R U Z I O N I P E R I L
IT
M O N T A G G I O E P E R L' U S O
Р У К О В О Д С Т В О П О
RU
М О Н Т А Ж У И Э К С П Л У А Т А Ц И И
M A N U A L D E M O N T A G E M
PT
E D E I N S T R U Ç Õ E S
Chapitres
Table des Matières

Manuels Connexes pour BWT AQA drink Pro 20


Sommaire des Matières pour BWT AQA drink Pro 20
- Page 1 WATER DISPENSER AQA drink Pro 20 HCS & HCA E I N B A U - U N D B E D I E N U N G S A N L E I T U N G I N S T A L L A T I O N A N D O P E R A T I N G I N S T R U C T I O N S I N S T R U C T I O N S D E M O N T A G E E T D E S E R V I C E...
-
Page 22: Contenu Du Colis
STRUCTURE ET FONCTIONNEMENT DE L’AQA DRINK PRO 20 ..............44 AQA drink Pro 20 HCS uniquement) FONCTIONNEMENT DU SYSTÈME UV INTÉGRÉ DE L’AQA DRINK PRO 20 ........... 46 2. CARACTÉRISTIQUES TECHNIQUES SOCLE DE L’AQA DRINK PRO 20 (EN OPTION) ....................47 INSTRUCTIONS DE SERVICE ET CONSIGNES DE SÉCURITÉ... -
Page 23: Utilisation Conforme À La Destination Prévue
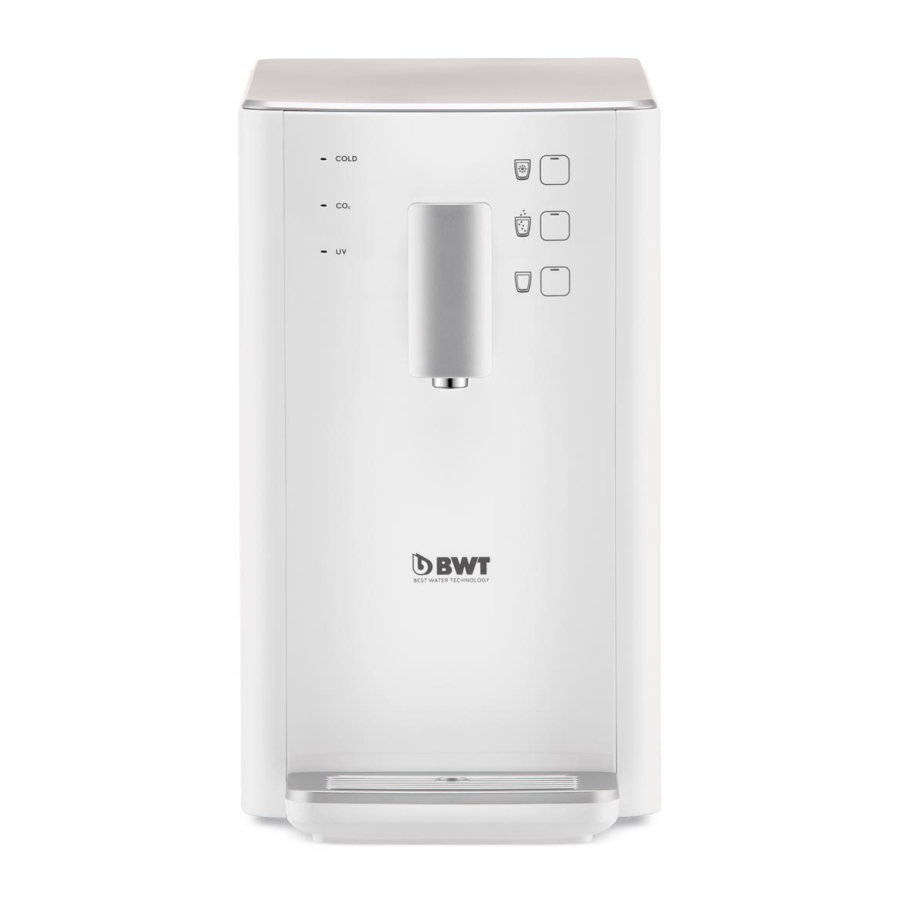
Fig. 1: vue de face de l’AQA drink Pro 20 HCS Fig. 2: vue de face de l’AQA drink Pro 20 HCA Fig. 4: panneau de commande de l’AQA drink Pro 20 HCA 1. Témoins LED 2. -
Page 24: Interrupteur Marche/Arrêt De La Pompe Du Carbonateur (Co 2 )
3.4 SOCLE DE L’AQA DRINK PRO 20 (EN OPTION) 1. Interrupteur Marche/Arrêt du chauffe-eau Un socle pour la fontaine d’eau AQA drink Pro 20 est disponible en option (fig. 7) afin de pouvoir (HOT [CHAUD]) poser librement la fontaine d’eau. Le socle est monté sur des pieds réglables en hauteur et com- 2. -
Page 25: Garantie Et Exclusion De La Responsabilité
4.1 GARANTIE ET EXCLUSION DE LA RESPONSABILITÉ Vérifiez que la tension indiquée sur la plaque signalétique correspond bien à celle du lieu La fontaine d’eau AQA drink Pro 20 bénéficie d’une garantie de 2 ans. Il faut respecter les d'installation. -
Page 26: Installation Et Mise En Service
(pour HCA uniquement). Toutes les fontaines AQA drink Pro 20 sont conformes à la directive UE 2011/65 UE et 2015/863 » Appuyer brièvement sur la touche de sélection d’eau pétillante (pour HCS uniquement). -
Page 27: Test De Fonctionnement Et Raccordement
La concentration de CO est calculée comme suit : Test de fonctionnement et raccordement Le tableau suivant montre les volumes de pièces nécessaires pour les tailles de bouteilles de Contrôlez l’absence de dommages extérieurs visibles sur le détendeur de gaz (1). courantes (calculé... -
Page 28: Démontage
» Ouvrez brièvement la soupape de la bouteille afin d’éliminer les impuretés au niveau de la d’hygiène pour l’AQA drink Pro 20. Vous trouverez un exemplaire en annexe à la fin (chapitre 10) vanne de sortie de la bouteille. -
Page 29: Dépannage
Il n’y a plus d’agent Contactez un technicien de service réfrigérant après-vente Fig. 12 : ouverture de la lampe UV sous le couvercle de l’AQA drink Pro 20 Le thermostat ou le Contactez un technicien de service compresseur pose après-vente Remarque ! -
Page 30: Liste De Vérification Hygiénique Pour L'aqa Drink Pro
9. LISTE DE VÉRIFICATION HYGIÉNIQUE POUR L’AQA DRINK PRO 20 Défaut Cause Dépannage Contrôlez l'alimentation d'eau et Pas suffisamment d'eau Fréquence de l’intervention vérifiez le cas échéant les conduites Type de dans le réservoir Pièce À réaliser par l’intervention dans l'appareil... -
Page 31: Protocole D'hygiène Pour L'aqa Drink Pro
Afin de garantir une hygiène parfaite, une personne responsable et formée à cet effet doit net- toyer une fois par semaine la fontaine d’eau AQA drink Pro 20. Remplacement Date... - Page 72 INSTRUCTIONS DE NETTOYAGE ET DE DÉSINFECTION INSTRUCCIONES DE LIMPIEZA Y DESINFECCIÓN ISTRUZIONI PER LA PULIZIA E LA DISINFEZIONE ИНСТРУКЦИЯ ПО ОЧИСТКЕ И ДЕЗИНФЕКЦИИ INSTRUÇÕES DE LIMPEZA E DESINFEÇÃO AQA DRINK PRO 20 ........146 AQA DRINK PRO 20 ........156...
-
Page 73: Consignes D'utilisation Du Nettoyant Désinfectant Et Du Spray Désinfectant
Ao utilizar o detergente desinfetante e o pulverizador desinfetante, é necessário usar óculos Ao utilizar o detergente desinfetante e o pulverizador desinfetante, é necessário usar óculos Utiliser uniquement le produit de nettoyage fourni par BWT avec la cartouche de service ! de proteção ocular e luvas. -
Page 74: Aqa Drink Pro 20 Hcs
11.1 AQA DRINK PRO 20 HINWEIS: NOTE: REMARQUES : AVISO: AVVISO: ВАЖНО: AVISO: Die Reinigungskartusche füllt sich automatisch mit Wasser. The service cartridge automatically fills with water. La cartouche de nettoyage se remplit d’eau automatiquement. El cartucho de limpieza se llena automáticamente con agua. - Page 75 ≤2 MIN. ~2–3.5 MIN. ~ 3 l Flutung des Karbonators. Nach vollständiger Überflutung tritt Wasser und CO2 aus dem Ausfluss. Sobald kein CO2 Leerung des Karbonators, bis nur noch CO2 entweicht. Anschließend Vorgang durch Drücken einer Taste stoppen. mehr Austritt den Vorgang durch Drücken einer Taste stoppen. Let the carbonator discharge until only CO2 escapes, then press any button to stop the process.
- Page 76 15 – MAX. ~3.5 MIN. 20 MIN. Einwirkzeit des Reinigungsmittels. Während der Einwirkzeit blinken alle 3 Tasten. Flutung des Karbonators mit Wasser. Sobald CO2 entweicht, Vorgang durch Drücken einer Taste stoppen. Disinfectant reaction time. During reaction time all 3 buttons will blink. Flooding of the carbonator with water.
- Page 77 CO INLET CO INLET Zum Entleeren des Boilers muss das Gerät komplett abge- Heißwasser so lange rinnen lassen, bis kein Wasser mehr ausläuft. schalten werden. Let the hot water discharge until no water comes out anymore. For emptying the boiler you have to turn off the dispenser Laisser couler l’eau chaude jusqu’à...
- Page 78 HINWEIS: NOTE: REMARQUES : AVISO: AVVISO: ВАЖНО: AVISO: VORGANG STOPPEN: CANCEL PROCESS: STOPPER LE PROCESSUS : CANCELACIÓN DEL PROCESO: ARRESTO DELLA PROCEDURA: ОСТАНОВИТЬ ПРОЦЕСС: PARAR O PROCESSO: Das Gerät für den weiteren Betrieb wieder ein- CO INLET schalten. Switch the dispenser back on to carry on using it. 5 SEC.
-
Page 79: Aqa Drink Pro 20 Hca
11.2 AQA DRINK PRO 20 HINWEIS: NOTE: REMARQUES : AVISO: AVVISO: ВАЖНО: AVISO: Die Reinigungskartusche füllt sich automatisch mit Wasser. The service cartridge automatically fills with water. La cartouche de nettoyage se remplit d’eau automatiquement. El cartucho de limpieza se llena automáticamente con agua. - Page 80 ≤1 MIN. AQA drink filter cartridge Service Spülung des Kaltwasserstranges bis das Wasser sich rosa färbt. Anschließend Taste drücken, um fortzufahren. cartridge Rinsing the cold water line until water turns pink, then press any button to proceed. Rinçage de la conduite d’eau froide jusqu’à ce que l’eau devienne rose. Puis appuyez sur la touche pour continuer. Enjuagar el conducto de agua fría hasta que el agua cambie al color rosa.
- Page 81 ~5 MIN. ~1 MIN. ~ 9 l ~ 2 l Neu eingedrehte Filterkartusche wird mit der Ambientewasserleitung gespült, anschließend wird die Kalt- Zum Entleeren des Boilers muss das Gerät komplett abge- wasserleitung gespült. schalten werden. New filter cartridge will be rinsed together with ambient line, afterwards the cold water line will be rinsed. For emptying the boiler you have to turn off the dispenser La cartouche filtrante nouvellement vissée est rincée à...
- Page 82 Das Gerät für den weiteren Betrieb wieder ein- schalten. Switch the dispenser back on to carry on using it. Remettre l’appareil en marche pour la suite du fonctionnement.. Encender el dispositivo de nuevo para reanudar el funcionamiento. Riaccendere l’apparecchio per continuare a utilizzarlo.
- Page 83 HINWEIS: NOTE: REMARQUES : AVISO: AVVISO: ВАЖНО: AVISO: VORGANG STOPPEN: CANCEL PROCESS: STOPPER LE PROCESSUS : CANCELACIÓN DEL PROCESO: ARRESTO DELLA PROCEDURA: ОСТАНОВИТЬ ПРОЦЕСС: PARAR O PROCESSO: 5 SEC. Der Vorgang kann jederzeit abgebrochen werden! Sollte noch Desinfektionsmittel in den Strängen sein, muss dieses entfernt werden! You can cancel the process at any time! If disinfectant agent is still in the lines, this must be removed! Il est possible de stopper à...