Publicité
Liens rapides
© 2012 Thermaltake Technology Co., Ltd. All Rights Reserved. 2012.10
All other registered trademarks belong to their respective companies.
Tested To Comply
With FCC Standards
FOR HOME OR OFFICE USE
www.thermaltake.com
VP1000 Series
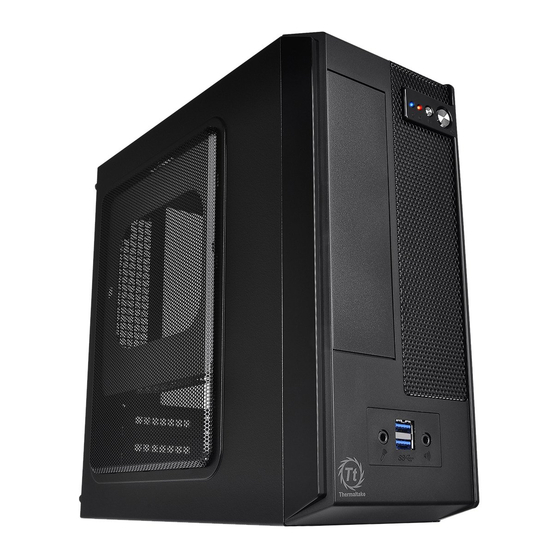
SD101
The Mi ni of you
User's Manual
Benutzerhandbuch
Mode d'emploi
Manual del usuario
Manuale dell'utente
安裝說明書
用戶手冊
ユーザーズマニュアル
Руководство пользователя
kullanıcı elkitabı
(EEE Yönetmeliğine Uygundur)
Publicité

Manuels Connexes pour Thermaltake VP1000 Série


Sommaire des Matières pour Thermaltake VP1000 Série
- Page 1 用戶手冊 ユーザーズマニュアル Руководство пользователя kullanıcı elkitabı (EEE Yönetmeliğine Uygundur) © 2012 Thermaltake Technology Co., Ltd. All Rights Reserved. 2012.10 All other registered trademarks belong to their respective companies. www.thermaltake.com Tested To Comply With FCC Standards FOR HOME OR OFFICE USE...
-
Page 2: Table Des Matières
Figure Q'ty USB 3.0 connection 10-14 Parts Name Used for Audio connection 10-14 #6-32*6mm Motherboard #6-32*4.5mm 3.5" HDD M3*5mm ODD & 2.5" HDD Chapter 4. Other Foot Pad Thermaltake Power Supply Series (Optional) Motherboard Alarm Buzzer Cable Tie Settle Cable... -
Page 3: Warning And Notice
Warning and Notice Side Panel Disassembly 警告!! Warning!! CPU 冷卻器的高度限制: CPU Cooler Height Limitation: 請確保 CPU 冷卻器的高度不超過 45 mm (1.77 Please ensure that your CPU cooler does NOT 英吋)。 exceed 45mm (1.77 inches) height. VGA (附加介面卡) 的長度限制: VGA (Add-on card) Length Limitation: 請確保... -
Page 4: Motherboard Installation
Motherboard Installation 5.25” Device Installation Italiano / 1. Staccare il pannello anteriore dopo aver premuto e rilasciato le quattro clip cpn gancio nella parte posteriore del pannello anteriore. 2. Rimuovere il supporto da 5,25” dal pannello anteriore. English / 繁體中文 / 1. -
Page 5: Hdd Device Installation
HDD Device Installation English / 1. Loosen the screws with a screwdriver. 2. Place the 2.5” or 3.5” hard drive on the tray English / 繁體中文 / and secure it with screws. 繁體中文 / 3. Insert the 5.25” device and tighten it 3. -
Page 6: Pci Slot Installation
PCI Slot Installation Leads Installation Guide Italiano / 1. Svitare le viti e rimuovere i fermi PCI. 2. Inserire il dispositivo PCI Leads Installation Guide nell’apposito slot. Case LED Connection / On the front of the case, you can find some LEDs and switch leads. Please consult your user 3. - Page 7 Guida di installazione dei contatti Guide d'installation des fils Connessione del LED del case / Nella parte anteriore del case, sono presenti alcuni contatti per interruttori e LED. Connexion des voyants du boîtier / Sur la face avant du boîtier, vous trouverez plusieurs voyants et les fils des boutons.
- Page 8 Указания по прокладке кабелей Указания по прокладке кабелей 线材安装说明 Подключение индикаторов корпуса Подключение индикаторов корпуса / В передней части корпуса расположены индикаторы и провода выключателей. 机壳LED连接方式 机壳LED连接方式 / 在机壳前方的面板后面,可以找到一些LED与开关线材(POWER Switch….),请参考主板使用说明 Перед подсоединением этих проводов к монтажной колодке панели на материнской плате изучите руководство пол 书,并将机壳上的线材正确地连接到主板上,这些线材通常都会印有标签在上面,如果没有的话,请找出机壳前方面板上线...
-
Page 9: Thermaltake Power Supply Series (Optional)
Why Choose Thermaltake Power Supply? Quality From Within Every power supply units from Thermaltake should pass a very strict quality control before sent to customers, including BIT(Burn-in-test) for over 8 continuous hour in a 45℃ room to test if a unit can run normally under usual scene, and Hipot test to ensure the power supply unit can survive and protect both users and their systems when the voltage volume surges. - Page 10 Note: Note:...