
Manuels Connexes pour Sony VPL-VW1025ES


Sommaire des Matières pour Sony VPL-VW1025ES
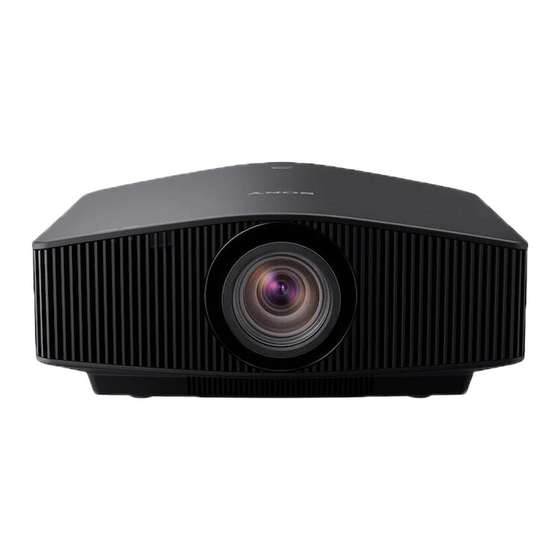
- Page 1 5-031-130-11 (1) Video Projector Quick Reference Manual ___ Guide de reference rapide _ VPL-VW1025ES Printed in China © 2021 Sony Corporation...
- Page 2 Error Handling About Indicators................. Page 8 Downloading Manuals Manuals that describes how to operate the unit can be downloaded from the Sony website. Download the required manual by accessing the site using the following QR code or URL. https://rd1.sony.net/help/vpl/vw890/h_zz/ Manuals are in PDF format. PDF files can be viewed on a computer with Adobe Reader installed.
-
Page 3: Checking The Supplied Accessories
Preparing Step 1 Checking the Supplied Accessories Check the carton to make sure it contains the following items: • Remote control RM-PJ24 (1) • Size AA (R6) manganese batteries (2) • AC power cord (1) • Quick Reference Manual (this manual) (1) •... -
Page 4: Installing The Unit
Installing the Unit Step 2 Position the unit so that the lens is parallel to the Project an image on the screen, then adjust the focus, screen. size, and position. After connecting the AC power cord to the unit, plug the AC power cord into a wall outlet. - Page 5 Lens adjustment window (test pattern) 1.78:1 (16:9) 1.33:1 (4:3) 2.35:1 1.85:1 The dashed lines show the screen sizes of each aspect ratio. For more information, refer to “Connections and Preparations” in the Operating Instructions. Installing the Unit...
-
Page 6: Connecting The Unit
Connecting the Unit Step 3 When making connections, be sure to do the following: • Turn off all equipment before making any connections. • Use the proper cables for each connection. • Insert the cable plugs properly; poor connection at the plugs may cause a malfunction or poor picture quality. When pulling out a cable, be sure to pull it out from the plug, not the cable itself. -
Page 7: Projecting The Picture
Projecting Step 4 Projecting the Picture Selecting the Picture Viewing Mode Press one of the CALIBRATED PRESET buttons. Turn on both the unit and the equipment connected to the unit. Press INPUT to display the input palette on the screen. Select the equipment from which you want to display CALIBRATED PRESET buttons images. -
Page 8: Error Handling
Note If the symptom persists even after carrying out the above methods, consult with qualified Sony personnel. If the indicator starts flashing in a way of other than the above, turn off, and then turn on the power with the ?/1 (On/Standby) button on the remote control or control panel of the unit. - Page 10 À propos des indicateurs ............Page 8 erreurs Téléchargement des manuels Les manuels décrivant le fonctionnement de l’appareil peuvent être téléchargés sur le site Web de Sony. Téléchargez le manuel nécessaire en accédant au site à l’aide du code QR ou de l’URL suivant. https://rd1.sony.net/help/vpl/vw890/h_zz/ Les manuels sont au format PDF.
-
Page 11: Préparation
Préparation Etape 1 Vérification des accessoires fournis Vérifiez si le carton renferme bien tous les éléments suivants : • Télécommande RM-PJ24 (1) • Piles au manganèse AA (R6) (2) • Cordon d’alimentation secteur (1) • Guide de référence rapide (ce manuel) (1) •... -
Page 12: Installation De L'appareil
Installation de l’appareil Etape 2 Positionnez l’appareil de façon à ce que l’objectif soit Projetez une image sur l’écran, puis réglez la mise au parallèle à l’écran. point, la taille et la position. Après avoir branché le cordon d’alimentation à l’appareil, branchez le cordon d’alimentation secteur à... - Page 13 Fenêtre de réglage de l’objectif (mire d’essai) 1,78:1 (16:9) 1,33:1 (4:3) 2,35:1 1,85:1 Les lignes pointillées indiquent les tailles d’écran de chaque rapport de format. Pour plus d’informations reportez-vous à « Raccordements et préparatifs » dans le Mode d’emploi. Installation de l’appareil...
-
Page 14: Raccordement De L'appareil
Raccordement de l’appareil Etape 3 Lors de l’exécution des raccordements, vous devez procéder comme suit : • Mettez tous les appareils hors tension avant tout raccordement. • Utilisez les câbles appropriés pour chaque raccordement. • Insérez correctement les fiches de câble ; le mauvais raccordement des fiches peut entraîner un dysfonctionnement ou une piètre qualité... -
Page 15: Projection
Projection Etape 4 Projection de l’image Sélection du mode d’affichage de l’image Mettez sous tension cet appareil et l’appareil qui y est raccordé. Appuyez sur un des boutons CALIBRATED PRESET. Appuyez sur INPUT pour afficher la palette d’entrée sur l’écran. Sélectionnez le périphérique à... -
Page 16: Gestion Des Erreurs
Remarque Si le symptôme persiste même après avoir suivi les méthodes décrites ci-dessus, consultez le service après-vente Sony. Si l’indicateur se met à clignoter d’une manière qui n’est pas décrite ci-dessus, éteignez et rallumez l’appareil en appuyant sur le bouton [/1 (Marche/Veille) de la télécommande ou du panneau de commande de l’appareil.