Publicité
Liens rapides
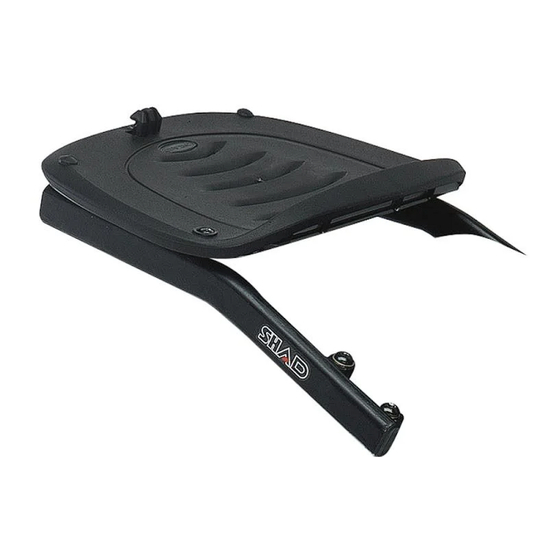
Consejo para un correcto montaje del kit: No apretar los tornillos del todo hasta asegurarse que el KIT está correctamente colocado y alineado.
Advice for correct fitting of the kit: Do not fully tighten the screws until it is ensured that the KIT is correctly attached and aligned.
Conseil pour un montage correct du kit: Ne pas serrer les vis avant d'être sûr que le KIT est correctement monté et ajusté.
Hinweis für einen korrekten Einbau des Bausatzes: Ziehen Sie die Schrauben nicht ganz fest, bevor Sie sich nicht vergewissert haben, daß der
Bausatz korrekt eingestellt und ausgerichtet ist.
Consiglio per un montaggio corretto del kit: Non stringere del tutto le viti fin tanto non si è sicuri che il kit è collocato correttamente e
allineato.
1.
E
2.
A
C
D
Ø 14
B
Abrir el asiento (A).
Desmontar el carenado posterior superior (B)
mediante los tornillos (C), (D) y (E).
Open the seat (A).
Disassemble the upper back body (B) by
means of the screws (C), (D) and (E).
Ouvrir le siège (A).
Démonter le carénage postérieur supérieur
B
(B) avec les vis (C), (D) et (E).
Den Sitz öffnen (A).
Die hintere obere Karosserie (B) mit den
Schrauben (C–D–E) abmontieren.
Aprire la sella (A).
Smontare la carenatura posteriore superiore
(B) con le viti (C), (D) y (E).
Realizar cuatro agujeros Ø14, en los puntos
marcados en el carenado posterior superior
(B).
Make four holes Ø14, in the indicated points
of the upper back body (B).
Faire quatre trous Ø14, sur les points
marqués sur le carénage postérieur supérieur
(B).
Vier Ø14 Löcher an den Markierungen,
welche sich am hinteren oberen Teil der
Karosserie befinden (B), machen.
Fare quatro bucchi Ø14, sui punti marcati
nella carenatura posteriore superiore (B).
Publicité

Manuels Connexes pour Shad NADSA N0BL12ST


Sommaire des Matières pour Shad NADSA N0BL12ST
- Page 1 Consejo para un correcto montaje del kit: No apretar los tornillos del todo hasta asegurarse que el KIT está correctamente colocado y alineado. Advice for correct fitting of the kit: Do not fully tighten the screws until it is ensured that the KIT is correctly attached and aligned. Conseil pour un montage correct du kit: Ne pas serrer les vis avant d’être sûr que le KIT est correctement monté...
- Page 2 Colocar los clips de M6 (1) en los alojamientos (F). Montar el carenado posterior superior (B), mediante los tornillos (C), (D) y (E). Cerrar el asiento (A). Put the clips of M6 (1) in the spots (F). Assemble the upper back (B) body by means of the screws (C), (D) and (E).