Targus WIRELESS COMPACT Manuel De L'utilisateur
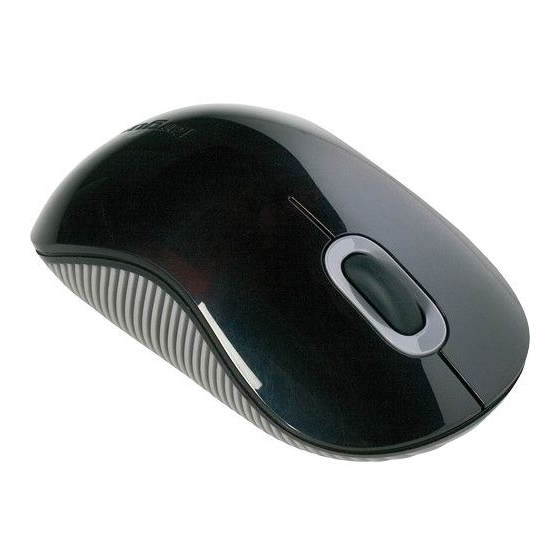
Souris laser compact sans fil
Les langues disponibles
Les langues disponibles
Liens rapides
©2010 Manufactured or imported by Targus Europe Ltd.,
Hounslow, Middlesex, TW4 5DZ, UK. All rights reserved.
Targus is either a registered trademark or trademark of
Targus Group International, Inc. in the United States
and/or other countries. Features and specifications are
subject to change without notice. All trademarks and
registered trademarks are the property of their respec-
tive owners.
All manuals and user guides at all-guides.com
N2953
WIRELESS COMPACT
LASER MOUSE
User Guide

Manuels Connexes pour Targus WIRELESS COMPACT


Sommaire des Matières pour Targus WIRELESS COMPACT
- Page 36 Nous vous remercions d’avoir acheté cette Souris laser compact sans fil 1. Retirez le couvercle du compartiment de piles sur le dessus de la souris, à de Targus. Son récepteur micro USB est suffisamment petit pour rester l’aide de l’encoche prévue à l’arrière. Soulevez délicatement le couvercle, constamment branché...
- Page 37 All manuals and user guides at all-guides.com Targus Wireless Compact Laser Mouse Targus Wireless Compact Laser Mouse 3. Retirez le récepteur micro USB rangé à l’intérieur du compartiment central. 5. Poussez la bride dans son logement jusqu’à la fixer en place et replacez le couvercle du compartiment de piles.
- Page 38 All manuals and user guides at all-guides.com Targus Wireless Compact Laser Mouse Targus Wireless Compact Laser Mouse Établissement de la connexion Mise en route : Faites glisser l’interrupteur en position ON (MARCHE). (A) Connectez le récepteur USB sur l’un des ports USB disponibles de votre Mise hors tension : ordinateur.