AVS Bugflector Instructions D'installation
Masquer les pouces
Voir aussi pour Bugflector:
- Guide d'installation ,
- Instructions d'installation (10 pages) ,
- Mode d'emploi (6 pages)
Table des Matières
Les langues disponibles
Les langues disponibles
Liens rapides
Bugflector
For proper installation and best possible fit, please read all instructions BEFORE you begin.
For technical assistance or to obtain missing parts, please call Customer Relations at 1-800-241-7219.
Important Safety Information
• CAUTION - Before driving, ensure that the hood shield is properly secured to vehicle.
• Do not use automatic "brush-style" car washes.
• Do not use cleaning solvents of any kind.
• Periodically check all components for tightness.
Contents
NOTE: Actual product may vary from illustration.
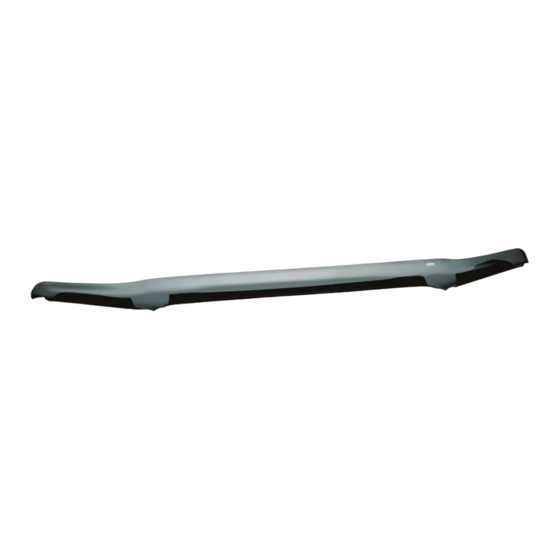
Hood shield
Tools Required
Preparation Before Painting / Installation
• A trial fit is recommended to ensure proper positioning and fit.
• Check fit of parts before painting as we will not accept the return of modified or painted parts.
• Wash and dry your vehicle to remove any debris and/or dirt from the installation area.
Installation Steps
1
Installation Instructions
®
- Bugflector II
Car Wash Supplies
Clean Towel
NOTE: Actual application may vary slightly from illustrations.
Open hood.
®
®
- Carflector
- Chrome Hood Shield
Alcohol pad x2
Phillips
screwdriver
Remove (4) plastic seal retaining fasteners that align with the pre-
drilled holes and tabs in the hood shield. Next, carefully separate
the hood seal / gasket from the areas of the hood that align with the
2
Page 1 of 3
I - Sheet Number BF137 Rev.-
Fastener x4
Tape (Optional)
hood shield tabs.
NOTE: Exercise extreme caution not to tear
or damage the hood seal / gasket when
seperating from hood.
™
Bump On x2
Table des Matières

Manuels Connexes pour AVS Bugflector


Sommaire des Matières pour AVS Bugflector
-
Page 4: Outils Nécessaires
® ® ™ Bugflector - Bugflector II - Carflector - Chrome Hood Shield Pour obtenir une installation correcte et le meilleur ajustement possible, lire toutes les instructions AVANT de commencer. Pour toute assistance technique ou obtention de pièces manquantes, appeler le service des relations avec la clientèle au 1-800-241-7219. -
Page 5: Étapes D'installation
Étapes d’installation REMARQUE : La méthode d’application peut être légèrement différente de celle représentée par les illustrations. Utilisez un tampon imbibé d’alcool pour nettoyer la Retirez les doublures de ruban rouge des deux languettes surface de la hotte sous les pièces de garniture en HORS-BORD du bouclier de capot. -
Page 6: Entretien Et Nettoyage
Lund International 800-241-7219 • Visitez notre site lundinternational.com © 2021 Lund, Inc. Tous droits réservés. Auto Ventshade™, le logo Auto Ventshade™ et le logo AVS™ sont des marques déposées Lund, Inc. ™ Page 3 de 3...