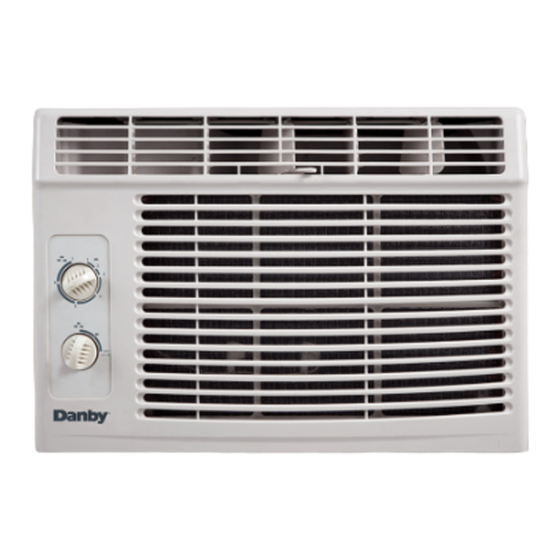
Danby DAC5111M Guide D'utilisation

Manuels Connexes pour Danby DAC5111M


Sommaire des Matières pour Danby DAC5111M
-
Page 13: Bienvenue
BIENVENUE Nous vous remercions d’avoir choisi un climatiseur de chambre Danby pour refroidir votre logement. Ce manuel d’utili- sation et d’entretien fournit les renseignements nécessaires pour prendre soin et entretenir votre nouveau climatiseur de chambre. S’il est adéquatement entretenu, votre climatiseur vous donnera de nombreuses années d’utilisation sans problème. -
Page 14: Consignes De Sécurité Importantes
Consignes de sécurité important LISEZ TOUTE L'INFORMATION DE SÉCURITÉ AVANT UTILISATION POUR VOTRE SÉCURITÉ: Lire attentivement ces instructions avant d'utiliser l'appareil. SPECIFICATIONS 1) Tous les câblages doivent être conformes aux codes électriques locaux et nationaux et doivent être installés par un électricien qualifié. Si vous ELECTRIQUE avez la moindre question au suject des instructions ci-dessous, contactez un électricien qualifié. -
Page 15: Caractéristiques
LISEZ TOUTE L'INFORMATION DE SÉCURITÉ AVANT UTILISATION POUR VOTRE SÉCURITÉ: Lire attentivement ces instructions avant d'utiliser l'appareil. L’ÉCONOMIE DE Votre appareil ménager Danby est conçu pour l’efficacité en économie de l’énergie. Pour le rendement maximal, observer les recom- L’ÉNERGIE mandations qui suivent. -
Page 16: Outils Nécessaires Pour Installation
Installation OUTILS NÉCESSAIRES MISE EN GARDE POUR INSTALLATION Comme compresseur se trouve du côté des commandes de l’unité (côté droit), ce côté est plus lourd et plus difficile à manipuler. Un sou- tien inapproprié du côté des commandes de l’appareil peut causer des blessures et endommager l’appareil et d’autres biens mobiliers. - Page 17 Installation Votre appareil a été conçu pour que la condensation s’évapore dans des ENDROIT conditions normales. Cependant, en présence d’une humidité extrême, un surplus de condensation peut provoquer un débordement de la cuvette de base vers l’exterieur. L’appareil doit être installé de telle sorte que l’écoule- ment de la condensation ne se déverse pas sur des passants ou sur des proriètés avoisinantes.
- Page 18 Installation INSTRUCTIONS 3) Pour compléter l’installation • Coupez la lisière à calfeutrer en mousse (non adhésif) pour qu’elle se D'INSTALLATION fixe adéquatement au dessous du bas du cadre de la fenêtre. • Placez le climatiseur dans la fenêtre avec le canal de montage en forme de “L”...
-
Page 19: Consignes D'utilisation
Consignes d’utilisation COMMANDES FONCTION DE SÉLECTION: Le commutateur de sélection commande la vitesse du ventilateur et/ou la vitesse du refroidissement. Pour fixer la température désirée du refroidissement, il suffit de tourner le bouton de SÉLECTION au réglage approprié. VITESSE DU VENTILATEUR: •... -
Page 20: Soins Et Entretien
Soins et entretien NETTOYAGE Avant de procéder à l’entretien du climatiseur, assurez-vous de tourner le bouton de SÉLECTION en position “ARRÊT” et débranchez le cordon d’alimentation de la prise électrique. 1) N’utilisez PAS de l’essence, un produit chimique, diluant ou autre sur un climatiseur, car ces substances peuvent endommager la finition de la peinture et déformer des pièces en plastique. -
Page 21: Dépannage
De temps en temps, un problème peut se poser qui est mineur, et une intervention peut ne pas être nécessaire. Employez ce guide de dépannage pour une solution possible. Si l'unité continue à fonctionner incorrectement, demandez un dépôt autorisé de service ou le numéro de appel sans frais Danby pour l'aide à: (1-800-263-2629) PROBLEME... -
Page 22: Garantie
à des fins commerciales, toutes les obligations de Danby en vertu de cette garantie seront annulées. Cette garantie indique en aucun temps la responsabilité de Danby de l’avarie ou dommage de la vin ou autre contenu, soit par les vices de l’appareil, ou soit par- l’utilisation convenable ou inexacte. - Page 23 Model • Modèle Model • Modèle • Modelo DAC5111M / DAC5211M Danby Products Limited, Ontario, Canada N1H 6Z9 Danby Products Limited, Guelph Ontario Canada N1H 6Z9 Danby Products Inc., Findlay, Ohio, USA 45840 Danby Products Inc., Findlay, Ohio USA 45839-0669...