Chapitres
Table des Matières
Dépannage

Manuels Connexes pour Nicols SPLENDOR LED


Sommaire des Matières pour Nicols SPLENDOR LED
-
Page 1: Table Des Matières
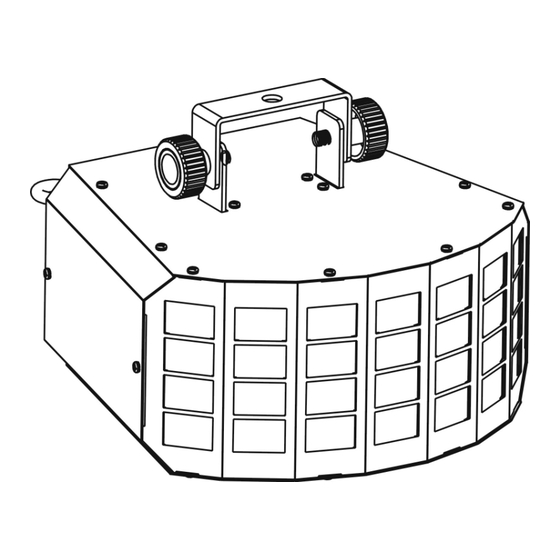
TABLE DES MATIERES Instructions de sécurité Caractéristiques techniques Installation de l’appareil Fonctions principales SPLENDOR LED Fonctionnement de l’appareil 5.1 Master/Slave 5.2 Contrôleur CA8 5.3 Contrôleur DMX universel Configuration DMX 512 Connexion DMX 512 Dépannage de l’appareil Entretien de l’appareil MANUEL D’UTILISATION Nous vous recommandons de lire attentivement le manuel avant toute utilisation. -
Page 2: Instructions De Sécurité
1. Instructions de sécurité Consommation : 34W • Lire attentivement les consignes ci-après. Elles contiennent des informations LED : 2 x LED RGB 10W • importantes sur la sécurité de l'installation ainsi que sur l'utilisation et la Dimensions : 296 x 271 x 140 mm •... - Page 3 Le mode Slave Appuyez sur le bouton MENU jusqu’à ce que s’affiche. Appuyez sur ENTER. L'affichage clignote Utilisez DOWN et UP pour sélectionner (master), (slave 1) ou (slave 2). Une fois le mode choisi, appuyez sur ENTER pour valider. A défaut, vous allez retourner automatiquement sur le menu des fonctions principales sans aucun changement enregistré...
-
Page 4: Remarque : Ajustement De La Position De Départ Home Position Adjust
sur le bouton MENU, si vous désirez retourner à toutes les fonctions principales sans avoir L’affichage à LED fait de sélection. Appuyez sur MENU jusqu’à ce que s’affiche. Appuyez sur ENTER, l’affichage clignote. Utilisez DOWN et UP pour choisir le mode (affichage LED activé) ou le Remarque : Ajustement de la position de départ Home Position Adjust Appuyer sur le bouton ENTER pendant 5 secondes. -
Page 5: Contrôleur Dmx Universel
premier appareil, vous contrôlez toutes les autres unités et par conséquent toutes les fonctions et les modes de ces mêmes unités. Blackout Blackout de l’appareil Select ion de la vitesse 1. Strobe Synchro Sélection du Show Lent Fonctions 2. Strobe désynchro (Show 1-8) Moyen 3. -
Page 6: Dépannage De L'appareil
E. Un des canaux ne fonctionne pas correctement 2. Faîtes une chaine avec les appareils en connectant la sortie de la prise XLR de l'appareil à l'entrée de l'appareil suivant. Le câble ne doit pas être branché à un câble 1.