Honeywell Home RLV4305A1014 Manuel Du Propriétaire
Table des Matières
Les langues disponibles
Les langues disponibles
Liens rapides
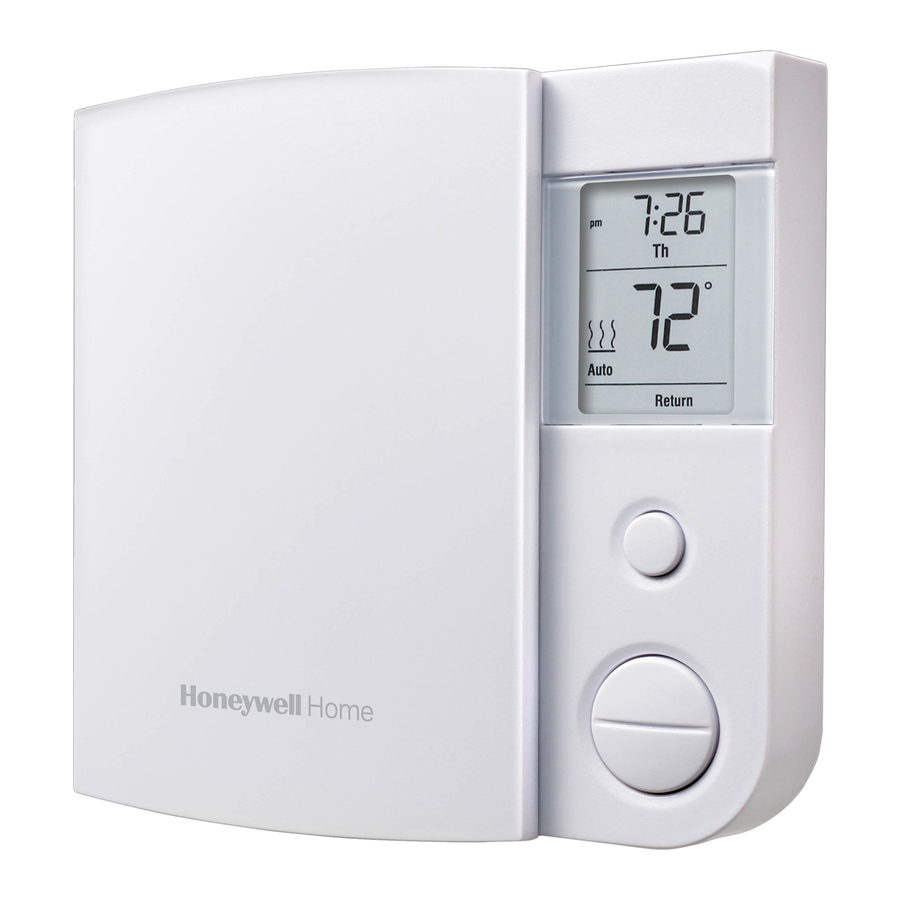
Programmable
Thermostat
Owner's Manual
Read and save these
instructions.
For help please visit
honeywellhome.com
Application
This thermostat is designed to control an electric heating system such as a baseboard
heater, a radiant ceiling, a convector or a fan-forced heater.
The thermostat CANNOT be used with:
a resistive load under 0.83 A
•
a resistive load over 14.6 A
•
a system driven by a contactor or a relay (inductive load)
•
a central heating system.
•
WARNING Electrical Shock Hazard.
This thermostat is a line voltage control (120–240 Volts). Do not install it if you
are not completely familiar with house wiring. If handled improperly, there is risk
of electric shock hazard, which may cause serious injury or death.
Do you need assistance? We are here to help.
Call 1-800-831-2823 for wiring assistance before returning the
thermostat to the store.
RLV4305A1014
am
M38836
Table des Matières

Manuels Connexes pour Honeywell Home RLV4305A1014


Sommaire des Matières pour Honeywell Home RLV4305A1014
- Page 11 Thermostat RLV4305A1014 programmable Manuel du propriétaire Lisez et conservez ces instructions. M38836 Pour obtenir de l’aide, veuillez visiter le site honeywellhome.com Application Ce thermostat est conçu pour commander un appareil de chauffage électrique, comme une plinthe électrique, un plafond chauffant, un convecteur ou un dispositif de chauffage à...
-
Page 12: Alerte : Avis De Recyclage Du Mercure
ALERTE : AVIS DE RECYCLAGE DU MERCURE Ce produit ne contient pas de mercure. Toutefois, ce produit peut remplacer un produit contenant du mercure. Le mercure et les produits contenant du mercure ne doivent pas être jetés dans les ordures ménagères. - Page 13 Câblage Raccordez les fils du thermostat à l’alimentation électrique et à la charge à l’aide de connecteurs sans soudure pour fils de cuivre. M38834 Installation à 2 fils Installation à 4 fils Pose du thermostat 1. Poussez les fils excédentaires à l’intérieur de la boîte électrique.
-
Page 14: Réglage De L'heure Et Du Jour
Réglage de l’heure et du jour L’horloge doit être 1. Appuyez sur le bouton Day (Jour) pour régler le jour. réglée lorsque l’heure 2. Utilisez les boutons Hour (Heure) et est incorrecte ou Min pour régler l’horloge. clignote à l’écran. 3. -
Page 15: Affichage
Affichage Heure et jour Température de point Apparaît lorsque de consigne* l’alimentation du thermostat est coupée Indique que les réglages sont (voir la page 19) verrouillés (voir la page 18) S’affiche si le thermostat est Température de la pièce configuré pour un dispositif de Indicateur de mode (voir les chauffage à... -
Page 16: Mode Manuel (Man)
Pour modifier l’horaire : 1. Appuyez sur le bouton Pgm. Chaque fois que vous appuyez sur le bouton Pgm, le thermostat affiche l’une des périodes de l’horaire dans l’ordre suivant : Jours de la semaine (MO TU WE Fin de semaine (SA SU) TH FR) (LU MA ME JE VE) (SA DI) 2. -
Page 17: Paramètres Avancés
Paramètres avancés Le premier paramètre 1. Appuyez sur le bouton Pgm pendant 3 apparaît lorsque le secondes. menu est affiché. 2. Pour afficher le paramètre suivant, appuyez sur le bouton Pgm. 3. Pour modifier le paramètre affiché, appuyez sur le bouton Up (Augmenter) ou Down (Baisser). -
Page 18: Démarrage Anticipé
Température d’absence Réglez la température que vous voulez utiliser lorsque le thermostat est en mode Absent (voir la page 16). Heure avancée Lorsque la fonction d’Heure avancée est activée, le thermostat passe automatiquement à l’heure avancée le deuxième dimanche de mars et à l’heure normale le premier dimanche de novembre. -
Page 19: Panne De Courant
LO s’affiche La température mesurée est inférieure à la plage d’affichage. Le chauffage est activé. HI s’affiche La température mesurée est supérieure à la plage d’affichage. E1, E2 s’affiche Le rendement du thermostat est réduit en raison d’une erreur de capteur. -
Page 20: Garantie Limitée De 1 An
33-00147EF—05 M.S. Rev. 03-22 | Imprimé aux États-Unis © 2022 Resideo Technologies, Inc. All rights reserved. The Honeywell Home trademark is used under license from Honeywell International, Inc. This product is manufactured by Resideo Technologies, Inc. and its affiliates. Tous droits réservés. La marque de commerce Honeywell Home est utilisée avec l’autorisation d’Honeywell International, Inc.