Publicité
Les langues disponibles
Les langues disponibles
Liens rapides
Drill holes on wall at hole positions marked (no accessories provided with this template)
EN
What's in the supplied mounting kit
140 mm
1 x wall mount template
What else you'll need
Electric drill
•
2 x screws and dowels
•
Screwdriver
•
Pencil
•
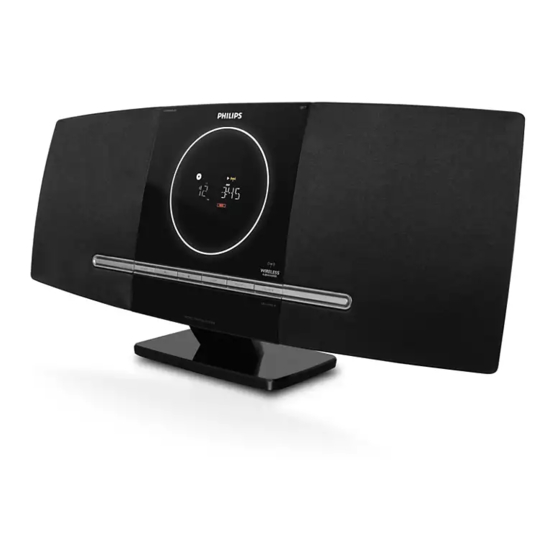
Mount the main unit
Caution
•
To fi nd a suitable mounting location, make the necessary
physical and wireless connections.
•
Mount the main unit and speakers to a solid concrete
wall or plaster board wall only!
You can use the supplied bracket to mount the
main unit and speakers to the wall.
139 mm (54.8")
Wall mounting instructions
1
Align the template in the chosen location on
a wall. Use a pencil to mark the drilling posi-
tions.
2
Drill holes as marked.
3
Secure 2 supplied screws in the holes, but
leave 5mm between the screw head and
the wall.
4
Detach the table stand from the main unit.
5
Hook the main unit in place.
139MM
MCD388_12_Wall Mounting_V1.0
Publicité

Manuels Connexes pour Philips MCD388/12


Sommaire des Matières pour Philips MCD388/12
- Page 1 139 mm (54.8") Wall mounting instructions Drill holes on wall at hole positions marked (no accessories provided with this template) What’s in the supplied mounting kit Align the template in the chosen location on a wall. Use a pencil to mark the drilling posi- 140 mm tions.
-
Page 2: Instructions Relatives À La Fi Xation Murale
139 mm (54.8") Instructions relatives à la fi xation murale Percez des trous dans le mur en respectant la position indiquée pour ceux-ci (pas d'accessoires fournis avec ce modèle). Contenu du kit de fi xation fourni Placez le patron à l’emplacement choisi sur le mur. - Page 3 139 mm (54.8") Instrucciones de montaje en pared Utilice esta hoja como plantilla para perforar los orifi cios en la pared (no se incluyen accesorios con esta plantilla). pared. Contenido del kit de montaje suministrado Alinee la plantilla en la ubicación de la pared 140 mm que haya elegido.
- Page 4 139 mm (54.8") Anweisungen zur Wandmontage Bohren Sie entsprechend der Markierungen Löcher in die Wand (kein Zubehör mit dieser Schablone mitgeliefert) gerät und die Lautsprecher an der Wand zu Lieferumfang des Installationskits montieren. 140 mm Richten Sie die Schablone in der gewün- schten Position an der Wand aus.
- Page 5 139 mm (54.8") Instructies voor bevestiging aan de wand Boor gaatjes in de wand op de aangegeven posities (geen accessoires meegeleverd bij deze sjabloon) U kunt de meegeleverde beugel gebruiken om De inhoud van de meegeleverde montagekit het apparaat en de luidsprekers aan de wand te 140 mm bevestigen.
-
Page 6: Istruzioni Per Il Montaggio A Parete
139 mm (54.8") Istruzioni per il montaggio a parete Praticare dei fori in corrispondenza dei punti contrassegnati (attrezzatura non inclusa nel modello) Cosa contiene il kit di montaggio in dotazione Allineare la sagoma nella posizione scelta sulla parete. Utilizzare una matita per seg- 140 mm nare i punti in cui trapanare.