LiftMaster LMWEKITU Mode D'emploi
Trousse de bordure surveillée sans fil

Manuels Connexes pour LiftMaster LMWEKITU


Sommaire des Matières pour LiftMaster LMWEKITU
- Page 1 MONITORED WIRELESS EDGE KIT TROUSSE DE BORDURE SURVEILLÉE SANS FIL JUEGO DE BORDE INALÁMBRICO MONITOREADO Models/Modèles/Modelos LMWEKITU LMWETXU...
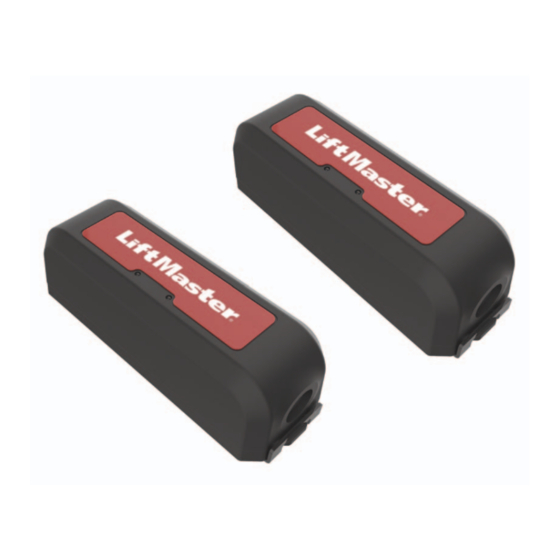
- Page 2 LiftMaster monitored resistive edge (not included) and the gate operator. Maximum range is 130 ft. (39.6 m.) (for best results install with a clear line of sight between transmitter and receiver, objects in the path may reduce range). You can program up to 4 transmitters to the receiver. The kit works with LiftMaster monitored resistive edge sensors ONLY.
- Page 3 WIRE THE RECEIVER IMPORTANT: Disconnect ALL power to the operator. 1. Find the operator diagram on pages 17-19 to see the mounting location for the receiver and wire routing. 2. Open the receiver housing. 3. Route the wire harness from the receiver to the operator control board. Connect the wire harness to the “EXP. BOARD” terminal on the control board (A) or to the expansion board (if installed) (B).
-
Page 4: Programmation
PROGRAMMING The receiver can learn up to 4 transmitters. 1. Press the learn button on the RECEIVER board. The red LED will come on to indicate programming mode. NOTE: To exit programming mode, press the learn button again. 2. Press the learn button on the TRANSMITTER to be learned. The red LED on the RECEIVER will blink 4 times. If adding an additional TRANSMITTER, press it’s learn button. - Page 5 TEST Status LED Apply pressure to edge. The red LED on the TRANSMITTER and the corresponding open or close edge DEL d’état LED on the gate operator control board will flash. If the TRANSMITTER LED does not flash, check the DEL de estado transmitter and edge sensor for proper installation and wiring.
-
Page 6: Dépannage
REMOVE A TRANSMITTER 1. Disconnect the edge sensor wires from the TRANSMITTER. 2. Remove the batteries from the TRANSMITTER. 3. Press and hold the RECEIVER learn button until the red status LED begins to flash (about 3 seconds) then release. The receiver will return to normal Learn Button operation after 60 seconds. - Page 7 • SL3000UL CODES DE DIAGNOSTIC DU LMWEKITU Dispositif non surveillé détecté sur le système S’assurer que la bordure de détection installée est un produit LiftMaster. Effectuer l’étape 5. de sécurité sans fil Bordure sans fil déclenchée Réponse normale quand la bordure entre en contact avec un objet. Si le déclenchement est constant, effectuer l’étape 5.
- Page 8 PRIÈRE d’effacer le code d’erreur après la restauration du système à l’étape 4. PRUEBA DETALLADA PASO A PASO DEL LMWEKITU Derive los tableros de la interfaz I2C y/o el tablero de expansión. Esto proporciona un buen método para resolver problemas mediante el proceso de eliminación.
- Page 9 INDIVIDUAL TESTS AND SETTINGS How to check the supervisory circuit on the edge. a. Open the edge caps and ensure that both the contact plug on one side of the edge and the monitor resistor on the other side of the edge are installed correctly and that their leads are not corroded.
- Page 10 CONFIGURACIÓN Y PRUEBAS INDIVIDUALES Cómo verificar el circuito supervisor en el borde. a. Abra las tapas del borde y asegúrese de que tanto el enchufe del contacto a un lado del borde como el resistor del monitor en el otro lado del borde estén instalados correctamente y sus cables no estén corroídos.
- Page 11 Try moving the receiver to different locations and different orientations. 4. NOTE: If a wireless Bluetooth headset being used by a technician has interference problems with his signal, the same is probably happening with the transmitter to receiver on the LMWEKITU.
- Page 12 1. Be open to the possibility that more than one problem may exist. A loose pin on the expansion board coupled with electrically noisy LED lights may both be influencing the performance of the LMWEKITU at the same time. Work each issue individually until all LMWEKITU advanced diagnostics stop logging.
- Page 13 Valeur Vierge (aucun code) h. Enregistrer tous les codes d’erreur avancés. Il peut y avoir jusqu’à 20 entrées. 11. Codes de diagnostic avancés concernant le LMWEKITU Code Description Code Description AB – Perte de communication sans fil Bluetooth pour une bordure AD –...
- Page 14 1. Il est possible qu’il existe plus d’un problème. Une broche lâche sur la carte d’extension et des lampes à DEL « bruyantes » peuvent toutes deux influencer en même temps le rendement du LMWEKITU. Travailler sur chaque problème individuellement jusqu’à ce que tous les diagnostics avancés du LMWEKITU cessent d’être journalisés.
- Page 15 Valor En blanco (sin código) h. Registre todos los códigos de error avanzados. Puede haber hasta 20 entradas. 11. Códigos de diagnóstico avanzados que pertenecen a LMWEKITU. Código Descripción Código Descripción AB – Pérdida de comunicación inalámbrica vía Bluetooth para un borde AD –...
- Page 16 1. Considere la posibilidad de que pueda existir más de un problema. Un pin suelto en el tablero de expansión combinado con luces DEL con ruido eléctrico puede estar afectando el desempeño del LMWEKITU al mismo tiempo. Trabaje en cada problema individualmente hasta que dejen de registrarse todos los diagnósticos avanzados del LMWEKITU.
- Page 17 MODELS RSW12U, RSW12UL - RECEIVER MOUNTING LOCATION Mount the bracket on the side facing the gate. Drill .15" (3.8 mm) holes with a #25 drill for mounting the bracket. MODÈLES RSW12U, RSW12UL – EMPLACEMENT DE MONTAGE DU RÉCEPTEUR Monter le support sur le côté faisant face à la barrière. Percer des trous de 3,8 mm (0,15 po) avec une perceuse no 25 pour monter le support. MODELOS RSW12U, RSW12UL –...
- Page 18 MODELS RSL12U, RSL12UL AND CSL24U, CSL24UL - RECEIVER MOUNTING LOCATION Drill .15" (3.8 mm) holes with a #25 drill for mounting the bracket. MODÈLES RSL12U, RSL12UL ET CSL24U, CSL24UL – EMPLACEMENT DE MONTAGE DU RÉCEPTEUR Percer des trous de 3,8 mm (0,15 po) avec une perceuse no 25 pour monter le support. MODELOS RSL12U, RSL12UL Y CSL24U, CSL24UL –...
- Page 19 MODELS SL3000U, SL3000UL - RECEIVER MOUNTING LOCATION Mount the bracket on the side facing the gate. Drill .15" (3.8 mm) holes with a #25 drill for mounting the bracket. MODÈLES SL3000U, SL3000UL – EMPLACEMENT DE MONTAGE DU RÉCEPTEUR Monter le support sur le côté faisant face à la barrière. Percer des trous de 3,8 mm (0,15 po) avec une perceuse no 25 pour monter le support. MODELOS SL3000U, SL3000UL –...
- Page 20 • Conectar el equipo en una salida de un circuito distinto del circuito al que está conectado el receptor. • Consultar con el distribuidor o con un técnico de radio/TV experimentado para pedir ayuda. For parts and accessories visit LiftMaster.com Pour les pièces et accessoires, aller à LiftMaster.com. Para ver partes y accesorios, visite LiftMaster.com LiftMaster ®...