Table des Matières
Publicité
Les langues disponibles
Les langues disponibles
Liens rapides
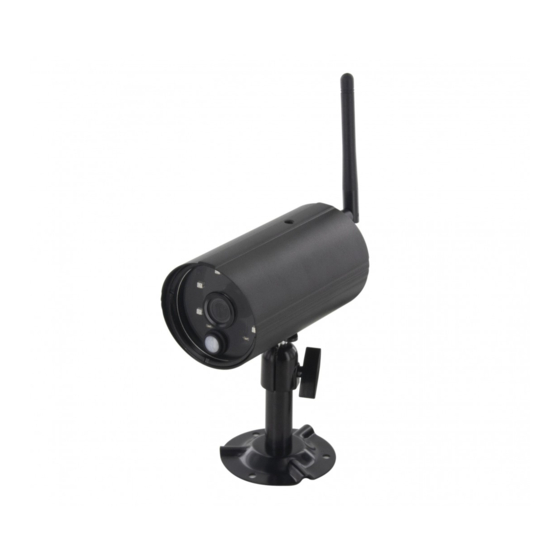
Wireless Camera
QUICK START GUIDE / GUIDE DE DÉMARRAGE RAPIDE / BEKNOPTE
HANDLEIDING / GUÍA DE INSTALACIÓN RÁPIDA / GUIA DE INICIAÇÃO
RÁPIDA / KURZANLEITUNG / GUIDA RAPIDA ALL'USO /
РУКОВОДСТВО ПОЛЬЗОВАТЕЛЯ /
HIZLI BAŞLANGIÇ KILAVUZU / GHID DE INSTALARE
34543
КРАТКОЕ
SKRÓCONA INSTRUKCJA OBSŁUGI /
KIT CONTENT
PRODUCT OVERVIEW
Note: Before using the memory card/ HDD for
recording video, you MUST format the memory card/
HDD on the console.
INSTALLING YOUR DEVICES
A. Setting up your monitor
1. Insert the memory card and/or connect HDD device to USB port.
2. Twist on the antenna to the LEFT side of the console.
3. Connect the Ethernet cable from the BACK of the console to your router
4. Connect the 12V power adaptor and power on the system
5. Twist on the stand to the back of the console
Note: Keep distance between device minimum 1 meter
EN
Connect system directly after the router. Do not connect
system to router through a hub or switcher. Enable DHCP
and UPnP on your router. TCP port #6000 and #80 should
be opened
Publicité
Table des Matières

Sommaire des Matières pour Chacon 34543
- Page 5 Les ports TCP #6000 et #80 doivent être ouverts Hereby, Chacon, declares that the radio equipment type « 34543 » is in compliance with the Directive 2014/53/UE. The full text of the EU decalration of conformity is available at the following Internet address: http://chacon.be/conformity...
-
Page 6: Menu Principal
Appairez la caméra au récepteur Si vous avez d'autres caméras déconnectés avec récepteur, suivez les étapes ci-dessous pour l'appairage : 1. Appuyez sur l’icône de configuration de la caméra pour accéder à l’écran d’appairage de la caméra. 2. Sélectionnez le canal de la caméra (caméra 1/2/3/4). 3. -
Page 7: Visualisation En Direct Avec Affichage Dynamique
Visualisation en direct avec affichage dynamique Remarque : Si vous n’avez pas installé l’application pour scanner des codes QR dans votre smartphone, nous recommandons de télécharger et d’installer l’application « Barcode Scanner ». 7. Saisissez le même mot de passe que le récepteur. Donnez un nom à votre appareil et ensuite appuyez sur « save » (Enregistrer) pour sortir. -
Page 8: Présentation De L'application
PRÉSENTATION DE L’APPLICATION b. intervalle Allez dans les paramètres de la notification push pour configurer l’intervalle de la notification push. Quatre options sont disponibles vous pouvez choisir la durée de réception des notifications push Remarque : votre smartphone recevra immédiatement la notification push après la première activation. Ensuite, la caméra enverra une notification push selon l’intervalle paramétré.


