HP Deskjet F4100 All-in-One Série Guide De Configuration
Masquer les pouces
Voir aussi pour Deskjet F4100 All-in-One Série:
- Mode d'emploi (154 pages) ,
- Guide d'utilisation (69 pages) ,
- Guide de configuration (8 pages)
Liens rapides
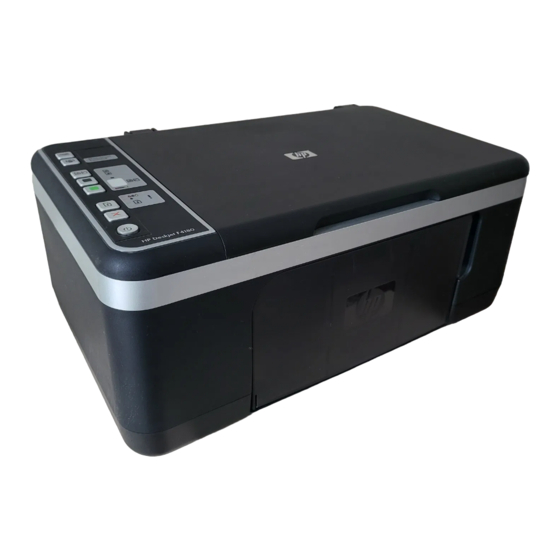
HP Deskjet F4100 All-in-One series
Setup Guide
Guía de instalación
1
2
a.
3
HP Deskjet F4100 All-in-One series
Basics Guide
EN
*CB580-90014*
*CB580-90014*
*CB580-90014*
b.
ES
FR
Guide de configuration
WARNING:
EN
correctly, do not connect the USB cable until step 14.
ATENCIÓN:
ES
ha instalado correctamente, no conecte el cable USB
hasta el paso 14.
AVERTISSEMENT :
FR
correcte du logiciel, ne connectez pas le câble USB
avant l'étape 14.
Lower the paper tray and the print cartridge door.
EN
IMPORTANT:
device.
Baje la bandeja de papel y la puerta de los
ES
cartuchos de impresión.
IMPORTANTE:
embalaje del dispositivo.
Abaissez le bac d'alimentation du papier et ouvrez
FR
la porte d'accès aux cartouches d'impression.
IMPORTANT :
périphérique.
Verify the box contents. The contents of your box may
EN
differ.
* Purchase a USB cable separately if it is not included.
Compruebe el contenido de la caja. El contenido de su
ES
caja puede ser distinto.
* Compre un cable USB por separado si no está
incluido.
*
Vérifiez le contenu du carton. Le contenu du carton peut
FR
varier.
* Achetez un câble USB séparément si aucun n'est
inclus.
To ensure that the software is installed
Para asegurarse de que el software se
pour garantir une installation
Remove all packing material from the
Extraiga todo el material de
retirez tout matériel d'emballage du

Manuels Connexes pour HP Deskjet F4100 All-in-One Série


Sommaire des Matières pour HP Deskjet F4100 All-in-One Série
- Page 1 HP Deskjet F4100 All-in-One series Setup Guide Guide de configuration Guía de instalación WARNING: To ensure that the software is installed correctly, do not connect the USB cable until step 14. ATENCIÓN: Para asegurarse de que el software se ha instalado correctamente, no conecte el cable USB hasta el paso 14.
-
Page 2: Important
Ouvrez la porte d’accès aux cartouches d’impression. Attendez que le chariot d’impression se déplace vers le centre du périphérique. IMPORTANT : pour insérer la cartouche d’impression, le périphérique doit être allumé. 2 • HP Deskjet F4100 All-in-One series... - Page 3 Hold the cartridges with the HP logo on top. b. Insert the tri-color cartridge in the left cartridge slot and the black cartridge in the right cartridge slot.
- Page 4 (botón Escanear) para completar la alineación. Espere hasta que la luz verde de encendido deje de parpadear. Appuyez sur (bouton Numérisation) pour lancer l’alignement. Attendez que le voyant vert Marche ne clignote plus. 4 • HP Deskjet F4100 All-in-One series...
- Page 5 CD-ROM icon with the HP logo, and then double-click setup.exe. Mac: Connect the USB cable to the port on the back of the HP All-in-One, and then to any USB port on the computer. Windows: introduzca el CD en el equipo una vez encendido e iniciado éste.
- Page 6 Mac: Insert the CD. Double-click the the USB cable to the port on the back of the HP All-in-One Installer icon. Follow the HP All-in-One, and then to any USB port on the onscreen instructions. computer. Mac: introduzca el CD. Haga doble clic en Windows: una vez que aparezca el indicador el icono HP All-in-One Installer.
- Page 7 USB. Acción: cierre todas las pantallas. Extraiga el CD de Windows verde del dispositivo HP All-in-One y, a continuación, vuelva a introducirlo. Consulte el paso 14. Problème : (Windows uniquement) l’écran vous invitant à connecter le câble USB ne s’affiche pas.
-
Page 8: Panneau De Commande
Problem: (Windows only) The Microsoft Add Hardware screens display. Action: Cancel all screens. Unplug the USB cable, and then insert the green HP All-in-One Windows CD. Refer to Steps 13 and 14. Problema: (sólo en Windows) aparece la pantalla Agregar hardware de Microsoft.