JVC KD-R312 Manuel D'installation/Raccordement
Masquer les pouces
Voir aussi pour KD-R312:
- Manuel d'instructions (26 pages) ,
- Manuel d'instructions (26 pages) ,
- Manuel de l'utilisateur
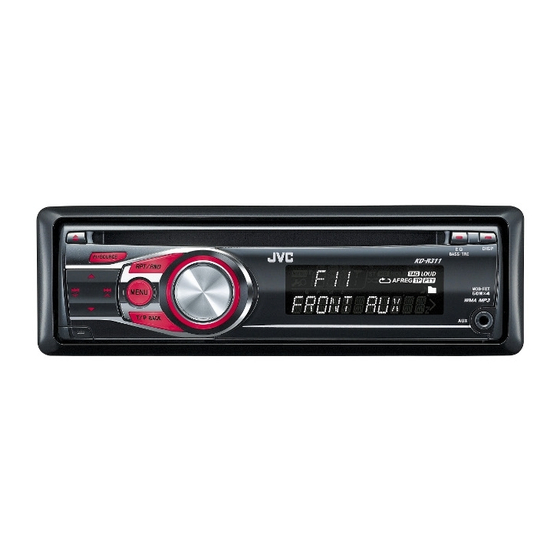
KD-R312/KD-R311
Installation/Connection Manual
Manuel d'installation/raccordement
GET0624-010A
[E/EU]
You need the installation kits which corresponds to your car. / Vous avez besoin des kits
d'installation correspondants à votre voiture.
• To prevent short circuits:
– Disconnect the battery's negative terminal and make all electrical connections before installing the unit.
– Cover the terminals of the UNUSED leads with insulating tape.
• Be sure to ground this unit to the car's chassis again after installation.
• Replace the fuse with one of the specified rating.
• Connect speakers with a maximum power of more than 50 W
(impedance of 4 Ω to 8 Ω). Otherwise, change the <AMP GAIN> setting.
(See page 16 of the INSTRUCTIONS.)
• The heat sink becomes very hot after use. Be careful not to touch it
when removing this unit.
PRECAUTIONS on power supply and speaker connections
• DO NOT connect the speaker leads of the power cord to the car battery; otherwise, the unit will be
seriously damaged.
• BEFORE connecting the speaker leads of the power cord to the speakers, check the speaker wiring in
your car.
The following illustration shows a typical installation. If you have any questions or require information
regarding installation kits, consult your JVC IN-CAR ENTERTAINMENT dealer or a company supplying kits.
In-dash mounting / Montage encastré
1
*
When installing the unit without using the sleeve / Lors de l'installation de l'appareil
scans utiliser de manchon
Flat head screws (M5 × 8 mm) / Vis à tête plate (M5 × 8 mm) *
Pocket / Poche
Bracket / Support *
1
*
When you stand the unit, be careful not to damage the fuse on the rear.
2
*
Not supplied for this unit.
ENGLISH / FRANÇAIS
Check the battery system in your car /
Vérifiez le système de batterie de
votre voiture
WARNINGS / AVERTISSEMENTS
Heat sink / Dissipateur de chaleur
INSTALLATION / INSTALLATION
Do the required electrical connections (see page 2).
Réalisez les connexions électriques (voir page 2).
2
2
12 V DC, NEGATIVE ground / 12 V CC, masse NÉGATIVE
• Pour éviter les courts-circuits:
– Déconnectez la borne négative de la batterie et réaliser toutes les connexions avant d'installer l'appareil.
– Recouvrez les prises des fils NON UTILISÉS avec du ruban isolant.
• Assurez-vous de raccorder de nouveau la mise à la masse de cet appareil au châssis de la voiture après
l'installation.
• Remplacer le fusible par un de la valeur précisée.
• Connectez des enceintes avec une puissance maximum de 50 W (impédance de 4 Ω à 8 Ω). Sinon, changez le
réglage <AMP GAIN>. (Voir la page 16 du MANUEL D'INSTRUCTIONS.)
• Le dissipateur de chaleur devient très chaud après usage. Faire attention de ne pas le toucher en retirant cet
appareil.
PRECAUTIONS sur l'alimentation et la connexion des enceintes
• NE CONNECTEZ PAS les fils d'enceintes du cordon d'alimentation à la batterie; sinon, l'appareil serait
sérieusement endommagé.
• AVANT de connecter les fils d'enceintes du cordon d'alimentation aux enceintes, vérifiez le câblage des
enceintes de votre voiture.
L'illustration suivante est un exemple d'installation typique. Si vous avez des questions ou avez besoin
d'information sur des kits d'installation, consulter votre revendeur d'autoradios JVC.
Install the unit at an angle
of less than 30˚.
Installez l'appareil avec un
angle de moins de 30˚.
Bend the appropriate tabs to hold the sleeve
firmly in place.
Tordez les languettes appropriées pour maintenir le
manchon en place.
Removing the unit / Retrait de l'appareil
Release the rear section first... / Ouvrez la section arrière en premier...
1
*
Lorsque vous mettez l'appareil à la verticale, faire attention de ne pas endommager le fusible situé sur l'arrière.
2
*
Non fourni avec cet appareil.
1
1009DTSMDTJEIN
EN, FR
© 2009 Victor Company of Japan, Limited
To the car system / Au système autoradio
Part list / Liste de pièces
A Control panel / Panneau de
commande (×1)
B Sleeve / Manchon (×1)
C Trim plate / Plaque d'assemblage
(×1)
D Handles / Poignées (×2)

Manuels Connexes pour JVC KD-R312


Sommaire des Matières pour JVC KD-R312
- Page 1 The following illustration shows a typical installation. If you have any questions or require information L’illustration suivante est un exemple d’installation typique. Si vous avez des questions ou avez besoin regarding installation kits, consult your JVC IN-CAR ENTERTAINMENT dealer or a company supplying kits. d’information sur des kits d’installation, consulter votre revendeur d’autoradios JVC.
- Page 2 À acheter séparément Consult your JVC IN-CAR ENTERTAINMENT dealer or a company supplying kits for details about connection. / Pour en savoir plus sur connexions, consultez votre revendeur d’autoradio JVC ou une Custom wiring harness / compagnie fournissant des kits.