Publicité
Table des Matières
- 1 Set Highest Limit Fixer les Limites Inférieures
- 2 Annuler les Limites Cancel Limits
- 3 Switch CM or Inch Display Unit Changer L'unité D'affichage en CM ou en Pouces
- 4 Anti-Collision Sensitivity Setting Réglage de la Sensibilité de L'anticollision
- 5 Problèmes Courants et Méthodes
- Télécharger ce manuel
Important note/Note importante:
1. Before you begin: Lay out all parts on a clean surface to check if the tags and numbers are correc
Avant de commencer : Disposer toutes les pièces sur une surface propre pour vérifier si les étiquettes
et les numéros sont corrects.
2. Don't screw tightly before all the screws are put into the corresponding holes.
les vis soient placées dans les perforations correspondantes avant de commencer à visser.
3. Please use the screws correctly, otherwise you might damage the desk panel./ Utiliser les vis
correctement, sinon vous risquez d'endommager le panneau du bureau.
4. It is recommended to install this desk by two people./ Il est fortement recommandé de mobiliser au
moins deux personnes pour le montage.
HARDWARE IDENTIFICATION / IDENTIFICATION DES PIECES MONTAGE
1
5
6
13
ASSEMBLY INSTRUCTIONS
NOTICE D'ASSEMBLAGE
MODEL#/N°DE MODÈLE# CAR2WDSK&CAR2BDSK
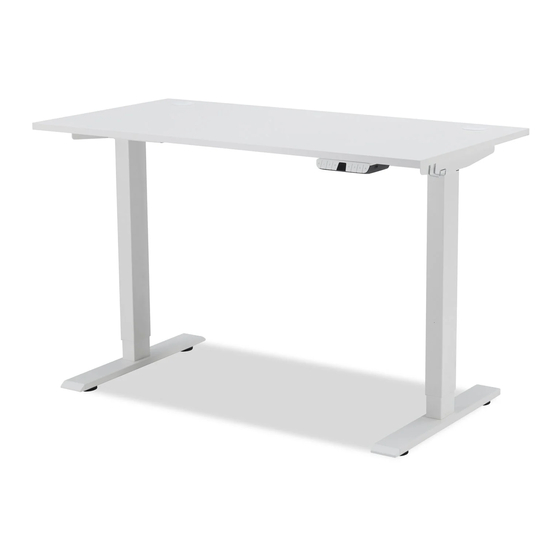
DESCRIPTION: CARSON DESK
3
4
10
7
8
11
Page 1 of 7
/
S'assurer que toutes
9
12
t./
Publicité
Table des Matières

Manuels Connexes pour BRICK CAR2WDSK


Sommaire des Matières pour BRICK CAR2WDSK
- Page 1 ASSEMBLY INSTRUCTIONS NOTICE D'ASSEMBLAGE MODEL#/N°DE MODÈLE# CAR2WDSK&CAR2BDSK DESCRIPTION: CARSON DESK Important note/Note importante: 1. Before you begin: Lay out all parts on a clean surface to check if the tags and numbers are correc Avant de commencer : Disposer toutes les pièces sur une surface propre pour vérifier si les étiquettes et les numéros sont corrects.
- Page 2 Component name Amount(PCS) Numéro Nom de la composante Quantité (PCES) Desktop panel Panneau de bureau hand controller manette de commande lift pole poteau de levage feet pieds pieds Patch cord Câble de raccordement Power cord Câble d'alimentation M6x14hexagon flat round head screw M10x35hexagon flat round head screw ST4.2x16 tapping screw Vis taraudeuse ST4.2x16...
- Page 3 Step 1 Step 2 Upside down with proper protection layer and locate the lift feet Fasten the feet to the lift pole by using M10x35hexagon flat round by using the bottom box and screws. head screw(4 in total). Fasten each lift feet to the frame by using 4 PCS M6x14hexagon étape 2 flat round head screw(...
- Page 4 Usage and Setting/ Utilisation et réglage Desk Height Hauteur du bureau Sedentary reminder Down Setting Rappel sur la sédentarité Monter Descendre Réglage 69.8 Four Memory Height Quatre hauteurs de mémoire 1. Please make sure no obstacles during up and down. Note 2.Don’t make the desktop attach to wall.
-
Page 5: Set Highest Limit Fixer Les Limites Inférieures
Set Highest Limit Fixer les limites inférieures Press “M” button, the display shows “s-”, then release the button; Press the “down” button, after the display flashes, release the button; Then ← press “M” button again for 2 seconds, and when the display shows“000”, the setting is completed. -
Page 6: Switch Cm Or Inch Display Unit Changer L'unité D'affichage En Cm Ou En Pouces
Switch the One-Touch & Constant-Touch memory program Basculer entre les programmes de mémoire à simple et à toucher normal Under the reset status (display flashing RST), Press button “1” for 5 seconds to switch the memory setting way: “10.1” means the One-Touch memory program. “10.2”... -
Page 7: Problèmes Courants Et Méthodes
Memory Position Setting Réglage de la position de la mémoire 5 - - Press “M” button, when display shows “S-”, choose and press one of memory button and this position will be remembered; Press “up” or “down” button to reach the height you →...