Webasto SmarTemp Control Consignes D'utilisation Et D'installation
Interface à commande numérique pour les réchauffeurs d'air evo air top 2000 st / 3900 / 5500
Table des Matières
Les langues disponibles
Les langues disponibles
Liens rapides
English ....................................................................................................................1
Français ...................................................................................................................6
Español ...................................................................................................................13
General
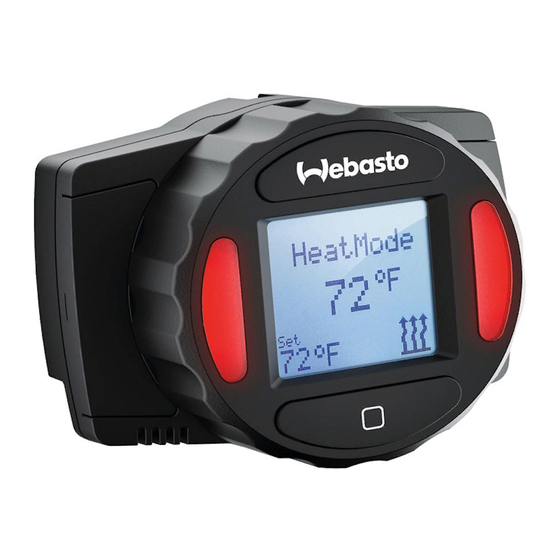
Thank you for choosing Webasto to meet your heating needs. The Webasto SmarTemp Control enables
you to quickly and effortlessly operate the AT 2000 ST or AT 3900 / 5500 EVO Air Heaters.
Operation
The Webasto SmarTemp Control can be operated using a single rotary dial around the outside of the unit
to browse through different menu options. Simply click the select button (
following sections will define each menu item and its default setting.
Compatibility
AT 2000 ST - Adaptor harness (P/N: 5010612A)
AT 3900 / 5500 EVO – Adaptor harness (P/N: 5010613A)
Mounting Procedure
1. Find a suitable mounting location (on a flat surface if
possible) in a visible area.
Note: Always install in an area protected from the
effects of weather and contamination.
2. Use the drilling dimensions / template in the back of
this manual to lightly mark the two mounting holes.
3. (Optional Step) To route wire harness through the
mounting surface, drill a 22mm hole as notated on the
drilling dimensions / template.
Note: Always make sure there are no obstacles behind
the mounting location prior to drilling.
4. Secure the Webasto SmarTemp Control using the two supplied #4 screws.
SmarTemp Control
Digital Control Interface For
Air Top 2000 ST / 3900/5500 EVO Heaters
Installation / Operation Instructions
1
) to make your choice. The
Table des Matières

Manuels Connexes pour Webasto SmarTemp Control


Sommaire des Matières pour Webasto SmarTemp Control
- Page 6 Installation / Consignes d’utilisation Généralités Nous vous remercions d’avoir choisi un appareil Webasto pour satisfaire à vos besoins de chauffage. La commande Webasto SmarTemp vous permet d’utiliser rapidement et sans effort les réchauffeurs d’air EVO AT 2000 ou AT 3900 / 5500.
- Page 7 Remarque : Assurez-vous qu’il n’y a pas d’obstacles derrière l’emplacement de fixation avant d’effectuer le perçage. 4. Fixez solidement la commande Webasto SmarTemp à l’aide des sept vis no 4. 5. Apposez l’autocollant de mise en garde signalant que le réchauffeur est à l’arrêt. Placez celui- dans un endroit bien visible près du bouchon du réservoir de carburant.
-
Page 8: Description Des Composants
Voyant d’état(s) Bouton sélecteur Capteur de température ambiante *Microport de service USB * Le microport de service USB sert uniquement au diagnostic du réchauffeur Webasto. Cet adaptateur ne peut pas être utilisé aux fins d’appels téléphoniques ou autres appareils électroniques. -
Page 9: Légende Des Symboles De L'écran Acl
Commande SmarTemp Installation – consignes d’utilisation Légende des symboles de l’écran ACL Mode secours du mode chauffage Mode secours de ventilation Température ambiante Température ambiante Mode secours Réglage de température l’utilisateur Temps d’utilisation Indicateur de mode temporisé Indicateur de marche (ON) du Température ambiante Mode chauffage réchauffeur... - Page 10 Le débranchement en basse tension (LVD) permet à l’utilisateur de régler la tension de la batterie au niveau duquel la commande SmarTemp Webasto arrête le fonctionnement du réchauffeur. Si la tension de la batterie est égale ou inférieure au seuil sélectionné...
- Page 11 Les codes d'erreur de l'appareil ne peuvent pas être restaurés à l'aide de la commande SmarTemp Webasto. Reportez-vous au manuel d'entretien pour rétablir le code d'erreur.
-
Page 12: Informations Techniques
Utilisez les dimensions / template situés à l'arrière du manuel comme un guide lors de l'installation et le montage de la Webasto SmarTemp contrôle. Remarque : La commande Webasto SmarTemp est dotée d’un capteur de température ambiante. Pour que le capteur mesure correctement l’air environnant, il doit être absolument installé à la...