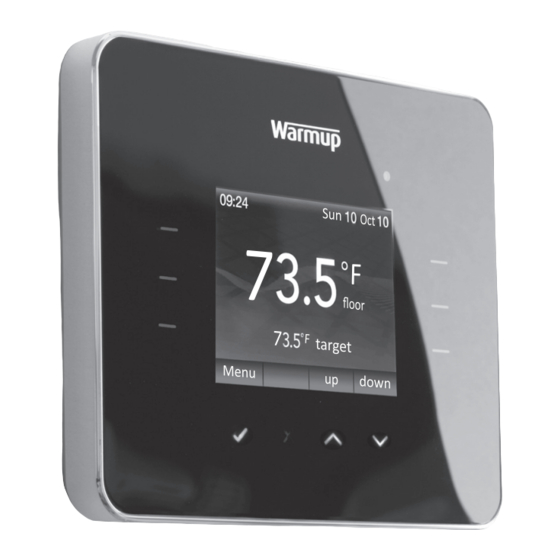
Warmup 3iE Manuel D'installation
Thermostat ecoénergétique
Masquer les pouces
Voir aussi pour 3iE:
- Manuel d'installation et de programmation (36 pages) ,
- Guide d'installation et de configuration (36 pages)

Manuels Connexes pour Warmup 3iE


Sommaire des Matières pour Warmup 3iE
- Page 11 Programmer votre thermostat Page Le thermostat 3iE a été conçu pour assurer un confort thermique dans votre habitation. Programmable sur plusieurs plages horaires, il régule de façon précise les planchers chauffants électriques de Warmup. Ce thermostat est destiné à analyser et enregistrer les lectures de température transmises par les sondes suivantes : 1.
-
Page 12: Introduction
INTRODUCTION Spécifications Techniques Tension nominale 120-240V, CA +10/ -15%, 50/60Hz Charge maximale 15 Amp. Note: Ce produit ne doit pas être utilisé avec une charge inductive. DDFT DDFT de classe A avec niveau de déclenchement 5mA Certifié UL UL873 & UL943 Différentiel de température +32°F to 122°F (0°C to + 50°C ) Température opérationnelle... -
Page 13: Notes Importantes
NOTES IMPORTANTES Note FCC Cet appareil est conforme à la Partie 15 des règlements de la FCC. Son fonctionnement est soumis aux deux conditions suivantes: (1) ce dispositif ne doit pas causer d’interférences nuisibles, et (2) cet appareil doit accepter toute interférence reçue, y compris les interférences qui peuvent provoquer un fonctionnement indésirable. -
Page 14: Installation
2. Placez la partie arrière dans le mur où vous avez choisi de placer le thermostat. 3. A l'aide de 2 vis, fixez la partie arrière du 3iE à la partie avant de la boîte électrique (voir photo ci-contre). Raccordement des fils 1. - Page 15 INSTALLATION IMPORTANT Assurez-vous que les fils soient bien insérés et fixés dans les connecteurs verrouillés par rotation (serre- fils). Les brins de fils en vrac doivent être coupés car ils pourraient provoquer un court-circuit. Montage du thermostat 1. Fermez la boîte de branchement électrique en vissant la partie avant (déjà attachée au module arrière du thermostat) sur la partie arrière installée dans le mur.
-
Page 16: Branchement Électrique
BLACK BARE COPPER LOAD (ground) LINE SENSOR (NO POLARITY) LOAD BLACK FLOOR WARMUP SENSOR HEATER 15A MAX. Do not use where exposed to rain Ne pas utiliser dans un emplacement mouillé L1-LOAD-L2 LINE Caution: High Voltage Disconnect power supply before servicing. -
Page 17: Mise En Marche & Messages D'erreur
MISE EN MARCHE ET MESSAGES D’ERREUR Installation électrique spécifique Installation de la deuxième sonde (sonde de sol secondaire ou sonde externe): • Connectez le 1 câble de la sonde externe ou sonde au sol secondaire au terminal 2 • Connectez le 2 câble de la sonde externe ou sonde au sol secondaire au terminal 3 Installation maître/relais (2 thermostats connectés ensemble): • Connectez le terminal 3 du “maître” au terminal 3 du “relais”. -
Page 18: Garantie
été causé par détérioration qui a eu lieu alors que le produit était en la possession du consommateur. La seule responsabilité de Warmup est de réparer ou de remplacer le produit dans les conditions énoncées ci-dessus. -
Page 19: Programmer Votre Thermostat
PROGRAMMER VOTRE THERMOSTAT Vous pouvez visualiser ou télécharger le manuel de programmation sur notre site internet à: www.warmup.ca (français) Pour plus d'information à propos du 3iE, veuillez consulter www.3iethermostat.com 24/7 Technical hotline - Ligne d’assistance technique - Línea de asistencia técnica...