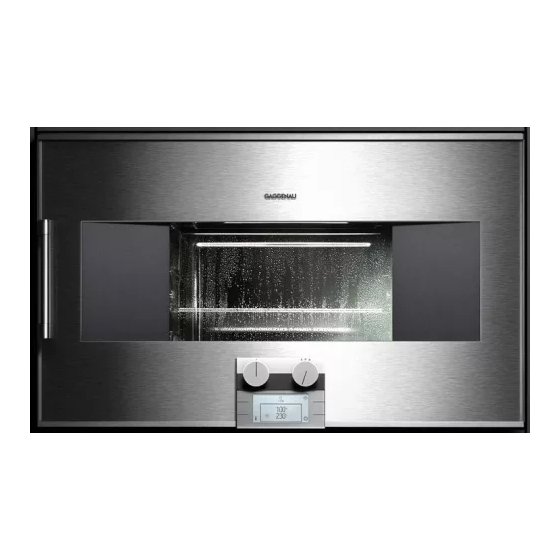
Gaggenau BS 260 Série Notice De Montage
Masquer les pouces
Voir aussi pour BS 260 Série:
- Notice d'utilisation (48 pages) ,
- Notice de montage (8 pages)
Publicité
Les langues disponibles
Les langues disponibles
Liens rapides
BS 260/261-6..
1
7/16"
(10)
1/4"
17
3/4"
(450)
(5)
Installation Instructions
en
please keep
Notice de montage
fr
à garder soigneusement
Instrucciones de Montaje
es
por favor, guardar
min. 8"
(min.200)
28
1/2"
(724)
21
min. 21
11/16"
(min. 550)
29
(752)
1/16"
(535)
1
7/8"
(47)
17
15/16"
(455)
5/8"
1
Publicité

Sommaire des Matières pour Gaggenau BS 260 Série
- Page 1 BS 260/261-6.. Installation Instructions please keep Notice de montage à garder soigneusement Instrucciones de Montaje por favor, guardar min. 8" (min.200) 1/2" (724) 7/16" 1/16" min. 21 (10) 11/16" (535) (min. 550) 7/8" (47) 3/4" (450) 1/4" 15/16" (455) 5/8" (752)
-
Page 2: Important Safety Instructions
min.90° 11/16" (94) min. 1/4" (min. 5) Hidden surfaces may have sharp edges. Use caution when reaching behind or under appliance. Important Safety Instructions Safety Codes and Standards READ AND SAVE THESE INS TRUCTIONS This appliance complies with one or more of the WARNING: If the information in this manual is not following Standards: followed exactly, fire or shock may result causing... - Page 3 To facilitate service, the flex conduit must not be shortened and should be routed to permit temporary Electric Safety removal of the oven. Before you plug in an electrical cord, be sure all NOTE: If the oven is installed and connected as controls are in the OFF position.
- Page 4 Combination with Warming Drawer Codes et Normes de sécurité WS 2.. Cet appareil est conforme à l’une ou plusieurs des normes suivantes : Fit the warming drawer first. Follow the installation instructions for the warming drawer. UL 858, The Standard for the Safety of Household Electric Ranges (norme pour la sécurité...
- Page 5 Pose en angle – figure 2 Sécurité des équipements Pour l’ouverture de tiroirs latéraux, tenir compte de connexes la partie débordante, y compris la poignée de la porte : Retirez tous les rubans adhésifs et emballages distance joue du meuble - façade de la porte : avant d’utiliser l’appareil.
- Page 6 Important: Au moment d’insérer le four, ne pas ANSI Z21.1-2000, Norma nacional de los EE.UU. abîmer le bandeau et la poignée du tiroir chauffant. para aparatos de cocinado domésticos a gas CAN/CSA-C22.2 N° 113-M1984 Ventiladores CAN/CSA-C22.2 N° 61-M89 Cocinas domésticas Dépose Es responsabilidad del propietario y del instalador determinar si se aplican requisitos y/o normas...
-
Page 7: Conexión Eléctrica
Conexión eléctrica Insertar el aparato dentro del mueble de instalación. Alinear el aparato de forma centrada y Preste atención a la tensión y la potencia indicadas horizontal. en la placa de características. Controlar con un nivel de agua de que el aparato se Conecte el conducto flexible a la caja de encuentra instalado exactamente horizontal a nivel. - Page 8 Gaggenau 780 Dedham Street Canton, MA 02021 Telephone: 877.4GAGGENAU www.gaggenau-usa.com Gaggenau Hausgeräte GmbH Carl-Wery-Straße 34 81739 München Germany www.gaggenau.com...


