EuroLite LED Neon Flex Mode D'emploi
Table des Matières
Les langues disponibles
Les langues disponibles
BEDIENUNGSANLEITUNG
USER MANUAL
MODE D'EMPLOI
MANUAL DEL USUARIO
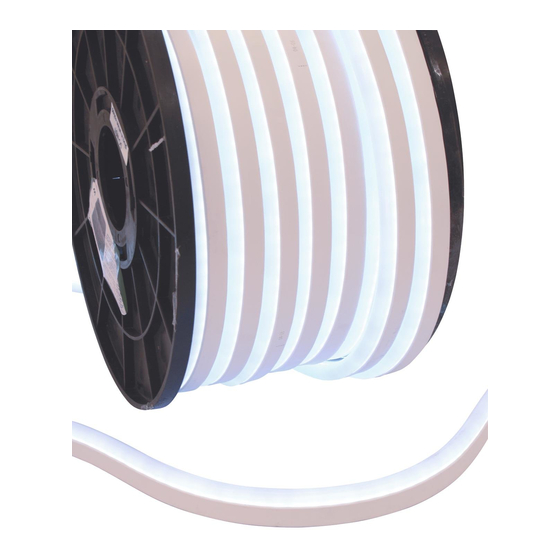
LED Neon Flex
©
Für weiteren Gebrauch aufbewahren!
Copyright
Keep this manual for future needs!
Nachdruck verboten!
Gardez ce mode d'emploi pour des
Reproduction prohibited!
utilisations ultérieures!
Réproduction interdit!
Guarde este manual para posteriores usos.
Prohibida toda reproducción.
Table des Matières

Manuels Connexes pour EuroLite LED Neon Flex


Sommaire des Matières pour EuroLite LED Neon Flex
- Page 1 BEDIENUNGSANLEITUNG USER MANUAL MODE D'EMPLOI MANUAL DEL USUARIO LED Neon Flex © Für weiteren Gebrauch aufbewahren! Copyright Keep this manual for future needs! Nachdruck verboten! Gardez ce mode d’emploi pour des Reproduction prohibited! utilisations ultérieures! Réproduction interdit! Guarde este manual para posteriores usos.
-
Page 2: Table Des Matières
MULTI-LANGUAGE-INSTRUCTIONS Inhaltsverzeichnis Table of contents Sommaire Contenido EINFÜHRUNG ..............................4 FEATURES................................ 4 SICHERHEITSHINWEISE..........................5 BESTIMMUNGSGEMÄSSE VERWENDUNG....................5 SYSTEMÜBERSICHT ............................6 EMPFOHLENES WERKZEUG FÜR INSTALLATION UND REPARATUR ............8 INSTALLATION ..............................9 BEDIENUNG ..............................10 REPARATUR..............................11 REINIGUNG UND WARTUNG ........................13 TECHNISCHE DATEN ............................ - Page 3 You can find the latest update of this user manual in the Internet under: Vous pouvez trouvez la dernière version de ce mode d'emploi dans l'Internet sous: Vd. puede encontrar la versión más reciente de este manual en el Internet bajo: www.eurolite.de 3/43 50502955_V_1_0.DOC...
-
Page 24: Introduction
Features Finalement là - LED Neon!! • LED Neon Flex crée l'effet d'une lumière traditionnelle, mais il a beaucoup d'avantages et pas de faiblesses techniques: l'installation non compliquée, pas de verre fragile, pas de risque de choc éléctrique, pas de maintenance coûteuse et pas de consommation d'éléctricité... -
Page 25: Instructions De Sécurité
INSTRUCTIONS DE SÉCURITÉ ATTENTION! Soyez prudent, lors de manipulations électriques avec une tension dangereuse vous êtes soumis à des risques d'électrocution! Cet appareil a quitté les ateliers dans un état irréprochable. Pour maintenir cet état et assurer un bon fonctionnement sans danger, l'utilisateur doit suivre les instructions contenues dans ce mode d'emploi. Attention: Tout dommage occasionné... -
Page 26: Aperçue Des Parties
Il faut que la température ambiante soit entre -5° C et +45° C. Ne pas exposer l'appareil directement aux rayons solaires (lors d'un transport dans un véhicule fermé par exemple). Cet appareil ne peut être mis en service qu'à une altitude entre -20 et 2000 m au-dessus le niveau de la mer. N'utilisez pas l'appareil pendant un orage, puisqu'un survoltage pourrait détruire l'appareil. - Page 27 Cet élément est important pour maintenir connections étanches. Epingles de contact EUROLITE ne fournit pas Les épingles de contact de colle PVC. Ce produit sont incluses avec peut être trouvé dans des autres accessoires et ne magasins de logiciel.
-
Page 28: Outils Récommandé Pour L'installation Et La Réparation
Les outils récommandé pour l’installation et la réparation EUROLITE ne les fournit pas. Pistolet à air chaud Outil-couteau Pistolet à souder Pince Bande de mise à la terre Soudure vive Testeur 28/43 50502955_V_1_0.DOC... -
Page 29: Installation
INSTALLATION Le système LED Neon Flex est un appareil lumineux linéaire polyvalent et facile à utiliser, il peut être coupé, courbé, formé sur place et installé sur des surfaces planes de materiel différent comme bois, plastique, acier ou sur des murs pour composer tout dessin que vous désirez. -
Page 30: Installation 180
Installation 90° Installation 180° Avec le canal de montage 5 cm Avec le L- connecteur Avec le canal de montage 5 cm Autres modes d‘installation Embout de fermeture Le bout de la dernière partie de guirlande doit être couvert par un embout de fermeture. -
Page 31: Reparation
REPARATION AVERTISSEMENT! L'entretien et les réparations doivent être effectués uniquement par du personnel de service compétent! Pas 1: Mettez la bande de mise à la terre. Insérez une aiguille du testeur dans le bout de la section lumineuse défectueuse. Pas 2: Utilisez la deuxième aiguille pour examiner le section défectueuse. - Page 32 Pas 5: Remettez toutes les parties dans le tuyau. Pas 6: Utilisez le pistolet à air chaud pour amollir le tuyau. Utilisez des matériaux appropriés pour cacher le trou. Pas 7: Utilisez l’outil-couteau pour couper l’excédent de colle. Pas 8: Branchez au secteur pour revérifier que la partie défectueuse est réparée.
-
Page 33: Nettoyage Et Maintenance
NETTOYAGE ET MAINTENANCE DANGER DE MORT! Toujours débrancher avant de proceder à l'entretien! L'appareil doit être nettoyé régulièrement (poussière etc.) Pour le nettoyage, utilisez un torchon non pelucheux humide. Ne pas utiliser un aucun cas de l’alcool ou des détergents pour le nettoyage. L'intérieur de l'appareil ne contient pas de parties nécessitant un entretien.