National Instruments USB-8501 Démarrage Rapide

Manuels Connexes pour National Instruments USB-8501


Sommaire des Matières pour National Instruments USB-8501
- Page 1 CAN Interface Device USB-8501 Quick Start Démarrage rapide Erste Schritte クイックスタート 시작하기 快速入门...
- Page 2 Caution Before installing your device, read all product documentation to ensure compliance with safety, EMC, and environmental regulations. Attention Avant d’installer votre périphérique, lisez toute la Avant d’installer votre périphérique, lisez toute la Avant d’installer votre périphérique, lisez toute la Avant d’installer votre périphérique, lisez toute la Avant d’installer votre périphérique, lisez toute la documentation se rapportant au produit pour vous assurer du respect...
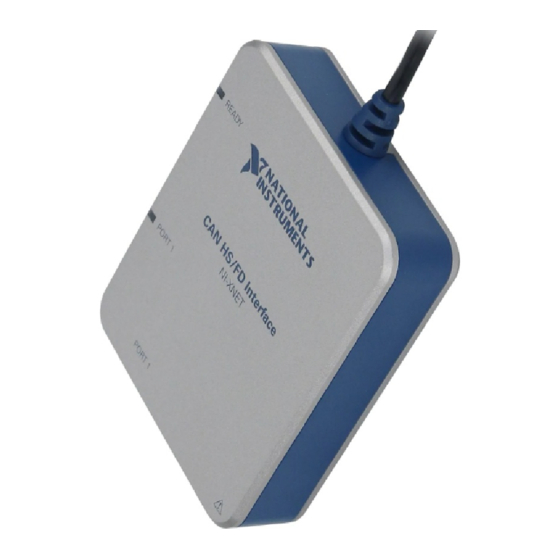
- Page 3 Contents I Contenu I Inhalt 内容 I 내용 I 内容 NI-XNET DVD Documentation USB-8501 Ferrite Connector Plug (2-Port Only) (2-Port Only) READY CAN LS/FT Interface NI-XNET USB-8501 PORT 1 PORT 2 PORT 1 PORT 2...
- Page 4 Pinout I Brochage I Pinbelegung ピン配列 I 핀출력 I 引脚 CAN_H CAN_L...
- Page 5 Useful Links I Liens utiles I Nützliche Links 役に立つリンク I 유용한 링크 I 相关链接 USB-8501 Documentation ni.com/manuals 8501 Controller Area Network (CAN) Overview ni.com/info nican NI-XNET Driver ni.com/driver xnet NI Services ni.com/services...
- Page 6 NI LabVIEW NI-XNET Install application development software (if applicable). Then install NI-XNET driver software. Installez le logiciel de développement d’application (le cas échéant) puis installez le driver NI-XNET. Installieren Sie zuerst die Entwicklungsumgebung (sofern zutreffend). Installieren Sie dann den NI-XNET-Treiber. 必要に応じて、アプリケーション開発ソフトウェアをインストールします。その後に、NI-XNETドライ...
- Page 7 Connect the device to a USB 2.0 port or higher on your computer. Connectez le périphérique à un port USB 2.0 ou version ultérieure de votre ordinateur. Verbinden Sie das Gerät mit einem USB-Anschluss des Computers, der USB 2.0 oder höher unterstützt.
- Page 8 Connect from the DB9 connectors to the CAN bus through shielded cables as described in the NI-XNET Hardware and Software Help. Connectez les connecteurs DB9 au bus CAN via les câbles blindés comme le décrit l’aide NI-XNET Hardware and Software Help. Stellen Sie entsprechend den Angaben in der NI-XNET Hardware and Software Help über abgeschirmte Kabel eine Verbindung zwischen dem DB-9-Stecker und dem CAN-Bus her.
- Page 9 Optional: Attach the synchronization connector plug to the device. Connect the ferrite and shielded signals as described in the NI-XNET Hardware and Software Help. Optionnel : Fixez le connecteur de synchronisation au périphérique. Connectez le noyau de ferrite et les signaux blindés comme le décrit l’aide NI-XNET Hardware and Software Help. Optional: Befestigen Sie den Stecker für die Synchronisationsadern und schließen Sie gemäß...
- Page 10 In Measurement & Automation Explorer (MAX), right-click the CAN interface under the device and select Bus Monitor. After selecting network parameters, click the start button to verify functionality. Dans Measurement & Automation Explorer (MAX), cliquez avec le bouton droit sur l’interface CAN sous le périphérique et sélectionnez Bus Monitor. Une fois les paramètres réseau sélection- nés, cliquez sur le bouton Démarrer pour vérifi...
- Page 11 For patents covering National Instruments products/technology, refer to the appropriate location: Help»Patents in your software, the patents.txt file on your media, or the National Instruments Patents Notice at ni.com/patents. You can find information about end-user license agreements (EULAs) and third-party legal notices in the readme file for your NI product.