Publicité
Les langues disponibles
Les langues disponibles
Liens rapides
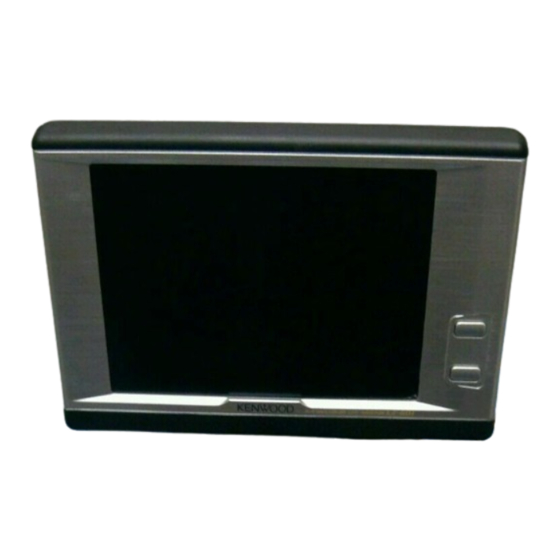
LZ-601
6.4-inch LCD MONITOR
INSTRUCTION MANUAL
MONITEUR LCD 6,4 pouces
MODE D'EMPLOI
Take the time to read through this instruction manual.
Familiarity with installation and operation procedures will help
you obtain the best performance from your new monitor.
For your records
Record the serial number, found on the back of the unit, in the
spaces designated on the warranty card, and in the space provided
below. Refer to the model and serial numbers whenever you call
upon your KENWOOD dealer for information or service on the
product.
Model LZ-601 Serial number
© PRINTED IN JAPAN B64-2286-00 (K)(DT)
Publicité

Manuels Connexes pour Kenwood LZ-601


Sommaire des Matières pour Kenwood LZ-601
- Page 1 Record the serial number, found on the back of the unit, in the spaces designated on the warranty card, and in the space provided below. Refer to the model and serial numbers whenever you call upon your KENWOOD dealer for information or service on the product. Model LZ-601 Serial number...
- Page 2 • To prevent short circuits when replacing a fuse, first disconnect the wiring harness. NOTE If you experience problems during installation, consult your Kenwood dealer. This video unit is set for rear passenger use only. Use of this video unit in any front seat and/or where it may be visible to the driver may be illegal in some states and may cause driver distraction and accident which could injure or kill you.
- Page 3 Installation Accessorie Installation Procedure To prevent short circuits, remove the key from the ignition and disconnect the · terminal of the battery. Make the proper input and output cable connections for each unit. Connect the wiring harness cables in the following order: ground, ignition. Connect the wiring harness connector to the unit.
- Page 4 Installation Connection Monitor Unit Fuse Accessory 1 Ignition key switch (3A) Ignition wire (Red) ª12V VIDEO OUT Video input Ground wire (Black) · – (To car chassis) Battery - English...
- Page 5 Troubleshooting Guide What might appear to be a malfunction in your unit may just be the result of slight misoperation or miswiring. Before calling service, first check the following table for possible problems. PROBLEM POSSIBLE CAUSE SOLUTION The power does not turn The fuse has blown.
- Page 6 ) à l’intérieur de l’appareil. • Si l’appareil émet de la fumée ou une odeur bizarre, mettez immédiatement l’appareil hors tension et consultez un revendeur Kenwood. • Ne touchez pas le cristal liquide si l’affichage LCD était endommagé ou cassé à cause d’un choc.
- Page 7 Installation Accessoire Procédure d’installation Pour éviter les courts-circuits, retirez la clef de contact et déconnectez la borne · de la batterie. Effectuez correctement les connexions d’entrée et sortie de chaque appareil. Connectez le faisceau de câbles dans l’ordre suivant: masse, allumage. Branchez le connecteur du faisceau à...
- Page 8 Installation Connexion Unité moniteur Fusible Accessoire 1 Interrupteur d’allumage (3A) Allumage Câble d’allumage (Rouge) ª12V VIDEO OUT Entrée vidéo Câble de masse (Noir) · – (Au châssis de la voiture) Batterie - Français...
- Page 9 Guide de depannage Ce qui peut apparaître comme un mauvais fonctionnement de votre appareil n’est peut être que le résultat d’une mauvaise opération ou d’une mauvaise connexion. Avant d’appeler un centre de service, vérifiez d’abord dans le tableau suivant les problèmes possibles. PROBLEME CAUSE POSSIBLE SOLUTION...