Table des Matières
Publicité
Les langues disponibles
Les langues disponibles
Liens rapides
WOLFF | Eine Marke der Uzin Utz AG
Originalbetriebsanleitung
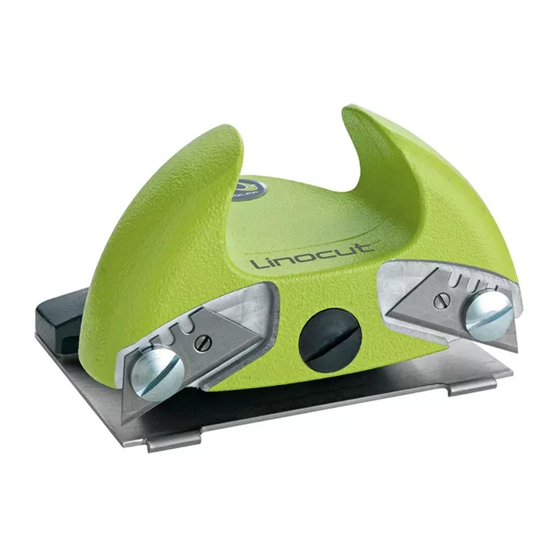
Linocut
Translation of the original manual
Linocut
Traduction du mode d'emploi original
Linocut
Anleitung #041277 ab 10/12
WOLFF GmbH & Co. KG | D-74360 Ilsfeld | Ungerhalde 1 | Tel. +49 (0)7062-91556-0 | Fax +49 (0)7062-91556-41 | E-Mail info@wolff-tools.com |
Internet www.wolff-tools.de
Deutsch
#040262
English
#040262
Français
#040262
Publicité
Table des Matières

Manuels Connexes pour WOLFF Linocut


Sommaire des Matières pour WOLFF Linocut
- Page 1 English Linocut #040262 Traduction du mode d‘emploi original Français Linocut #040262 Anleitung #041277 ab 10/12 WOLFF GmbH & Co. KG | D-74360 Ilsfeld | Ungerhalde 1 | Tel. +49 (0)7062-91556-0 | Fax +49 (0)7062-91556-41 | E-Mail info@wolff-tools.com | Internet www.wolff-tools.de...
-
Page 2: Lieferumfang
Fugenbreite ist einstellbar Bild 1 1.0 Einstellung des Linocut 1.1 Einstellung der Nahtdichte Der Linocut wird mit montierten Klingen geliefert, und ist sofort einsatzbereit. Werksseitig ist das Gerät so eingestellt, daß eine dichte Naht geschnitten wird. Soll der Nahtabstand vergrößert werden:... - Page 3 Stück durch Ziehen des Schritt 2 Linocuts schneiden. Der Linocut schneidet ohne Lineal von Wand zu Wand. Er wird an einer Wand in die Überlappung eingesetzt (Schritt 1) und entlang der unteren Bahn geführt. Bild 6 Der Schnitt erfolgt mit der einen Klinge (Schritt 2) bis in die Nähe der anderen Wand.
- Page 4 Linoleum laid in the adhesive 1.0 Adjusting the Linocut 1.1 Adjusting the seam width The Linocut comes with 2 mounted blades and can be used pic. 1 immediately. The blades are adjusted to cut a close seam.
-
Page 5: Blade Protection
With the two blades the seam can be completely cut from step Schritt 3 wall to wall without using a straight edge. The Linocut is inserted into the overlap (step 1) and led step Schritt 4 along the lower sheet (step 2). -
Page 6: Ajuster Le Linocut
Vérifier que la largeur du joint est correcte 1.2 Réglage de la profondeur de coupe Le Linocut est équipé de 2 vis moletées (3) pour le réglage de la profondeur. Ill. 3 Pour régler la profondeur de coupe souhaitée, tournez la vis moletée. -
Page 7: Comment Tenir L'outil
Grâces à sa tête articulée, il suffit d'appuyer sur une lame jusqu'à ce qu'elle pénètre dans le revêtement. Ill. 5 Le Linocut se tire de mur en mur le long du lé inférieur. Schritt 1 Ensuite, il faut basculer la tête sur l'autre lame et recommencer l'opération en poussant. - Page 8 19 2 071405 Anschlagschraube Locking screw Vis de butéeréglable 20 2 071569 Druckfeder Pressure spring Ressort de pression WOLFF GmbH & Co. KG | D-74360 Ilsfeld | Ungerhalde 1 | Tel. +49 (0)7062-91556-0 | Fax +49 (0)7062-91556-41 | E-Mail info@wolff-tools.com | Internet www.wolff-tools.de...