INOVU ARM 2 Guide D'utilisation
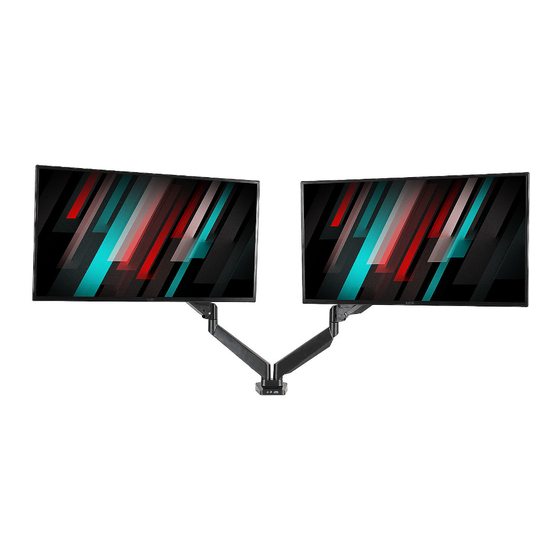
Support de bureau 2 écrans 17”- 32”
Table des Matières
Les langues disponibles
Les langues disponibles
Chapitres
Table des Matières

Manuels Connexes pour INOVU ARM 2


Sommaire des Matières pour INOVU ARM 2
- Page 1 ARM 2 G U I D E D ’ U T I L I S A T I O N Support de bureau 2 écrans 17”- 32”...
-
Page 2: Table Des Matières
ARM 2 G U I D E D ’ U T I L I S A T I O N PRÉFACE Tout a été mis en œuvre pour que les informations contenues dans ce manuel soient exactes. Néanmoins, le fabricant de cet appareil et le distributeur ne sauraient être tenus responsables de toute erreur ou omission dans ce manuel, ou de... -
Page 3: Description Du Produit
ARM 2 G U I D E D ’ U T I L I S A T I O N 1. Description du produit • Spécifications INOVU ARM 2 Taille des écrans 17" à 32" Poids supporté 2-9 kg par bras Compatibilité... -
Page 4: Contenu De L'emballage
ARM 2 G U I D E D ’ U T I L I S A T I O N • Schéma (dimensions en mm) : 2. Contenu de l’emballage Clé Allen 4x4 Clé Allen 5x5 Support œillet (pour passe-câble) Vis (pour passe-câble) -
Page 5: Étape 1 : Préparation Avant L'installation D'un Moniteur
ARM 2 G U I D E D ’ U T I L I S A T I O N 3. Étape 1 : Préparation avant l’installation d’un moniteur 1. Assurez-vous que des trous VESA 100x100 mm ou 75x75 mm soient présents à l’arrière de votre moniteur. Sans quoi, le support ne peut être installé. -
Page 6: Étape 3 : Fixation Du Moniteur À La Plaque
4. Replacez les cache-câbles en les clipsant. 5. Placez le cache-câble (7) après avoir terminé de positionner l’ensemble de vos câbles. Pour tout incident rencontré avec ce matériel, nous vous invitons à prendre contact avec le service SAV INOVU : support@inov-u.com...