Publicité
Les langues disponibles
Les langues disponibles
Liens rapides
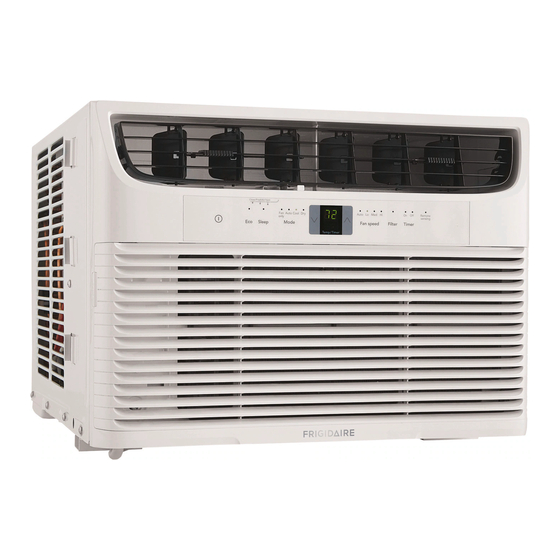
Compact Window Mounting (10,000~14,500 BTU)
The unit is for window mounting only.
Carefully read the installation manual before beginning.
Pay attention to danger and safety notices.
be exposed:
Carefully inspect location where air conditioner will be inst
period of time.
Handle air conditioner with care.
NOTE:
the best way to store unit during winter, or when not
in use.
The top rail on your unit may already be installed. If not,
follow the steps below.
Top Rail Hardware
Before installing, the top rail must be assembled on the unit.
Top Rail
Installation Instructions
READ BEFORE INSTALLING UNIT
INSTALLATION WARNINGS AND CAUTION
Top Rail
Qty.
4
1
Drill (If pilot holes are needed)
Fig. B
Fig. B
Mounting Hardware
( or Wooden windows)
weather stripping
(6"X3/4"X1/12")
window sash seal foam
Fig. C
16120300A30937
Qty.
7
2
2
s)
1
5
1
1 1
Publicité

Manuels Connexes pour Frigidaire FHWC123TC1


Sommaire des Matières pour Frigidaire FHWC123TC1
- Page 13 Instructions d’installation LIRE AVANT D’INSTALLER L’UNITÉ Installation pour fenêtre compacte (10,000~14,500 BTU) AVERTISSEMENTS D'INSTALLATION ET ATTENTION L'unité est destinée à la fenêtre de montage. Lisez attentivement le manuel d'installation avant de commencer. Suivez chaque étape comme indiqué. Respectez tous les codes électriques locaux, fédéraux et nationaux à l'aide de personnel qualifié, licencié et autorisé uniquement. Prêtez attention aux avis de danger et de sécurité.
- Page 14 Installation ASSEMBLAGE DE BOUCLIERS GAUCHE ET DROIT REMARQUE: le rail supérieur et les panneaux latéraux sur chaque côté sont décalés pour fournir le degré approprié à l’arrière de (5/16”). Ceci est nécessaire pour l’utilisation et le drainage d’eau condensée appropriées. Si vous n’utilisez pas les panneaux latéraux pour une raison quelconque, ce degré...
- Page 15 Installation How to Install Contre-fenêtre : FIG. 5 SASH Cadre de la Épaisseur de Si le climatiseur est bloqué par une contre-fenêtre, ajoutez du contre-fenêtre panneau selon bois comme illustré dans la FIG. 5, ou retirez la contre-fenêtre 1-1/2” min ou autre le besoin, pour avant d’installer le climatiseur.
- Page 16 Installation Enfoncer les vis de blocage : A: pour les fenêtres en bois : Enfoncez les vis de blocage de 12.7 mm (1/2") à travers le verrou de fenêtre et dans le rebord (FIG. 9A). REMARQUE : pour empêcher la division du rebord de fenêtre, percez des trous de départ de 3 mm (1/8") avant d’enfoncez les vis.
- Page 17 Installation Vérifiez que le climatiseur est incliné vers l'arrière d'environ 1/4 à 1/2 pouces (incliné de 2 à 4 degrés vers le bas à l'extérieur, voir FIG. 12A & FIG. 12B). Après une installation adéquate, le condensat ne doit pas s'écouler de l'orifice d'évacuation de trop-plein durant l'utilisation normale, sinon corrigez à...