
Manuels Connexes pour D-Link AirPremier N DAP-2553


Sommaire des Matières pour D-Link AirPremier N DAP-2553
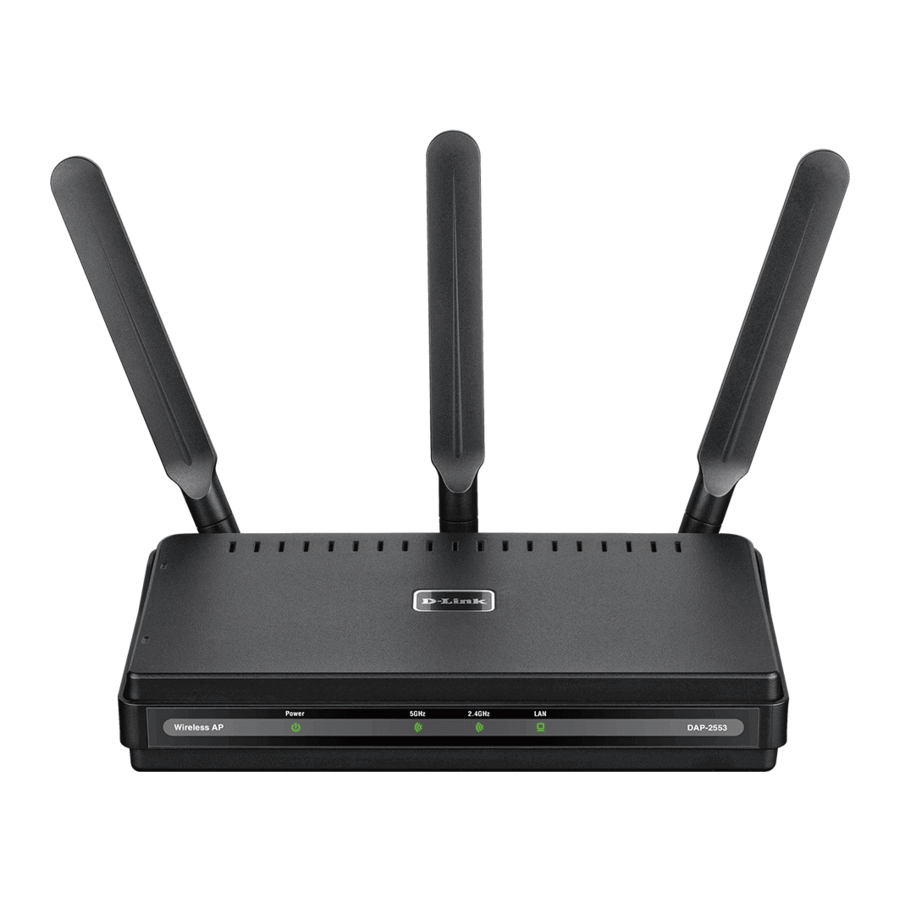
- Page 1 AirPremier N Access Point DAP-2553 Quick Installation Guide+ Installations-Anleitung+ Guide d’installation+ Guía de instalación+ Guida di Installazione+...
-
Page 2: System Requirements
, or Linux-based operating systems ® ® and an installed Ethernet Adapter • Internet Explorer version 7.0 or Firefox 3.0 or higher (for configuration) Package Contents • D-Link DAP-2553 Air Premier N Access Point • 3 Detachable Antennas • Power Adapter • CAT5 Ethernet Cable • CD-ROM with Installation Guide, User Manual, and Special Offers Note: Using a power supply with a different voltage than the one included with the DAP-2553 may damage the unit and will void the warranty for this product. - Page 3 Connecting the DAP-2553 to your network Connect the power adapter to the receptor on the rear panel of the DAP-2553 and then plug the other end of the power adapter to a wall outlet or power strip. The power LED will turn ON to indicate proper operation. Using an Ethernet cable, insert one end of the cable to the LAN port on the rear panel of the DAP-2553 and the other end of the cable to a switch. Note: You can also connect the DAP-2553 directly to the computer that will be used for configuration. The LAN LED will illuminate to indicate a proper Ethernet connection. Computers with 802.11 b/g/draft n wireless adapters can connect to the DAP-2553.
-
Page 4: Getting Started
Getting Started 1. You will need broadband Internet access. 2. Consult with your cable or DSL provider for proper installation of the modem. 3. Connect the Cable or DSL modem to a router. 4. If you are connecting a desktop computer to your network, install a wireless PCI adapter into an available PCI slot on your desktop computer. 5. Install the drivers for your wireless CardBus adapter into a laptop computer. - Page 5 Connecting PoE (Power over Ethernet) Connect one end of an Ethernet cable (included with your package) to the LAN port on the DAP-2553 and the other end of the Ethernet cable to your computer or to your PoE switch. The AP can be powered on by a PoE switch or by the power adapter shipped with the AP.
-
Page 6: Technical Support
Using the Configuration Menu First, disable the Access the Internet using a proxy server function. To disable this function, go to Control Panel > Internet Options > Connections > LAN Settings and uncheck the enable box. Start your web browser program (Internet Explorer, Mozilla Firefox). Please start your web browser program, type the IP address of the device (http://192.168.0.50) and press Enter. Make sure that the IP addresses of the device and the computer are in the same subnet. Then, refer to the manual for configuration. - Page 7 Notes...
-
Page 8: Systemanforderungen
® ® und installiertem Ethernet-Adapter • Internet Explorer Version 7.0 oder Firefox 3.0 oder höher (für Konfiguration) Lieferumfang • D-Link DAP-2553 Wireless N Access Point • 3 abnehmbare Antennen • Netzteil • CAT5-Ethernetkabel • C D-ROM mit Installationsanleitung, Benutzerhandbuch und Sonderangeboten Hinweis: Die Verwendung eines Netzteils mit einer unterschiedlichen Spannung als jener des mit dem DAP-2553 mitgelieferten Netzteils könnte das Gerät beschädigen. - Page 9 DAP-2553 an Ihr Netzwerk anschließen Stecken Sie das Kabel des Netzteils in die Buchse auf der Rückseite des DAP-2553 und das Netzteil selbst in eine Wandsteckdose oder Steckerleiste. Zur Anzeige des ordnungsgemäßen Betriebs leuchtet die Stromversorgungs-LED auf. Schließen Sie ein Ende eines Ethernetkabels an den LAN-Port auf der Rückseite des DAP-2553 und das andere Ende an einen Switch an. Hinweis: Sie können den DAP-2553 auch direkt an den Computer anschließen, der zur Konfiguration verwendet werden soll. Die LAN LED leuchtet auf und zeigt damit die korrekte Ethernet-Verbindung an. Computer mit 802.11 b/g/draft n Funkadaptern können mit dem DAP- 2553 verbunden werden. C. Antennen Zum Senden und Empfangen von Daten in Funknetzen von 802.11a b/g/draft n Funk-Clients.
-
Page 10: Erste Schritte
Erste Schritte 1.Stellen Sie sicher, dass Ihr Wireless LAN Funkadapter korrekt funktioniert. Installieren Sie ggf. einen aktuellen Treiber. 2.Sollte Ihr Computer über keinen Wireless LAN Adapter verfügen, installieren Sie einen und stellen Sie die korrekte Funktion sicher. - Page 11 PoE (Power over Ethernet) anschließen Schließen Sie ein Ende eines Ethernetkabels (im Lieferumfang enthalten) an den LAN-Port am DAP-2553 und das andere Ende an Ihren PoE-Switch an. Der AP kann von einem PoE-Switch oder durch das im Lieferumfang des AP enthaltene Netzteil mit Strom versorgt werden.
-
Page 12: Das Konfigurationsmenü
Das Konfigurationsmenü Deaktivieren Sie zunächst eine ggf. vorhandene Proxy-Server-Funktion zum Internetzugang. Öffnen Sie dazu die Systemsteuerung > Internetoptionen > Verbindungen > LAN-Einstellungen und deaktivieren Sie das Kontrollkästchen zur Verwendung des Proxy-Servers. Starten Sie Ihren Webbrowser (Internet Explorer, Mozilla Firefox). Starten Sie Ihren Webbrowser und geben Sie die IP-Adresse des Geräts ein (http://192.168.0.50) und drücken Sie auf die Eingabetaste. Vergewissern Sie sich, dass die IP-Adressen des Geräts und die des Computers im gleichen Subnetz sind. Die weiteren Konfigurationshinweise finden Sie im Benutzerhandbuch. Hinweis: Sollten Sie die dem DAP- 2553 zugewiesene Standard-IP- Adresse geändert haben, geben Sie unbedingt die korrekte IP-Adresse... - Page 13 Notes...
-
Page 14: Configuration Système Requise
® ® équipés d’un adaptateur Ethernet. • Internet Explorer 7.0 ou Firefox 3.0 et versions ultérieures (pour la configuration) Contenu de la boîte • D-Link DAP-2553 Air Premier N Access Point • 3antennes amovibles • Adaptateur secteur • Câble Ethernet CAT5 • CD-ROM avec guide d’installation, manuel d’utilisation et offres spéciales Remarque : l’utilisation d’une alimentation dont la tension diffère de celle du DAP-2553 est susceptible d’endommager le produit et en annulera la garantie. -
Page 15: Connexion Du Dap-2553 À Votre Réseau
Connexion du DAP-2553 à votre réseau Branchez l’adaptateur secteur à la fiche située sur le panneau arrière du DAP-2553, puis branchez l’autre extrémité à une prise murale ou un bloc multiprise. Le voyant d’alimentation s’allume pour indiquer que l’appareil est opérationnel. Munissez-vous du câble Ethernet, branchez une extrémité du câble au port LAN situé sur le panneau arrière du DAP-2553, puis branchez l’autre extrémité à un commutateur. Remarque : vous pouvez aussi connecter le DAP-2553 directement à l’ordinateur que vous utiliserez pour la configuration. Le voyant LAN s’allume pour indiquer une connexion Ethernet correcte. Les ordinateurs équipés d’adaptateurs sans fil 802.11 b/g/n (version préliminaire) peuvent être connectés au DAP-2553. -
Page 16: Mise En Route
Mise en route 1. Avant tout, vous avez besoin d’un accès Internet haut débit. 2. Consultez votre câblo-opérateur ou votre fournisseur de services DSL pour savoir comment installer le modem de façon appropriée. 3. Connectez le modem câble ou DSL à un routeur. 4. Si vous souhaitez connecter un ordinateur à votre réseau, installez un adaptateur PCI sans fil dans un emplacement PCI disponible de l’ordinateur. 5. Installez les pilotes de l’adaptateur CardBus sans fil sur votre ordinateur portable. -
Page 17: Alimentation Électrique Par Câble Ethernet (Poe)
Alimentation électrique par câble Ethernet (PoE) Branchez une extrémité du câble Ethernet (fourni) au port LAN du DAP-2553 et l’autre extrémité à l’ordinateur ou un commutateur PoE. Le PA peut être alimenté par un commutateur PoE ou par l’adaptateur secteur fourni. -
Page 18: Utilisation Du Menu De Configuration
DAP-2553, vérifiez que vous avez entré la bonne adresse IP. • Tapez admin dans le champ Nom d’utilisateur. • Laissez le champ Mot de passe vide. • Cliquez sur le bouton Connexion. Remarque : si vous avez modifié le mot de passe, vérifiez que vous avez entré le bon mot de passe. Assistance technique Assistance technique D-Link par téléphone : 0 820 0803 03 0,12 €/min la minute : Lundi – Vendredi de 9h à 13h et de 14h à 19h Samedi 9h à 13h et de 14h à 16h Assistance technique D-Link sur internet : http://www.dlink.fr... - Page 19 Notes...
-
Page 20: Requisitos Del Sistema
® ® Linux y un adaptador Ethernet instalado • Internet Explorer, versión 7.0, o Firefox 3.0 o superior (para la configuración) ¿Qué contiene la caja? • D-Link DAP-2553 Air Premier N Access Point • 3 antenas desmontables • Adaptador de alimentación • Cable Ethernet CAT5 • CD-ROM que contiene: la guía de instalación, el manual del usuario y ofertas especiales Nota : la utilización de una alimentación de corriente con un voltaje distinto del incluido con el DAP-2553 podría dañar la unidad y anulará... -
Page 21: Conexión De Dap-2553 A La Red
Conexión de DAP-2553 a la red Conecte el adaptador de alimentación al receptor del panel posterior del DAP-2553 y, a continuación, conecte el otro extremo del adaptador de alimentación a una toma de pared o enchufe múltiple El LED de alimentación cambiará a encendido para indicar que funciona correctamente. Inserte un extremo de un cable Ethernet al puerto LAN, situado en el panel posterior del DAP-2553, y el otro extremo del cable a un interruptor. Nota: también puede conectar el DAP-2553 directamente al ordenador que se utilizará para la configuración. El indicador luminoso de la LAN se iluminará para indicar que la conexión es correcta. Los ordenadores con adaptadores inalámbricos 802.11 b/g/draft n pueden conectarse al DAP-2553. C. Antenas Se utilizan para difundir vía red inalámbrica y recibir conexiones de los clientes inalámbricos 802.11 a/b/g/draft n. - Page 22 Introducción 1. Necesitará acceso a Internet de banda ancha. 2. C onsulte con su proveedor de DSL o cable para la instalación adecuada del módem. 3. Conecte el módem de DSL o el cable al router. 4. Si está conectando un ordenador de sobremesa a la red, instale un adaptador PCI inalámbrico en el espacio PCI disponible en el ordenador. 5. I nstale los controladores del adaptador CardBus inalámbrico a un ordenador portátil.
- Page 23 Conexión de PoE (Power over Ethernet, alimentación a través de Ethernet) Conecte un extremo de un cable Ethernet (que se incluye en la caja) al puerto LAN del DAP-2553 y el otro extremo del cable Ethernet a su ordenador o a su enchufe PoE. Puede encenderse el AP sólo con un enchufe PoE o con el adaptador de alimentación que se incluye con el AP.
-
Page 24: Asistencia Técnica
Nota: si ha cambiado la dirección IP predeterminada asignada al DAP-2553, asegúrese de escribir la dirección IP correcta. • Escriba admin en el campo Nombre de usuario. • Deje el campo Contraseña en blanco. • Haga clic en el botón Inicio de sesión. Nota: si ha cambiado la contraseña, asegúrese de escribir la contraseña correcta. Asistencia Técnica Asistencia Técnica Telefónica de D-Link: +34 902 30 45 45 0,067 €/min De Lunes a Viernes de 9:00 a 14:00 y de 15:00 a 18:00 http://www.dlink.es... - Page 25 Notes...
-
Page 26: Requisiti Di Sistema
Linux e una ® ® scheda Ethernet installata • Internet Explorer versione 7.0 o Firefox 3.0 e versioni successive (per la configurazione) Contenuto della confezione • D-Link DAP-2553 Air Premier N Access Point • 3 antenne staccabili • Alimentatore • Cavo Ethernet CAT5 • CD-ROM con guida di installazione, manuale dell’utente e offerte speciali Nota: l’utilizzo di un alimentatore con tensione diversa rispetto a quella dell’alimentatore fornito con DAP-2553 può causare danni all’unità e invalidare la garanzia del prodotto. - Page 27 Collegamento di DAP-2553 alla rete Collegare un’estremità del cavo dell’alimentatore alla presa presente sul pannello posteriore di DAP-2553 e l’altra estremità a una presa a muro o a una presa multipla. Il LED alimentazione si accenderà per indicare il corretto funzionamento. Collegare un’estremità del cavo Ethernet alla porta LAN sul pannello posteriore di DAP-2553 e l’altra estremità a uno switc. Nota : è inoltre possibile collegare DAP-2553 direttamente al computer che verrà utilizzato per la configurazione. Il LED della LAN si accenderà per indicare che la connessione Ethernet è corretta. Non è possibile collegare a DAP-2553 i computer dotate di schede wireless 802.11 b/g/draft n.
-
Page 28: Operazioni Preliminari
Operazioni preliminari 1. È necessario accesso Internet a banda larga. 2. Per la corretta installazione del modem cavo o DSL rivolgersi al fornitore. 3. Collegare il modem cavo o DSL a un router. 4. Se si intende connettere un computer desktop alla rete, installare una scheda PCI wireless in uno slot PCI disponibile del computer desktop. 5. Installare i driver per la scheda CardBus wireless in un computer laptop. - Page 29 Collegamento tramite PoE (Power-over-Ethernet) Collegare un’estremità del cavo Ethernet (incluso con il pacchetto) alla porta LAN su DAP-2553 e l’altra estremità al computer o allo switch PoE. Il punto di accesso può essere alimentato da uno PoE o da un alimentatore fornito con il punto di accesso.
-
Page 30: Supporto Tecnico
Utilizzo del menu Configurazione In primo luogo, disabilitare la funzione Accedi a Internet tramite server proxy. Per disabilitarla, passare Pannello di controllo > Opzioni Internet > Connessioni > Impostazioni LAN e deselezionare la casella Abilita. Avviare il browser Web (Internet Explorer, Mozilla Firefox) Riavviare il browser Internet, immettere l’indirizzo IP del dispositivo (http://192.168.0.50) e premere Invio. Assicurarsi che gli indirizzi IP del dispositivo e quello del computer in uso si trovino nella stessa subnet. Quindi consultare il manuale per la configurazione. Nota: se l’indirizzo IP di default a s s e g n a t o a D A P - 2 5 5 3 è... - Page 31 Notes...
- Page 32 Ver. 1.00(E) 2008/10/20 6AP2553Q..E1G...