Table des Matières
Publicité
Les langues disponibles
Les langues disponibles
Liens rapides
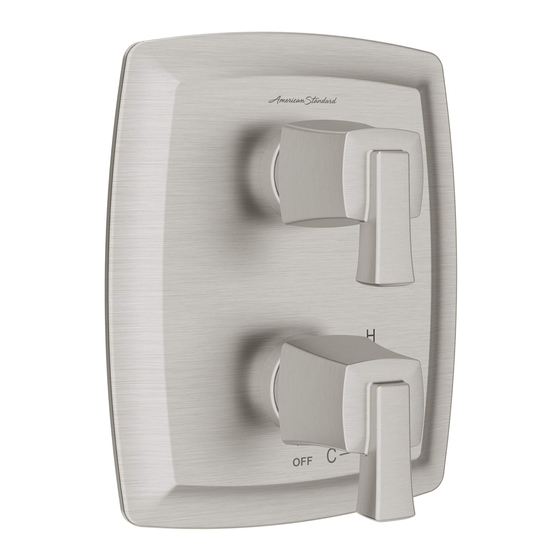
Townsend
®
Flash
2-Handle Integrated Diverter
™
Pressure Balance Valve Trim
Thank you for selecting American Standard...
the benchmark of fine quality for over 100 years.
To ensure that your installation proceeds smoothly-please read
these instructions carefully before you begin.
RECOMMENDED TOOLS
ROUGHING-IN DIMENSIONS
9-5/16"
(236 mm)
CARE INSTRUCTIONS:
• To keep your new faucet looking new, please follow
these simple care instructions:
DO: – Simply rinse the faucet clean with clear water.
– Dry the faucet with a soft cotton cloth.
DO NOT:
– Do not use any abrasive cleaners, cloths,
or paper towels.
– Do not use any cleaning agents containing
acids, polish abrasives, or harsh cleaners
or soaps.
• Regular and routine cleaning will reduce the need for
heavy cleaning and polishing. If heavy cleaning is
required, the following procedures are recommended:
Product names listed herein are trademarks of AS America, Inc.
© AS America, Inc. 2021
Phillips Screwdriver
FINISHED
WALL
4-1/16"
(103 mm)
INSTALLATION
INSTRUCTIONS
TU353740
Flat Blade Screwdriver
6-3/4"
(173 mm)
3"
(73 mm)
• Remove as much surface dirt and film using clear
water and soft cotton cloth (as described above).
– Use any of the following to remove tough surface
film and build-up:
– Mild liquid detergents
– Clear ammonia free liquid glass cleaners
– Non-acidic, non-abrasive gentle liquid or fully dissolved
powder cleansers mixed according to manufacturers
directions
– Non-abrasive liquid polishers
• Once clean, rinse faucet again with clear water to
thoroughly remove cleaner or polish and blot dry with
a soft cotton cloth.
Failure to follow these care instructions may damage
the Faucet's finish.
- 1 -
Certified to comply with ANSI A112.18.1M
7-7/16"
(188 mm)
M985084 (1/21)
Publicité
Table des Matières

Manuels Connexes pour American Standard Townsend TU353740


Sommaire des Matières pour American Standard Townsend TU353740
- Page 1 Flash 2-Handle Integrated Diverter ™ Pressure Balance Valve Trim Thank you for selecting American Standard... the benchmark of fine quality for over 100 years. To ensure that your installation proceeds smoothly-please read these instructions carefully before you begin. Certified to comply with ANSI A112.18.1M...
-
Page 2: Trim Installation
TRIM INSTALLATION • Remove PLASTER GUARD (1) and the two CARTRIDGE COVERS (2). • Push two CARTRIDGE SLEEVES (3) over the cartridges on VALVE BODY (4). • Push ESCUTCHEON HOLDER (5) over CARTRIDGE SLEEVES (3). • Insert four SCREWS (7) through MOUNTING PLATE (6) and ESCUTCHEON HOLDER (5) and thread in to VALVE BODY (4) where indicated by a dashed line. - Page 3 SERVICE Turn off hot and cold water CAUTION supplies before beginning. ADJUST HOT LIMIT STOP • By restricting HANDLE rotation and limiting the amount of hot water allowed to mix with the cold, the HOT LIMIT SAFETY STOP (1) reduces risk of accidental scalding. To set the maximum hot water temperature of your faucet valve, adjust the setting on the HOT LIMIT SAFETY STOP (1).
-
Page 4: Mgarniture De Robinet À Pression Équilibrée Avec Inverseur Intégré À 2 Poignées Flash
Townsend MGarniture de robinet à pression équilibrée avec inverseur intégré à 2 poignées Flash Merci d’avoir choisi American Standard - la référence en matière de qualité depuis plus de 100 ans. Pour assurer une installation sans problème de ce produit, veuillez lire attentivement ces instructions avant de commencer. -
Page 5: Installation Du Mécanisme
INSTALLATION DU MÉCANISME • Enlevez l’OBTURATEUR DE PLÂTRAGE (1) et les deux REVÊTEMENTS DE CARTOUCHE (2). • Poussez les deux ANNEAUX DE CARTOUCHE (3) sur les cartouches du CORPS DU ROBINET (4). • Poussez le SUPPORT DE PLAQUE DE FINITION (5) sur les ANNEAUX DE CARTOUCHE (3). -
Page 6: Installation Dos-À-Dos
UN SERVICE Coupez l’alimentation eneau chaude MISE EN GARDE : et froide avant de commencer. RÉGLAGE DU DISPOSITIF ANTI-BRÛLUR • En limitant la rotation de la POIGNÉE et la quantité d’eau chaude qui peut être mélangée avec l’eau froide, le DISPOSITIF DE SÉCURITÉ ANTI-BRÛLURE (1) réduit les risques de brûlures accidentelles. -
Page 7: Herramientas Recomendadas
Chapetón de válvula de balanceo de presión de dos manijas con desviador integrado Flash ™ Gracias por elegir American Standard, el punto de referencia de óptima calidad durante más de 100 años. Para realizar la instalación sin problemas, lea atentamente estas instrucciones antes de comenzar. -
Page 8: Instalación De La Manija
INSTALACIÓN DE ACCESORIO • Retire el PROTECTOR DE YESO (1) y las dos TAPAS DE CARTUCHO (2). • Empuje los dos MANGUITOS DE LOS CARTUCHOS (3) en los cartuchos del CUERPO DE LA VÁLVULA (4). • Empuje el PROTECTOR DEL CHAPETÓN (5) sobre los MANGUITOS DE LOS CARTUCHOS (3). - Page 9 SERVICIO Apague los suministros de agua PRECAUCIÓN caliente y fría antes de comenzar. AJUSTE DEL CIERRE DE LÍMITE DE AGUA CALIENTE • Al restringir la rotación de la MANIJA y limitar la cantidad de agua caliente que se permite mezclar con la fría, el CIERRE DE SEGURIDAD DE LÍMITE DE AGUA CALIENTE (1) reduce el riesgo de quemaduras accidentales.