GM Racing RADICATOR NITRO RACING TRUGGY 1/10 4WD Manuel D'utilisation
Table des Matières
Les langues disponibles
Les langues disponibles
All manuals and user guides at all-guides.com
www.gm-racing.de
R
N
ADICATOR
ITRO
1/10 4WD
Bedienungsanleitung
Instruction Manual
Manuel d'utilisation
Ersatzteile - Spare Parts - Pièces de rechange
Montage - Assembly - Montage
Garantie - Warranty - Garantie
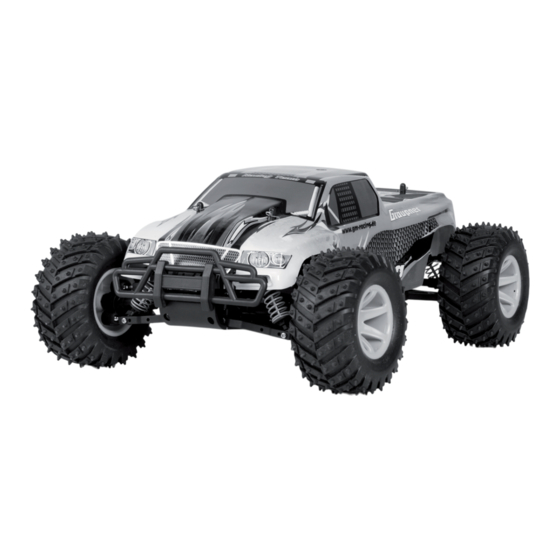
GM-Racing 90507.RTR Radicator Nitro 4WD Racing Truggy
R
T
ACING
RUGGY
Deutsch
01-13
English
14-24
Francais
25-36
37-40
41-55
58
Table des Matières

Manuels Connexes pour GM Racing RADICATOR NITRO RACING TRUGGY 1/10 4WD

Sommaire des Matières pour GM Racing RADICATOR NITRO RACING TRUGGY 1/10 4WD
- Page 25 All manuals and user guides at all-guides.com change of the camber the bearing surface of the tire is strongly made smaller. décollées du sol –une plage de réglage étroite, dans laquelle on peut régler la dureté des amortisseurs avant et arrière. C’est un réglage très pointu, qui ne peut être réalisé...
-
Page 26: Consignes De Sécurité
All manuals and user guides at all-guides.com INTRODUCTION Système BEC N’utilisez que des systèmes de radiocommande avec système BEC intégré ! Merci d’avoir sélectionné le Radicator Nitro-RTR de Graupner. Ce texte contient les consignes élémentaires Grâce au système BEC, plus besoin d’accu de réception. L’alimentation de la réception est assurée par l’accu de pro- pour l’utilisation de votre nouvelle voiture. -
Page 27: Outillage Bien Pratique
All manuals and user guides at all-guides.com Préparation de l’ensemble R/C OUTILLAGE BIEN PRATIQUE Avant d’utiliser votre radiocommande, contrôlez les points suivants: En plus de l’outillage fourni avec le Radicator Nitro, l’outillage ci-dessous est utile, et dans certains cas né- L’accu d’émission est-il chargé... -
Page 28: Rodage Et Réglage Du Moteur
All manuals and user guides at all-guides.com RODAGE ET RÉGLAGE DU MOTEUR Toutes les compagnies d’assurance ne couvrent pas cette activité. Renseignez-vous auprès de votre assureur, et souscrivez, si nécessaire, une assurance responsabilité civile qui couvre cette activité de modélisme. Il est conseillé de Le rodage du moteur est un point déterminant pour obtenir un bon rendement. -
Page 29: Réglage Du Ralenti
All manuals and user guides at all-guides.com RÉGLAGE DU RALENTI CONSIGNES DE SÉCURITÉ: Le réglage du ralenti se traduit sur la tenue du ralenti lui-même et légèrement au delà. Si le réglage est opti- Attention: Lisez attentivement cette notice avant la première utilisation. Vous éviterez ainsi toute mauvaise manipula- mal, et que le moteur tourne au moins 8-10 secondes au ralenti, il doit légèrement «... -
Page 30: Caractéristiques Techniques
All manuals and user guides at all-guides.com MESURE DE LA TEMPÉRATURE DE FONCTIONNEMENT CARACTÉRISTIQUES TECHNIQUES La température idéale du moteur varie en fonction de la température extérieure de l’air, elle devrait se situer Longueur : 400 mm entre 100°C et 120°C. Une méthode de mesure simple consiste à mettre quelques gouttes d’eau sur la tête Largeur : 310 mm de cylindre.