R&G CP0510BL Instructions De Montage
Table des Matières
Les langues disponibles
Les langues disponibles
Liens rapides
Page 1 of 23
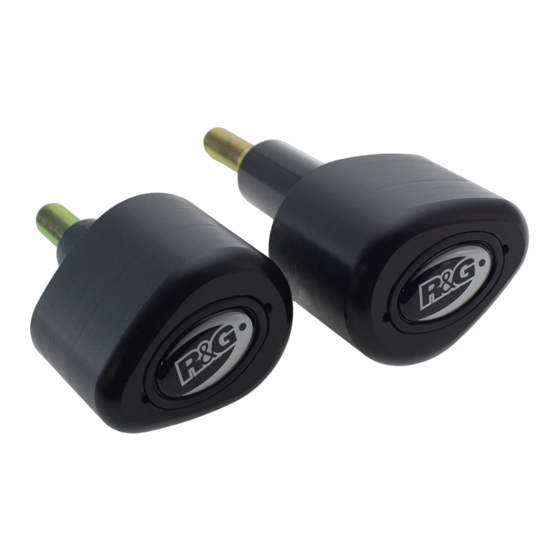
FITTING INSTRUCTIONS FOR CP0510BL AERO CRASH PROTECTORS
T
HIS KIT CONTAINS THE ITEMS PICTURED AND LABELLED OVER PAGE
S
IF IN ANY DOUBT WHEN FITTING OUR PRODUCTS, CONSULT ONE OF OUR DEALERS OR
P
LEASE NOTE THAT THE WAY THE KIT IS PACKED DOES NOT NECESSARILY REPRESENT THE WAY OF
I
N THE EVENT OF RUBBER WASHERS BEING USED TO HOLD COMPONENTS ONTO BOLTS
DIGITAL COPIES OF THESE INSTRUCTIONS ARE AVAILABLE TO DOWNLOAD FROM
Unit 1, Shelley's Lane, East Worldham, Alton, Hampshire, GU34 3AQ
Tel: +44 (0)1420 89007 Fax: +44 (0)1420 87301
APRILIA RS660 2021-
OME PARTS MAY BE SHOWN FOR CLARITY OF INSTRUCTIONS ONLY
D
O NOT PROCEED UNTIL YOU ARE SURE ALL PARTS ARE PRESENT
P
LEASE READ ALL INSTRUCTIONS BEFORE PROCEEDING
HAVE FITTED BY A QUALIFIED TECHNICIAN.
MOUNTING TO THE BIKE
THESE RUBBER WASHERS CAN BE THROWN AWAY
WWW.RG-RACING.COM
.
R&G
www.rg-racing.com
CP0510BL
.
.
.
.
,
.
Email:
info@rg-racing.com
Table des Matières

Manuels Connexes pour R&G CP0510BL


Sommaire des Matières pour R&G CP0510BL
-
Page 13: Outils Requis
Page 13 of 23 CP0510BL OUTILS REQUIS VALEURS DE SERRAGE • Clés hexagonales 2.5, 3, 4, & 5mm M4 BOULON = 8Nm • Clé à cliquet + douilles 8 mm, 14mm M5 BOULON = & 17mm. • Clé Torx M6 BOULON = •... - Page 15 Page 15 of 23 CP0510BL NOTICE DE MONTAGE VEUILLEZ NOTER QU'AVANT DE COMMENCER, VOUS AUREZ BESOIN D'UN CRIC ADAPTÉ POUR SOUTENIR LE MOTEUR LORS DU DÉMONTAGE DES BOULONS DE MOTEUR D’ORIGINE. SI VOUS N'ÊTES PAS À L’AISE, FAITES FAIRE LE MONTAGE PAR UN TECHNICIEN QUALIFIÉ.
- Page 16 Page 16 of 23 CP0510BL • Retirez le boulon du cadre supérieur près de la poupée comme indiqué sur la photo 20. • Mettez en place soit le support de montage de la protection crash (article 1) et fixez-le sans serrer en place à...
- Page 17 Page 17 of 23 CP0510BL • Vissez une protection crash B0061 (article 5) sur le boulon de sorte que les rondelles et la tête du boulon se trouvent dans l'alésage de la protection crash. • Placer une entretoise S1305 (article 2) sur chacune des extrémités exposées des boulons.