Table des Matières
Publicité
Les langues disponibles
Les langues disponibles
Liens rapides
Table des matières
1. Contenu de l'emballage .................................................................................................................... 2
2. Protection des projecteurs ................................................................................................................. 2
3. Caractéristiques techniques ............................................................................................................... 2
4. Installation ................................................................................................................................... 2
4.1. Raccordement électrique ........................................................................................................ 2
4.2. Mise en place dans une traversée / refoulement 1.5 standard ............................................................. 3
4.3. Mise en place dans un refoulement standard 2'' ............................................................................. 3
4.4. Mise en place dans une traversée CCEI ...................................................................................... 3
5. Section de câbles ........................................................................................................................... 4
A. Déclaration de conformité .............................................................................................................. 4
Lire attentivement cette notice avant d'installer, de mettre en service, ou d'utiliser ce produit.
Utilisation immergée seulement.
Utiliser un transformateur de sécurité seulement.
MPNT0444 v1.0FR (10/10/2020)
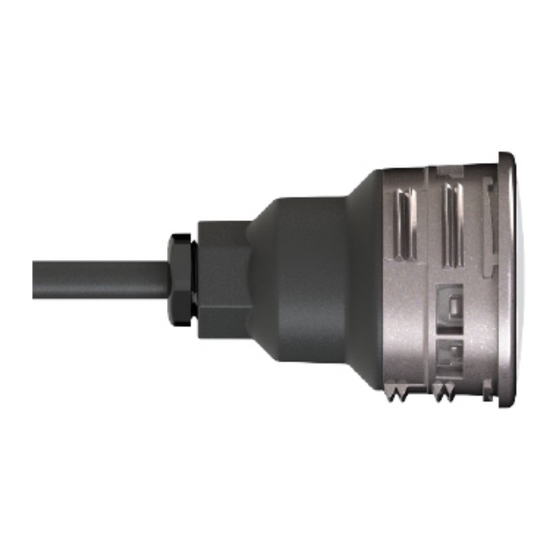
Notice technique
Mini Brio + &
Switch M7 & X8
Éclairage à LED subaquatique
Réf : PK10R314 / 315 / 316 / 324 / 325 / 326 (Mini+)
et PK10R321 / 322 / 323 (Switch)
Publicité
Chapitres
Table des Matières

Manuels Connexes pour ccei Mini Brio +


Sommaire des Matières pour ccei Mini Brio +
-
Page 1: Table Des Matières
4.2. Mise en place dans une traversée / refoulement 1.5 standard ............. 3 4.3. Mise en place dans un refoulement standard 2'' ................3 4.4. Mise en place dans une traversée CCEI ..................3 5. Section de câbles ........................... 4 A. -
Page 2: Contenu De L'emballage
Ø 49mm / profondeur 63mm Dans prise balai 1,5" standard Installation Dans prise balai 2" (avec enjoliveur PF10R294) Dans traversée CCEI PF10R291 (coque) ou PF10R292 (liner) Alimentation Tension : 12 V ~ (AC) / Fréquence : 50Hz/60Hz Puissance consommée 7W (Version M7) - 700 lm... -
Page 3: Mise En Place Dans Une Traversée / Refoulement 1.5 Standard
4.4. Mise en place dans une traversée CCEI Lorsque vous installez un Mini Brio + & Switch avec une traversée CCEI (images ci-dessous), vous pouvez monter le joint torique entre le Mini-BRiO 2 et la traversée (utilisez de la graisse lors du montage). Une fois comprimé par le serrage du projecteur, ce joint permet d'avoir une gaine sèche entre l'arrière du projecteur et la boîte de raccordement au dessus du niveau... -
Page 4: Section De Câbles
Mini Brio + & Switch M7 & X8 v1.0FR Notice technique 4.4.1. Version déconnectable - Mini-BRiO Switch Utilisez le projecteur Mini-BRiO Switch en réutilisant le câble déjà existant. Pour cela, suivre la démarche suivante : 1. Coupez le câble à l'arrière du projecteur exis- tant 2. - Page 5 3.2. Installation into 1.5'' standard wall conduit / nozzle ................ 2 3.3. Installation into a threaded 2'' wall conduit (with PF10R294 only for concrete pool) ......... 3 3.4. Installation into a CCEI wall inlet .................... 3 4. RGB & RGBW lights: Use - Autonomous mode ..................4 5.
-
Page 6: Technical Specifications
Ø 49mm / depth 63mm In a standard 1.5" brush socket Installation In a 2" brush socket (with trim PF10R294) In a CCEI crossing PF10R291 (shell) or PF10R292 (liner) Power supply Voltage: 12 V ~ (AC) / Frequency: 50Hz/60Hz Power consumption... -
Page 7: Installation Into A Threaded 2'' Wall Conduit (With Pf10R294 Only For Concrete Pool)
3.4. Installation into a CCEI wall inlet If you prefer to install a Mini Brio + & Switch into a CCEI wall inlet (see next images), you have to place the O-ring inside the wall inlet (use some grease during the installation). Once compressed during tightening, the O-ring allows a dry sheath between the back of the light and the connection box above the water level. -
Page 8: Rgb & Rgbw Lights: Use - Autonomous Mode
Mini Brio + & Switch M7 & X8 v1.0EN Technical information sheet 4. RGB & RGBW lights: Use - Autonomous mode In the absence of a control unit, the bulbs operate autonomously and the user can choose between 18 modes: 11 colour sets and 7 programs (with shorts cutting power supply).