Lionelo Levi Simple Manuel De L'utilisateur
Siège-auto bébé
Les langues disponibles
Les langues disponibles
User manual
Manual de usuario
Instrukcja obsługi
Handleiding
Bedienungsanleitung
Naudojimo instrukcija
Инструкция по эксплуатации
Návod k obsluze
Manuale d'uso
Használati utasítás
Manuel de l'Uti lisateur
Manual uti lizare
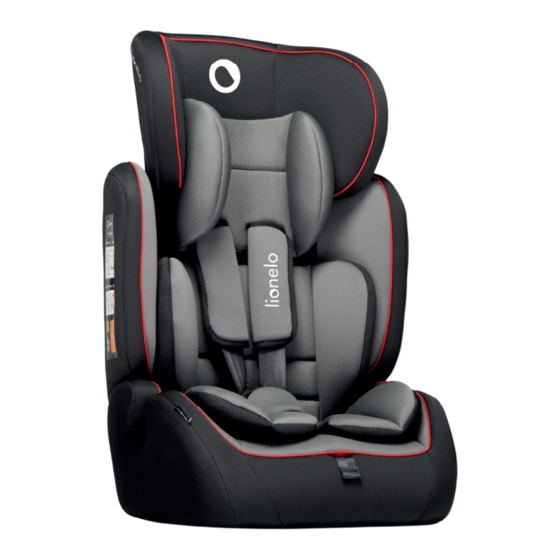
Levi Simple
Baby car seat
Fotelik smochodowy
Kindersitz
Детское автокресло
Seggiolino auto per bambini
Seggiolino auto per bambini
Siège-auto bébé
Silla de coche
Autostoeltje
Automobilinė kėdutė
Autosedačka
Autós gyermekülés
Scaun auto
www.lionelo.com
‑ 1 ‑

Manuels Connexes pour Lionelo Levi Simple


Sommaire des Matières pour Lionelo Levi Simple
- Page 1 Bedienungsanleitung Naudojimo instrukcija Инструкция по эксплуатации Návod k obsluze Manuale d’uso Használati utasítás Manuel de l’Uti lisateur Manual uti lizare Levi Simple Baby car seat Fotelik smochodowy Kindersitz Детское автокресло Seggiolino auto per bambini Seggiolino auto per bambini Siège-auto bébé...
- Page 2 ‑ 2 ‑...
- Page 3 ‑ 3 ‑...
- Page 4 ‑ 4 ‑...
- Page 5 ‑ 5 ‑...
- Page 6 ‑ 6 ‑...
- Page 7 ‑ 7 ‑...
- Page 8 ‑ 8 ‑...
- Page 53 Cher client ! Si vous avez des questions ou remarques relatives au produit acheté, n’hésitez pas à nous contacter à l’adresse : help@lionelo.com Producteur: BrandLine Group Sp. z o. o. ul. A. Kręglewskiego 1, 61-248 Poznań, Pologne Description (fig.
- Page 54 1. Information Le dispositif de retenue pour enfants appartient à la catégorie « universel ». Il a obtenu l’homologation conformément au règlement No. 44, la série d’amendements 04 à l’usage général dans les véhicules et il est adapté à l’installation sur la majorité de sièges assis dans une voiture. L’installation appropriée est possible si le fabricant du véhicule a déclaré...
- Page 55 ne puissent être piégés par le siège coulissant ou les portes du voiture dans des conditions normales d’utilisation. • Toutes les sangles fixant le dispositif de retenue au véhicule doivent être bien tendues, les sangles retenant l’enfant doivent être adaptées à...
- Page 56 de sécurité à deux points. Installez le siège-auto dans une voiture équipée de ceintures de sécurité à trois points. Voir : Fig. 3 Utilisez le siège-auto bébé de façon suivante (Voir : Fig. 4): • Les sièges arrières de véhicule sont les sièges les plus surs pour y installer le siège-auto bébé.
- Page 57 enfants les plus petits, il améliore leur confort et constitue un appui supplémentaire. Si l’enfant a besoin de plus d’espace dans le siège- auto, ôtez le coussin réducteur. Voir : Fig. 5 2.2 Réglage de la hauteur de l’appui-tête • Le siège-auto bébé...
- Page 58 2.4 Réglage du harnais. Le harnais possède 3 niveaux de réglage. • Vérifiez que la hauteur du harnais à 5 points est adéquate pour votre enfant. Ces sangles devraient passer à travers les fentes situées à la hauteur des épaules ou au niveau légèrement plus élevé. Enlevez les embouts des sangles thoraciques accrochés au connecteur des ceintures de sécurité...
- Page 59 des sangles (Q). Voir : Fig. 26 • Faites passer les deux sangles à travers les fentes dans le dossier du siège-auto bébé. • Faites passer la boucle du harnais à travers la fente dans la garniture en tissu. Voir : Fig. 27 •...
- Page 60 • Puis, faites passer la ceinture à travers le second guide dans le dossier, marqué en rouge (P), (de l’arrière vers l’avant du siège-auto bébé). Voir : Fig. 18 et 19 • Faites passer les deux ceintures sous le second accoudoir (E). •...
- Page 61 • Faites passer la sangle abdominale sous l’accoudoir à travers le guide rouge (E). Voir : Fig. 34 • Faites passer les deux sangles sous le second accoudoir du siège-auto bébé (E) et attachez la ceinture jusqu’à ce que vous entendiez un « clic » caractéristique. Voir : Fig.
- Page 62 Les photos sont à caractère informatif, l’apparence réelle des produits peut varier de celle présentée sur les photos. ¡Estimado Cliente! Si tienes algún comentario o pregunta sobre algún producto que hayas comprado, por favor contacta con nosotros: help@lionelo.com Fabricante: BrandLine Group Sp. z o.o. A. Kręglewskiego 1, 61-248 Poznań, Polonia FR | ES ‑...
- Page 114 ‑ 114 ‑...
- Page 115 Podrobné záruční podmínky jsou k dispozici na webových stránkách: A részletes garanciális feltételek elérhetők a weboldalon: Condiții detaliate de garanție sunt disponibile pe site: www.lionelo.com Thank you for purchasing our product Dziękujemy za zakup urządzenia naszej marki Vielen Dank für den Kauf unserer Markenausrüstung Спасибо...
- Page 116 ‑ 116 ‑...