Table des Matières
Publicité
Les langues disponibles
Les langues disponibles
Liens rapides
Use this book as a start guide when setting up the projector.
For detailed information about installation, setup and operation of projector,
refer to the owner's manual on the CD-ROM.
Read the safety instructions in this quick start guide before using projector.
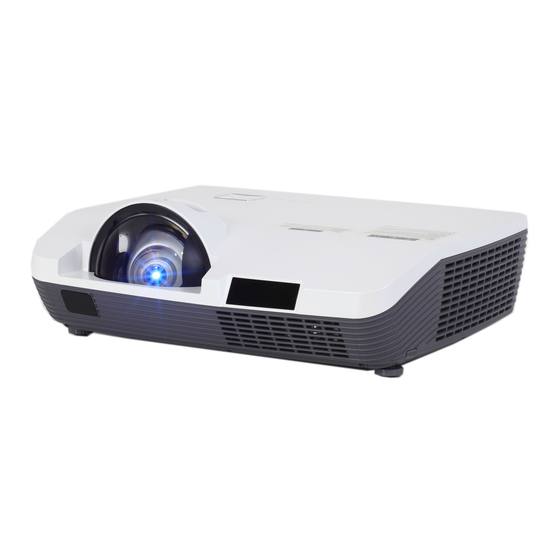
Quick Start Guide
L C - X A U 2 0 0
MODEL
LC-WAU200
Publicité
Table des Matières

Manuels Connexes pour Eiki LC-XAU200


Sommaire des Matières pour Eiki LC-XAU200
- Page 12 L C - X A U 2 0 0 LC-WAU200...
- Page 20 L C - X A U 2 0 0 LC-WAU200...
-
Page 21: Contenu Du Paquet
Contenu du paquet Déballez et inspectez le contenu du carton pour vous assurer que toutes les parties listées ci-dessous sont présentes. Si quelque chose manque, merci de contacter notre service Client. Télécommande avec piles Manuel de propriétaire (CD) Cordon d'alimentation secteur (AAA ou LR03) Câble VGA Guide de démarrage rapide... -
Page 22: Positionnement Du Projecteur
● La luminosité de la salle a une grande influence sur la qualité d'image. Il est recommandé de l imiter l'éclairage ambiant, afin d'obtenir la meilleure image. ● Toutes les mesures sont approximatives et peuvent varier des valeurs réelles. A:B=5.3:-1 LC-XAU200(4:3): (Diagonal:Inch) 1.03 m 100”... -
Page 23: Pieds Réglables
Pieds réglables Vous pouvez régler l’angle de projection jusqu’à 10 degrés à l’aide des pieds réglables. Soulever le bord avant du projecteur et appuyer sur le verrou sur le pied réglable pour le libérer. Les pieds réglables sont alors verrouillés. Pivoter le pied pour régler la hauteur et l'angle d'inclinaison La déformation de trapèze d’une image projetée peut être corrigée à... -
Page 24: Connexion
Connexion Brancher à l'ordinateur (RGB numérique et analogique) Les câbles utilisés pour la connexion: ● Câble VGA ● Câble de commande série * ● Câble HDMI* (*=Câbles ne sont pas fournis avec le projecteur.) Sortie moniteur Entrée moniteur Sortie série Sortie HDMI Câble Câble... - Page 25 Connexion Brancher aux équipements vidéo Les câbles utilisés pour la connexion: ● Câle vidéo* ● Câle S-Vidéo* ● Câle RCA* ● Câle audio* ● Câble HDMI* (*=Câbles ne sont pas fournis avec le projecteur.) Sortie Sortie Sortie Sortie Sortie Sortie Sortie composante Audio...
-
Page 26: Connexion À Un Équipement Audio
Connexion Connexion à un équipement audio Câbles utilisés pour la connexion: ● Câle audio* (*=Câles ne sont pas fournis avec ce projecteur.) Equipement audio externe Sortie audio Entrée audio (R) (L) Remarque: Les canaux Câble Câble Câble gauche et droit sont combinés lorsqu’il n' y a que le L (mono) audio(Stéréo) audio... -
Page 27: Réglage De La Taille De L'image Projetée
Réglage de la taille de l’image projetée Eteindre le Projecteur 1. Appuyez sur la touche POWER sur le projecteur ou sur la télécommande, et “Éteindre ?” apparaîtra sur l’écran. 2. Puis appuyez de nouveau sur la touche POWER pendant 4 secondes. Le témoin Éteindre ? POWER se met à... - Page 28 L C - X A U 2 0 0 LC-WAU200...
- Page 36 L C - X A U 2 0 0 LC-WAU200...