Publicité
Les langues disponibles
Les langues disponibles
Liens rapides
Epson
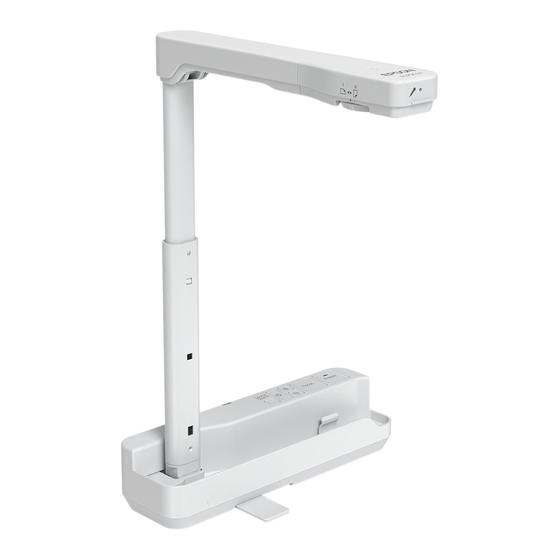
DC-07 Document Camera (ELPDC07)
®
Quick Start
Follow these instructions to display pages from books and documents, and
three-dimensional objects. To use other features, see the online User's Guide.
It provides instructions for using the microscope adapter and the built-in
microphone, and capturing still images.
Before using the product, make sure you read the safety instructions in the
online User's Guide.
Setting up the product
1
Extend the foot, then raise the camera arm with one hand while holding
the base with your other hand.
2
Rotate the camera arm and position the camera head above the
projection area. Pull up on the arm to adjust the height as needed.
3
Connect your projector directly to the document camera using a
USB cable (included). Or, use the included USB cable to control your
document camera from a computer using the camera software (see
"Using the software").
4
Select the source (port) on the projector that lets you display the
camera image. On the document camera, press the
necessary.
USB cable
Source button, if
Using the product
1
Place your document on the table under the camera head. Raise or lower
the camera arm to adjust the image size, if needed.
2
Turn the rotation dial on the camera head to rotate the image, if
necessary.
3
Press the Focus button on the document camera to automatically focus
the image.
4
To zoom in or out on part of the image, press the
document camera.
5
Press the
button to illuminate the image.
When you're done using the product, disconnect the USB cable, lower the
camera arm, and push in the foot as shown.
Using the software
The included software lets you capture live audio and video, as well as still
images. You can also use it to make time-lapse movies and annotate captured
images.
Installing the software
Note: If your computer does not have a CD/DVD drive or you are using a Mac,
an Internet connection is required to obtain the product software.
1
Make sure the product is NOT CONNECTED to your computer.
Windows
: If you see a Found New Hardware screen, click Cancel and
®
disconnect the USB cable.
2
Insert the product CD or download and run your product's software
package:
www.epson.com/support/elpdc07downloads (U.S.) or
www.epson.ca/support/elpdc07downloads (Canada)
3
Follow the instructions on the screen to run the setup program.
4
When you see the license agreement, accept the terms and click Next.
5
Select Drawing on the Camera screen, then follow the on-screen
instructions to install all the software.
or
button on the
Publicité

Sommaire des Matières pour Epson DC-07
- Page 1 Epson DC-07 Document Camera (ELPDC07) ® Quick Start Using the product Place your document on the table under the camera head. Raise or lower Follow these instructions to display pages from books and documents, and the camera arm to adjust the image size, if needed.
- Page 2 U.S. and (905) 709-3839 in Canada or write to Epson America, Inc., P.O. Box 93012, Long Beach, CA 90809-3012. EPSON is a registered trademark and EPSON Exceed Your Vision is a registered logomark of Seiko Epson Corporation. PrivateLine is a registered trademark and Epson Connection is a service mark of Epson America, Inc.
- Page 3 Caméra de documents Epson DC-07 (ELPDC07) ® Installation rapide Utilisation du produit Placez votre document sur la table sous la tête de la caméra. Levez ou Suivez les directives ci-après pour projeter les pages de livres et de documents abaissez le bras de la caméra afin de régler le format de l’image, au et des objets en trois dimensions.
- Page 4 Web www.epson.com/webreg. EPSON est une marque déposée et EPSON Exceed Your Vision est un logotype déposé de Seiko Epson Corporation. Garantie limitée PrivateLine est une marque déposée et Epson Connection est une marque de service d’Epson America, Inc.


